This classic Cherry Ripe Slice is just like the slice you grew up with! It is melt and mix slice recipe that takes just 15 minutes to prepare before popping it into the fridge to set. This slice is perfect for special occasions, dessert or cake stalls and it can be made up to one week before you need it. Both regular and Thermomix instructions included.
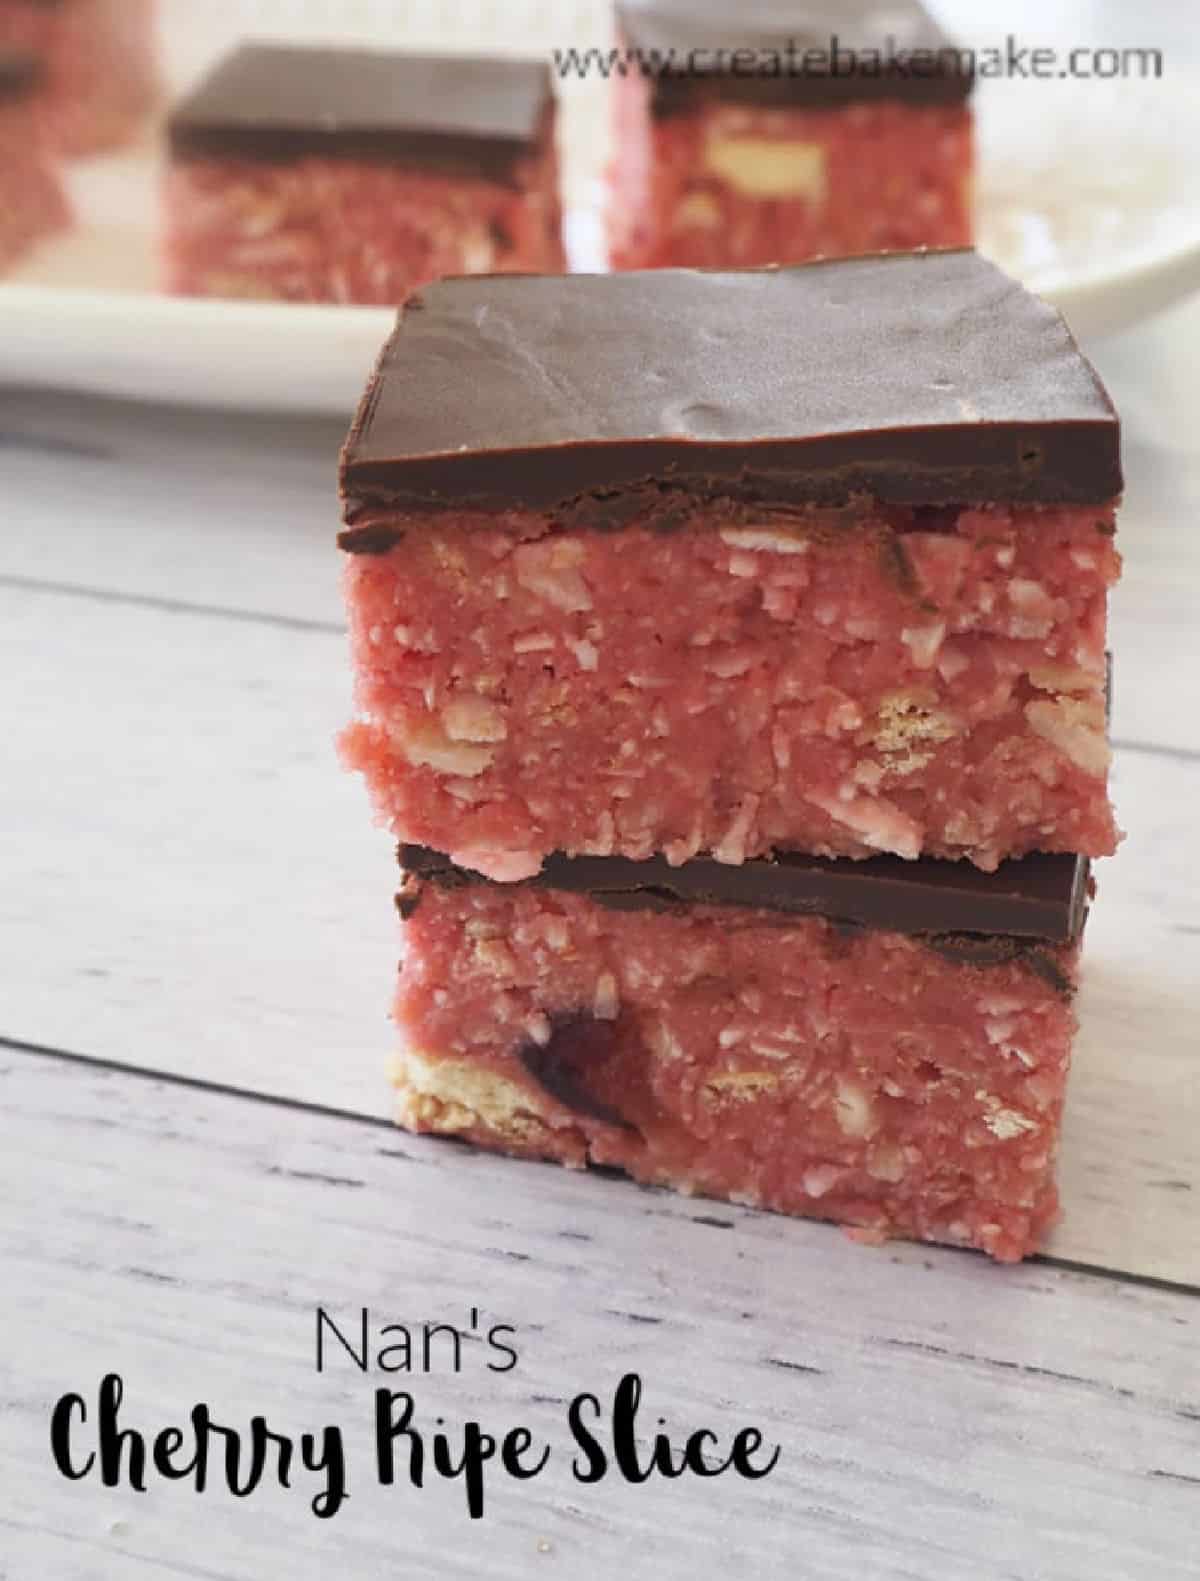
When it comes to classic slice recipes, you just cannot go past my Nan’s Classic Cherry Ripe Slice recipe. Nan used to make this slice for special occasions when we were growing up and I honestly thought it was the fanciest slice going around!
Why you will love this recipe:
- Melt and Mix – all you need to do is melt the butter and mix in the remaining ingredients to make this slice.
- Quick to prepare – this slice takes just 15 minutes to prepare before placing into the fridge to set.
- Make ahead – you can make this Cherry Ripe slice up to seven days before you need it.
- Freezer friendly – this slice can be frozen without the chocolate layer.
Ingredients
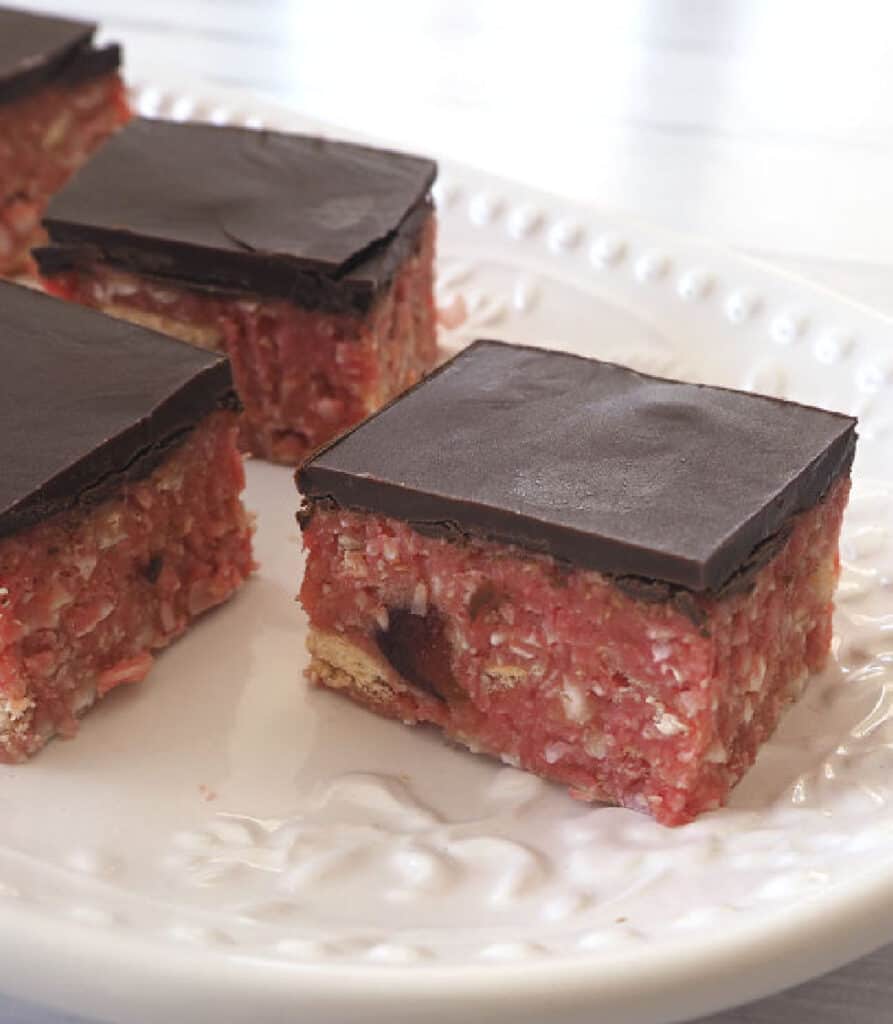
Although I’m also a big fan of my No Bake Cherry Ripe Slice recipe, this classic Cherry Ripe Slice is just that little bit special thanks to being loaded with:
- Glace cherries,
- Marie Biscuits,
- Desiccated coconut
- Sweetened condensed milk
- Butter
Tips for Making Cherry Ripe Slice
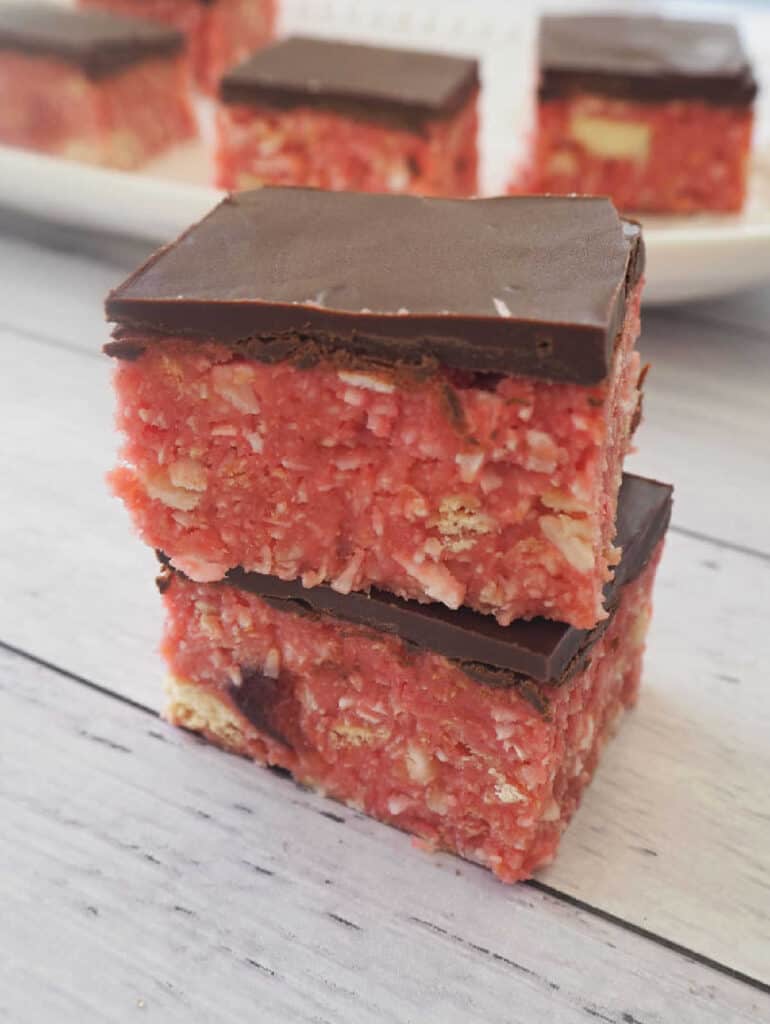
- I made this Cherry Ripe Slice in a 20cm square cake tin to help make it a little bit higher (and give you more slice in each piece!), however you can also make it in a conventional 28x18cm slice tin too.
- You can omit the pink food colouring if you wish, however this is what gives the slice it’s pink colouring.
- It is important to use sweetened condensed milk and not evaporated milk for this recipe.
- The slice mixture will be sticky – this is normal!
- Milk chocolate can be used in place of dark chocolate.
- Once made, this Cherry Ripe Slice is best stored in an airtight container in the fridge for up to 7 days – however good luck getting it to last that long!
More Easy Slice Recipes:
- Mars Bar Slice
- Rice Bubbles and Honey Slice
- Nut Free Muesli Slice | Great for Lunch Boxes
- Easy Caramel Slice
- Weet-Bix Slice Recipe
- No Bake Passionfruit Slice
- Easy Peppermint Slice
- No Bake Malteser Slice
- Chocolate Slice
Cherry Ripe Slice
Equipment
- 1 20 cm square baking tin You can also use a 28x18cm slice tin
Ingredients
- 110 grams butter melted
- 395 grams sweetened condensed milk one tin
- 250 grams Marie Biscuits or similar plain biscuit
- 200 grams glace cherries finely chopped
- 3 cups dessicated coconut 255 grams
- 4 drops pink food colouring
- 200 grams dark chocolate melted
- 1 tablespoon coconut oil optional
Instructions
- Line the base and sides of a 20cm square cake tin with baking paper – making sure you leave paper hanging up the sides of the tin to help you remove the slice once it has set.
- Crush the biscuits until they form small pieces and place in a large bowl.
- Add the melted butter, cherries, coconut and pink colouring and mix until well combined.
- Transfer to your prepared tin and use the back of a spoon to flatten the top of the mixture – don’t worry, it will be sticky!
- Place the dark chocolate and coconut oil (if using) into a microwave safe bowl and cook on 30 second spurts until it’s just melted.
- Pour the melted chocolate over the top of the slice and place into the fridge for 3 hours or until set. Once set, cut into pieces and store in an airtight container in the fridge for up to 7 days.
Thermomix Instructions
- Line the base and sides of a 20cm square cake tin with baking paper – making sure you leave paper hanging up the sides of the tin to help you remove the slice once it has set.
- Place the butter into your Thermomix bowl and cook for 3 minutes, 60 degrees, speed 2 to melt.
- Add the biscuits into your Thermomix bowl and mix for 3 seconds on speed 5 to lightly crush. You will need to use your spatula to push the biscuits down into the blades.
- Add the condensed milk, coconut, pink colouring and cherries and mix for 10 seconds, speed 4. Scrape down the sides of your Thermomix bowl and mix for a further 10 seconds, speed 5 – REVERSE or until the mixture is well combined.
- Transfer to your prepared tin and use the back of a spoon to flatten the top of the mixture – don't worry, it will be sticky!
- Place the dark chocolate and coconut oil (if using) into a microwave safe bowl and cook on 30 second spurts until it's just melted.
- Pour the melted chocolate over the top of the slice and place into the fridge for 3 hours or until set. Once set, cut into pieces and store in an airtight container in the fridge for up to 7 days.
Notes
- I made this Cherry Ripe Slice in a 20cm square cake tin to help make it a little bit higher (and give you more slice in each piece!), however you can also make it in a conventional 28x18cm slice tin too.
- You can omit the pink food colouring if you wish, however this is what gives the slice it’s pink colouring.
- It is important to use sweetened condensed milk and not evaporated milk for this recipe.
- The slice mixture will be sticky – this is normal!
- Milk chocolate can be used in place of dark chocolate.
- The addition of coconut oil will assist the chocolate layer from not cracking when slicing.
- Once made, this Cherry Ripe Slice is best stored in an airtight container in the fridge for up to 7 days – however good luck getting it to last that long!
Nutrition
Looking for more?
You can find more slice recipes in our Slices books and eBooks. Shop the full range here.











Susie Mackay
Oh my. I have made a cherry and chocolate tiffin with everything mixed together – but the chocolate layer idea looks awesome. I’m British, but having lived in Australia I really miss Cherry Ripe. Must try this, as they are expensive to buy over here.
Kyleigh
Hi just wondering do you think choc ripple biscuits would work in place of the Marie biscuit?
Lauren Matheson
Yes, for sure!
Kate
I was making these and I noticed that the condensed milk was not included in the recipe on the first version. In excited to taste them!
Tracy
Love this slice, even converted the non cherry ripe fans. just wondering if it is freezer friendly please.
Lauren Matheson
Hi Tracy, That’s so great to hear 🙂 It’s freezer friendly if frozen without the chocolate layer xx
Lu
Hi Lauren
Can you use fresh frozen cherries for this recipe?
Thanks
Lu
Lauren Matheson
Hi Lu, I haven’t tried this recipe with fresh/frozen cherries before but I think it should be ok xx