


This no bake Strawberry Jelly Cheesecake recipe makes a great dessert for your next event! It is based on my favourite Jelly Slice recipe with delicious addition of strawberry pieces mixed through the top Jelly layer. This easy dessert can be made ahead of time, making it a perfect dish when planning a celebration. Both regular and Thermomix instructions included.
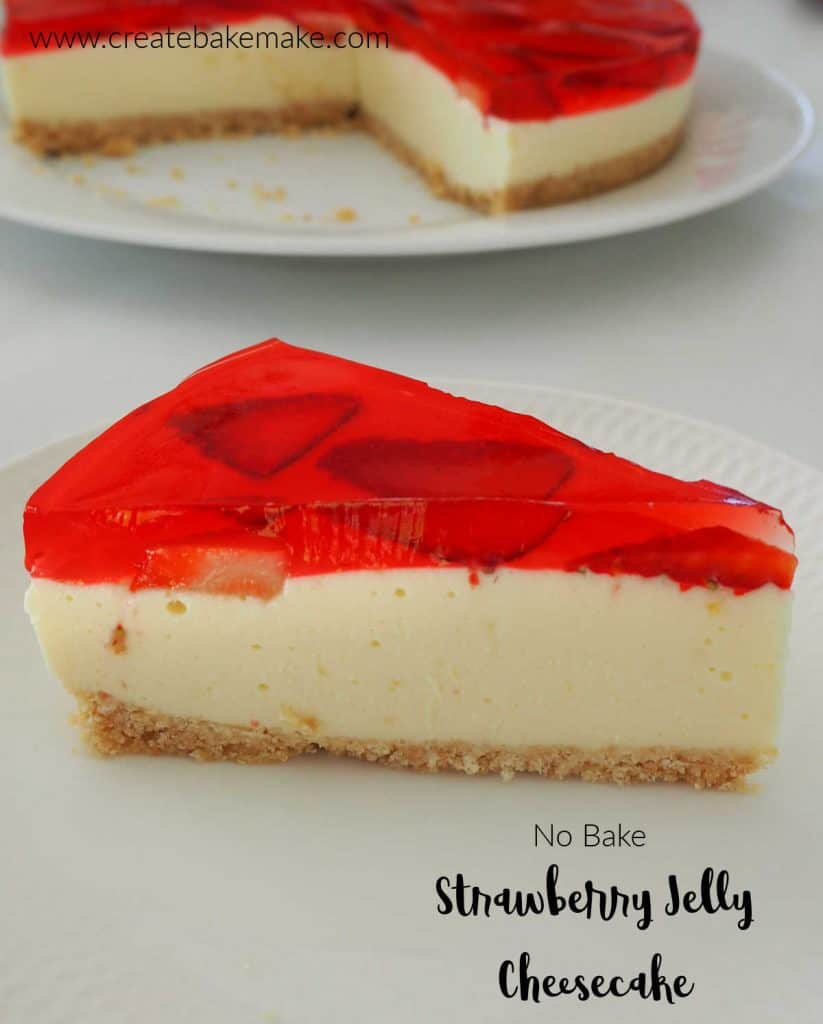
My Mum has been making this Strawberry Jelly Cheesecake recipe for all our special occasions (including Christmas!) for years now and it’s one of our families favourite desserts. It’s essentially a no bake Lemon Cheesecake recipe which has sliced strawberries and strawberry jelly added to the top – yum!
Why you will love this recipe:
- No Bake – no oven is required to make this recipe!
- Make in advance – you can make this cheesecake up to three days before you need it.
- Perfect Christmas Dessert.
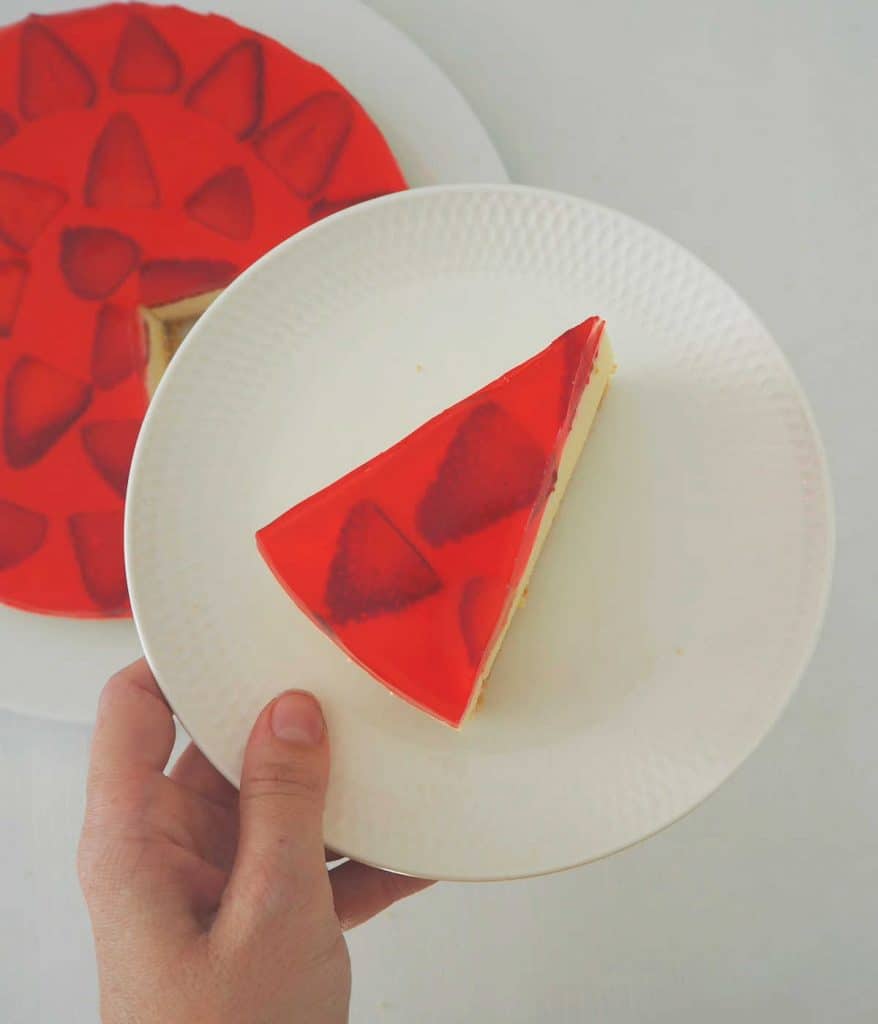
Although this Strawberry Jelly Cheesecake looks like it might be tricky to make, it really is quite simple. Yes it does take a little time to put the different layers together, but there is nothing complicated about this recipe at all – and best of all it’s just like a pimped up version of my Jelly Slice recipe!
Tips for Making This Recipe:
- It’s best to make this recipe the day before you need it, that way you are not rushing each step and it has plenty of time to chill in the fridge and set perfectly.
- I also suggest that when it’s time to add the jelly to your cheesecake, pop the springform tin onto a baking tray to help make it a bit easier to move in and out of the fridge, as the last thing you want is jelly splashing everywhere.
- The time it takes to combine the cream cheese with the other ingredients will be impacted by the temperature, if your cream cheese is still firm it will take longer.
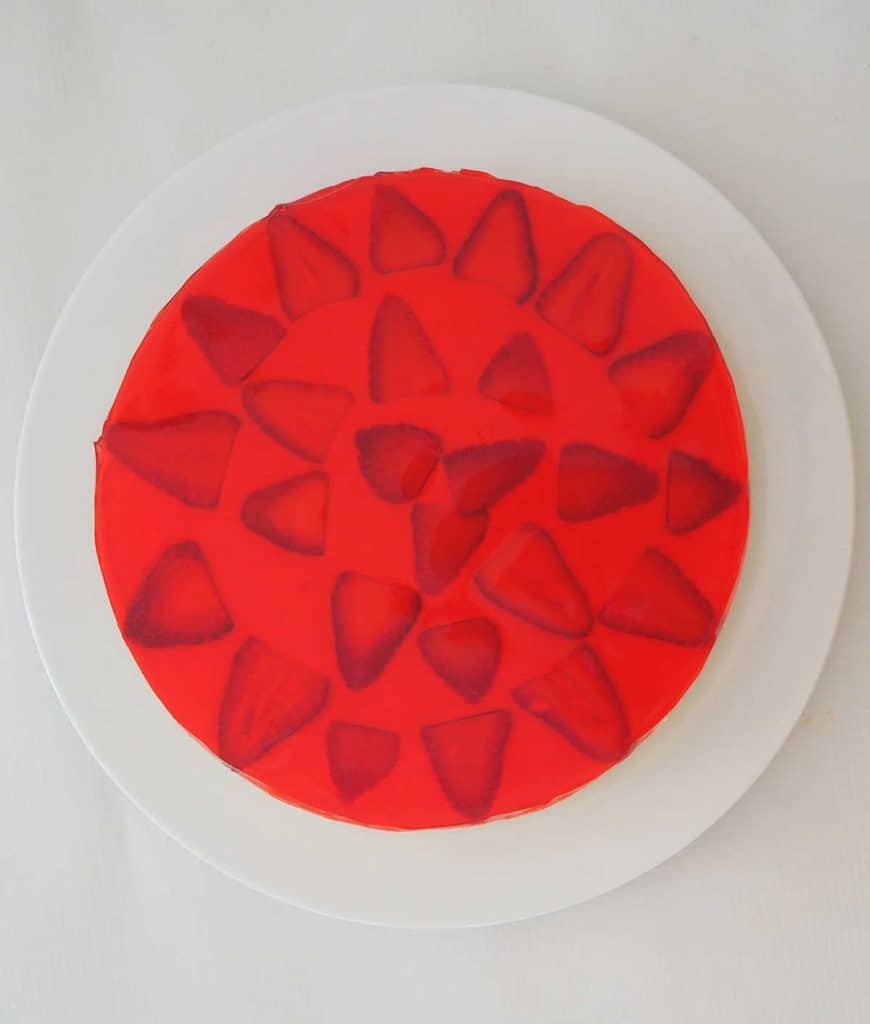
- To help the strawberries stay in place while transferring the cheesecake back to the fridge, I suggest pushing them slightly into the top of the cream cheese layer before adding the jelly.
- You can omit the fresh strawberries if you wish.
- This cheesecake is best stored in the fridge and enjoyed within five days.
- This recipe is not freezer friendly.

More Cheesecake Recipes:
- No Bake Mango Cheesecake
- White Chocolate Oreo Cheesecake Balls
- Chocolate Kahlua Cheesecake
- Mars Bar Cheesecake Balls
- Baked Lemon Cheesecake Recipe
- Tim Tam and Baileys Cheesecake
- No Bake Mars Bar Cheesecake
- Toblerone Cheesecake
- Oreo and cheesecake slice recipe
- Toblerone Cheesecake Balls

Strawberry Jelly Cheesecake Recipe
Equipment
- 20cm round springform tin
- electric beater
Ingredients
Base
- 125 grams Plain Biscuits Eg. Marie Biscuits
- 90 grams butter melted
Filling
- 250 grams cream cheese at room temperature
- 395 grams sweetened condensed milk one tin
- 3 teaspoon lemon rind finely grated
- 1 tablespoon powdered gelatine
- ¼ cup lemon juice 65 grams
- ¼ cup water 65 grams
- 300 ml thickened cream
- 250 grams strawberries sliced thinly
- 85 gram strawberry jelly crystals 1 pack
- 1 cup boiling water 250 grams
- ½ cup cold water 125 grams
Instructions
- Line the base and sides of a 20cm round springform tin with baking paper and set aside until needed.
- Place the biscuits into a food processor and blitz until resemble breadcrumbs.
- Add the melted butter to the biscuit crumbs and mix to combine. Transfer the mixture to your prepared springform tin and press down with the back of a spoon to flatten the surface. Place into the fridge.
- Place the ¼ cup of water and ¼ cup of lemon juice into a microwave safe bowl or jug and sprinkle the gelatine over the top. Cook for 1 minute and stir well until the gelatine has dissolved. Set aside to cool back to room temperature.
- Place the softened cream cheese into the bowl of an electric mixer and mix on a medium speed until smooth and creamy.
- Add the condensed milk, thickened cream and lemon rind and mix to combine.
- While the mixer is on a low speed, slowly add the room temperature gelatine mixture to the mixing bowl and increase to a medium/high speed and mix for 1 minute to completely combine.
- Transfer the cheesecake mixture to your prepared base and gently smooth the surface before decorating with sliced strawberries. Place into the fridge for one hour to chill.
- In the meantime, combine the jelly crystals with 1 cup of boiling water and stir until dissolved. Add ½ cup of cold water and mix well. Set aside to cool.
- Remove the chilled cheesecake from the fridge and carefully add the cooled jelly mixture over the top. Place back into the fridge for a minimum of 6 hours (preferably overnight) to set.
Thermomix Instructions
- Line the base and sides of a 20cm round springform tin with baking paper and set aside until needed.
- Place the butter into your Thermomix bowl and cook for 3 minutes, 60 degrees, speed 1 to melt.
- Add the biscuits and blitz for 5 seconds, speed 5 to crush. Scrape down the sides of the bowl and blitz for a further 4 seconds, speed 5. Transfer the mixture to your prepared springform tin and press down with the back of a spoon to flatten the surface. Place into the fridge.
- Place the ¼ cup of water and ¼ cup of lemon juice into a microwave safe bowl or jug and sprinkle the gelatine over the top. Cook for 1 minute and stir well until the gelatine has dissolved. Set aside to cool back to room temperature.
- Add the softened cream cheese to a clean and dry Thermomix bowl and mix for 30 seconds, speed 2.5. Scrape down the sides of the bowl and mix for a further 30 seconds, speed 2 or until smooth and creamy.
- Add the condensed milk, thickened cream and lemon rind and mix for 30 seconds, speed 4.
- While the Thermomix is running on speed 3, remove the measuring cup and slowly add the room temperature gelatine mixture to the bowl. Once it's all been added, mix for 15 seconds, speed 6 to combine.
- Transfer the cheesecake mixture to your prepared base and gently smooth the surface before decorating with sliced strawberries. Place into the fridge for one hour to chill.
- In the meantime, combine the jelly crystals with 1 cup of boiling water and stir until dissolved. Add ½ cup of cold water and mix well. Set aside to cool.
- Remove the chilled cheesecake from the fridge and carefully add the cooled jelly mixture over the top. Place back into the fridge for a minimum of 6 hours (preferably overnight) to set.
Notes
- It’s best to make this recipe the day before you need it, that way you are not rushing each step and it has plenty of time to chill in the fridge and set perfectly.
- I also suggest that when it’s time to add the jelly to your cheesecake, pop the springform tin onto a baking tray to help make it a bit easier to move in and out of the fridge, as the last thing you want is jelly splashing everywhere.
- The time it takes to combine the cream cheese with the other ingredients will be impacted by the temperature, if your cream cheese is still firm it will take longer.
- To help the strawberries stay in place while transferring the cheesecake back to the fridge, I suggest pushing them slightly into the top of the cream cheese layer before adding the jelly.
- You can omit the fresh strawberries if you wish.
- This cheesecake is best stored in the fridge and enjoyed within five days.
- This recipe is not freezer friendly.
Leave a Reply