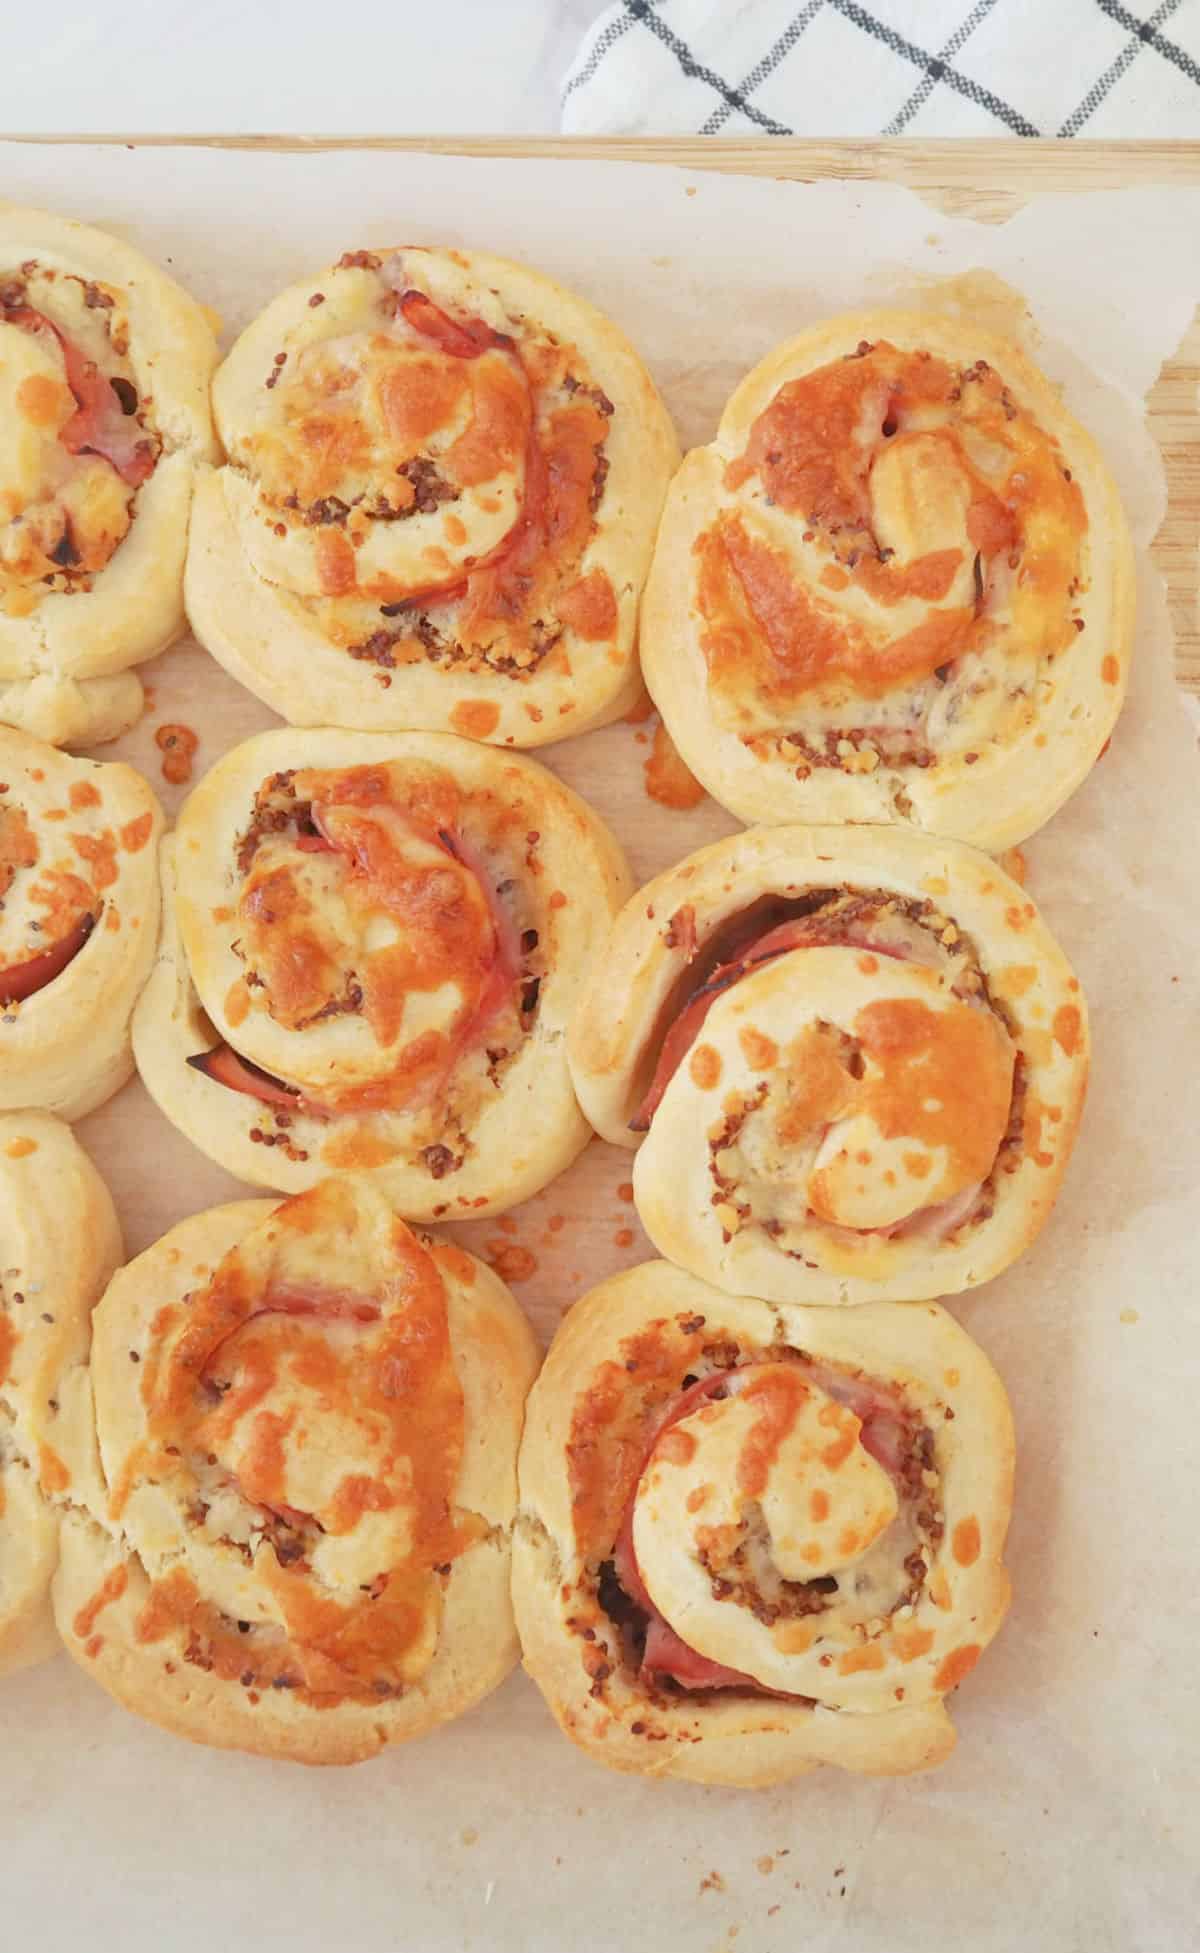
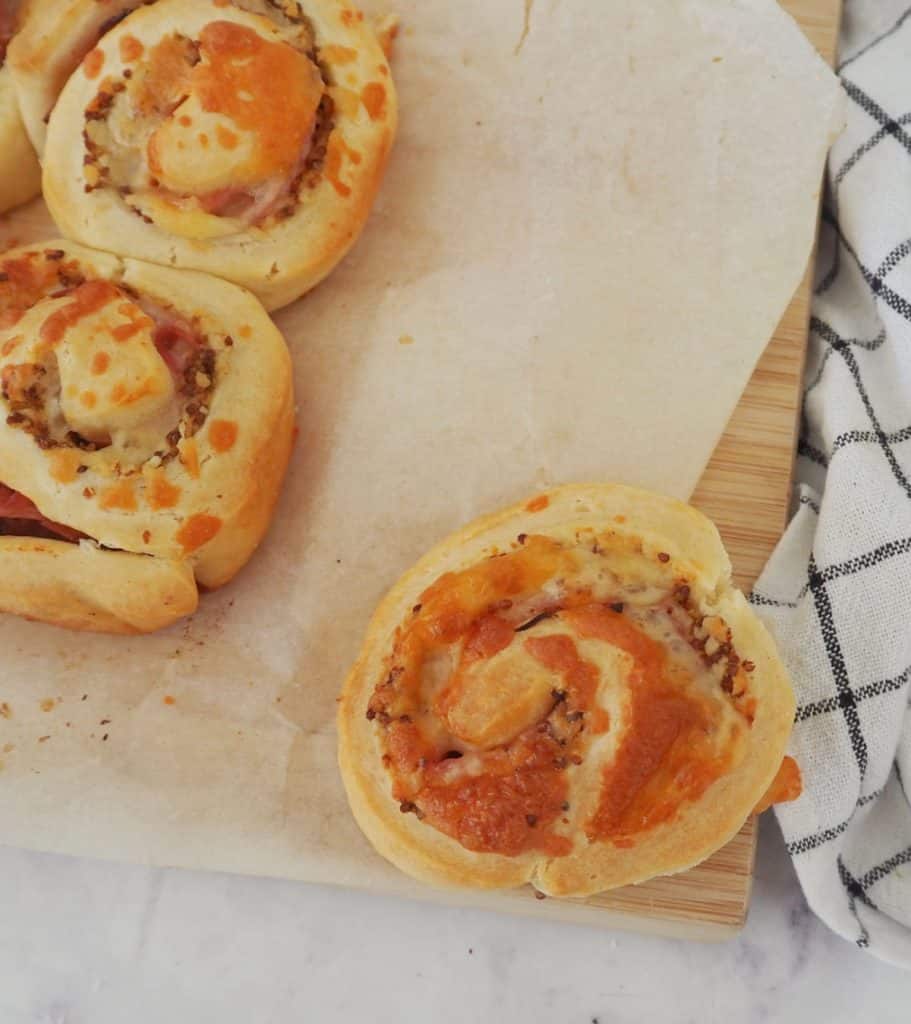
These easy Ham and Cheese Scrolls are made with just seven ingredients, are packed with flavour, perfect for lunchboxes plus they are freezer friendly too!
Enjoy these homemade scrolls as a snack or a meal on their own and they are even a great savoury breakfast if you are on the go. You can double this recipe and both regular and Thermomix instructions also included.
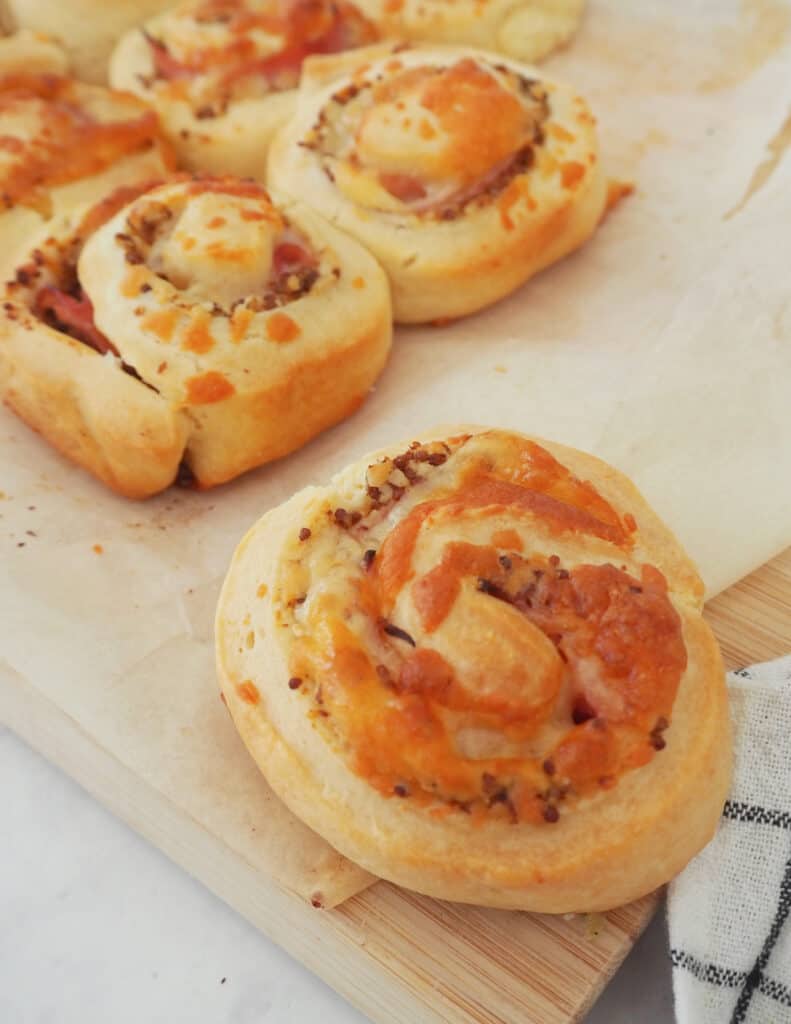
Why you will love this recipe:
These Ham and Cheese Scrolls are really easy to make and use the same base dough recipe as my Hawaiian Pizza Scrolls and Vegemite and Cheese Scrolls, and my favourite part of this recipe is that you don’t need to use any yeast when making this dough, so it can be ready in 5 minutes.
Versatile – you can makes these scrolls larger or smaller if you wish.
Lunchbox snack – the kids will love these scrolls in their lunchboxes.
Freezer friendly – make in advance and then store in the freezer for up to three months.
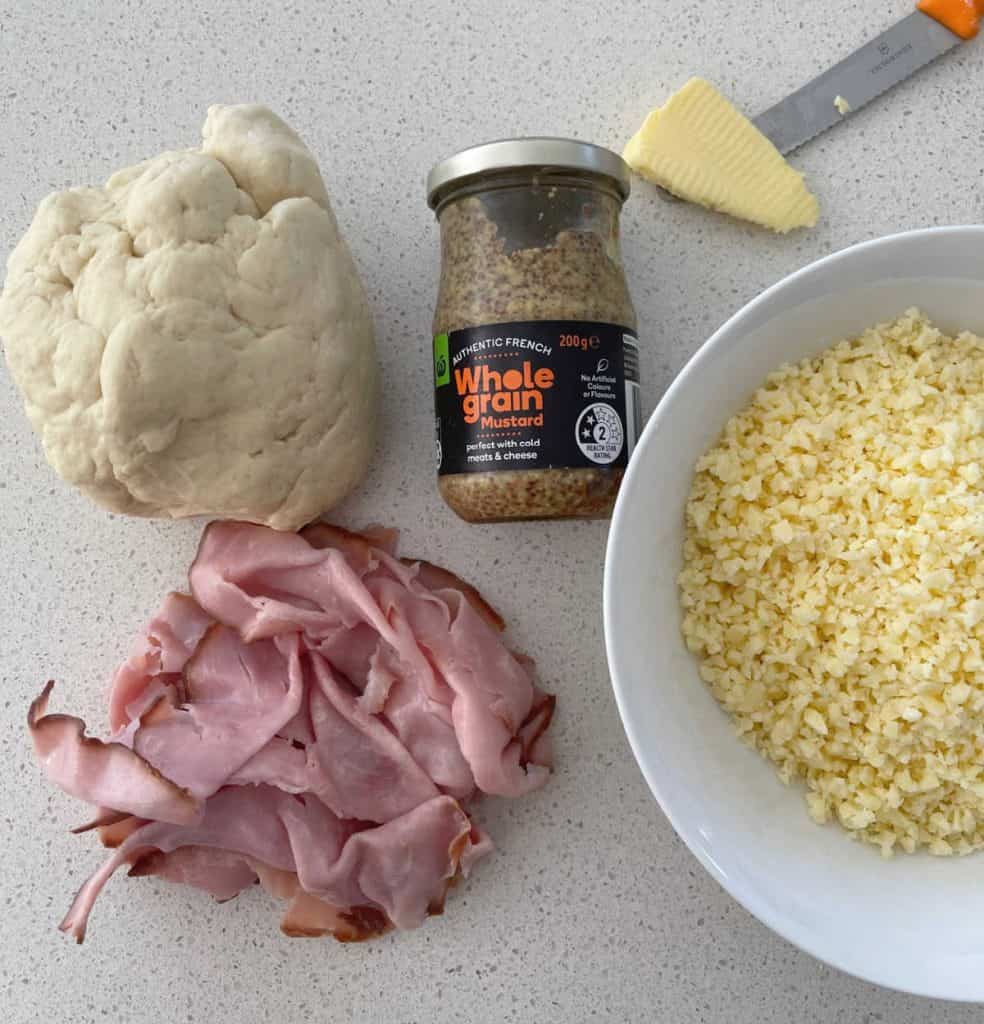
Ingredients:
Please note you will find a full list of ingredients in the recipe card below.
To make these Ham and Cheese Scrolls you will need seven simple ingredients. For the scroll dough, you will need self-raising flour (you can make your own by using plain flour and adding 2 teaspoons of baking powder), butter and milk. For the filling, you will need ham, butter, mustard and cheese.
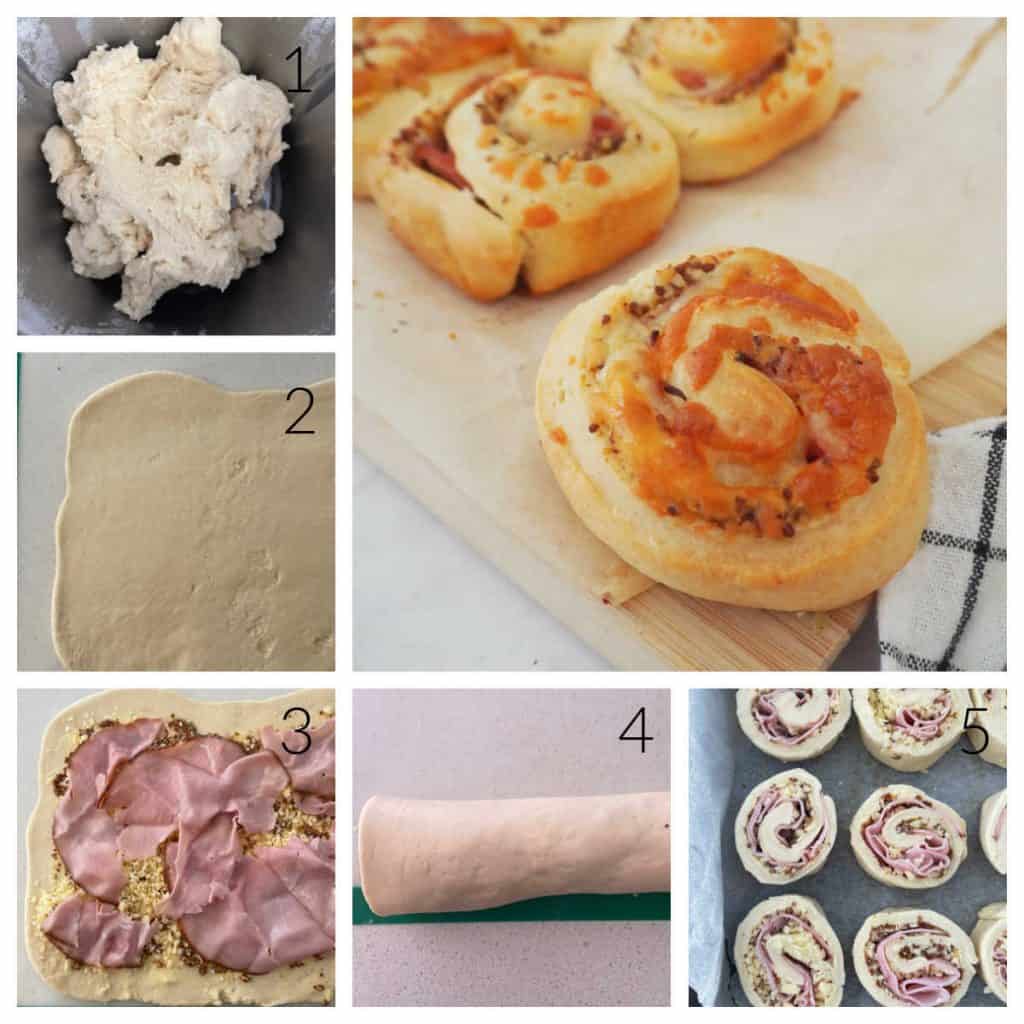
How to Make Ham and Cheese Scrolls
Making these ham scroll really is simple! Please note you will find the full recipe method (with both regular and Thermomix instructions) in the recipe card below.
Step 1. Combine the flour, butter and salt.
Step 2. Add the milk and combine before lightly kneading.
Step 3. Roll out the dough and add the butter and mustard (if using)
Step 4. Add the ham and cheese.
Step 5. Starting from the long end, roll the dough to enclose.
Step 6. Cut into pieces and place onto your baking tray before baking until golden.
Tips for Making Ham and Cheese Scrolls
Mustard – to give these Ham and Cheese Scrolls a little extra kick, I like to add a couple of tablespoons of seeded mustard, however you can certainly leave this out if you prefer.
You can use tasty/cheddar cheese or mozzarella for this recipe.
When adding the filling, leave a 2cm gap from the edge of the dough as this will ensure the filling ingredients don’t spill out when you are trying to roll the dough.
To roll, start from the long edge furtherest away from you and roll towards you.
If you find the dough is soft (this can happen if you are making these scrolls in a warm environment), pop the dough log into the fridge for 20 minutes to chill before cutting.
For best results, use a sharp serrated knife to cut your scrolls.
I also like to place the scrolls quite close together on the baking tray so that they rise up and not out when baking.
I prefer to store these scrolls in the fridge and then bring to room temperature to enjoy.
These scrolls can be frozen for up to three months.
Frequently Asked Questions
To freeze scrolls, place them into a freezer safe container or bag and store for up to three months.
For best results, store in an airtight container in the fridge and consume within 2 -3 days.
More easy snack recipes:
- The BEST Pizza Scrolls
- Date Scones
- Apple and Cinnamon Scrolls
- Easy Corn and Zucchini Fritters
- Easy Savoury Muffin Recipe
- Vegemite and Cheese Scrolls
- Healthy Apricot Bliss Balls
- No Bake Lemon Slice
- Easy Scones | 4 Ingredient Recipe
- Milo Muffins Recipe
Looking for even more?
You can find all of our favourite snack recipes in our ThermoBliss Kids Snacks Books and Lunchbox Recipes. Shop the full range of books and eBooks here.

Ham and Cheese Scroll Recipe
Equipment
- 1 x Baking Tray
Ingredients
- 2 cups self raising flour 300 grams plus a little extra to dust the bench
- 90 grams butter
- ½ teaspoon salt
- ⅔ cup milk 170 grams milk + 2 tablespoon extra
- 60 grams of butter
- 2 tablespoons seeded mustard optional
- 100 grams tasty cheese
- 150 grams ham
Instructions
- Preheat your oven to 210 degrees celsius (fan-forced) and line a tray with baking paper.
- Sift the self raising flour and salt together in a large bowl and rub in the butter until the mixture is the consistency of bread crumbs.
- Slowly add the milk and use a butter knife to combine.
- Tip the dough out onto a bench and knead until it forms a smooth ball. Use a rolling pin to roll dough out until you have a 30 x 40cm rectangle.
- Spread the butter and mustard (if using) over the dough, leaving a 2cm gap around the edges.
- Brush one long edge with a little milk.
- Scatter the ham and cheese over the dough.
- Starting at the long side (without milk) carefully roll the dough until enclosed.
- Cut into 12 slices – approximately 2cm thick.
- Place on a baking tray and sprinkle with a little extra grated cheese.
- Bake in oven for 25 minutes or until golden brown on top and cooked through.
Thermomix Instructions
- Preheat your oven to 210 degrees celsius (fan-forced) and line a tray with baking paper.
- Place the flour, butter and salt into the Thermomix bowl and mix for 10 seconds on speed 9 until mixture is the same consistency as bread crumbs.
- Add the milk and mix for 7 seconds on speed 4 to combine.
- Use the kneading function to knead the dough for 2 minutes
- Turn the dough out onto a floured bench and using a rolling pin, roll the dough out until you have a 30cm x 40cm rectangle.
- Spread the butter and mustard (if using) over the dough, leaving a 2cm gap around the edges.
- Brush one long edge with a little milk.
- Scatter the ham and cheese over the dough.
- Starting at the long side (without milk) carefully roll the dough until enclosed.
- Cut into 12 slices – approximately 2cm thick.
- Place on a baking tray and sprinkle with a little extra grated cheese.
- Bake in oven for 25 minutes or until golden brown on top and cooked through.







Julie
Do you melt the second measure of butter [60g] or just dot it over the pastry?
Lauren Matheson
Hi Julie, I usually just spread it onto the pastry 🙂
Shari from GoodFoodWeek
No school lunch boxes for us yet – but I am sure that they would be go for a trip to the park 😉
Lauren
They would be perfect!
Vicki @ Boiled Eggs & Soldiers
I’m trying to avoid thinking about back to school but these will be going into the lunch boxes for sure. Thanks for linking up to YWF
Lauren
It’s not too far away now! Thanks so much for hosting x
bindybee
These look great Lauren. I need lots of lunchbox ideas. It’s my daughter’s first year of school this year so I need to get creative:)
Tash @ Gift Grapevine
Gah – back to school! I’m well into the labelling and book covering process but haven’t even considered lunch box options. With Miss T in grade 1 and Mr TT starting 3 year old kindy for two days this year I’ll have an extra lunchbox to pack. I usually cheat and buy vegemite or ham and cheese scrolls but you make these sound achievable for even me to make! I’m keen to give them a go – thanks Lauren! xx
Lisa @ Chocolate Meets Strawberry
These look great, Lauren! I always thought scrolls had to be made with yeast in the mix (and I kind of avoid making anything with yeast in it like the plague, I’m just way too lazy!), but it turns out that’s not the case! Crazy that the school year will be kicking off again pretty soon. I don’t have any kids of my own, but I’m thinking about back-to-school stuff in any case because I work at a school as my day job! So I like to think of my lunches as school lunches, hehe 🙂
Lauren
I’m always scared to make things with yeast too, this is such a great alternative and perfect to take to work too!