Looking for an easy recipe for Sponge Cake? Well you have found it! This classic Vanilla Sponge with Jam and Cream requires just a few simple ingredients and couldn’t be easier to make! Both regular and Thermomix cooking methods can be found in the recipe card below.
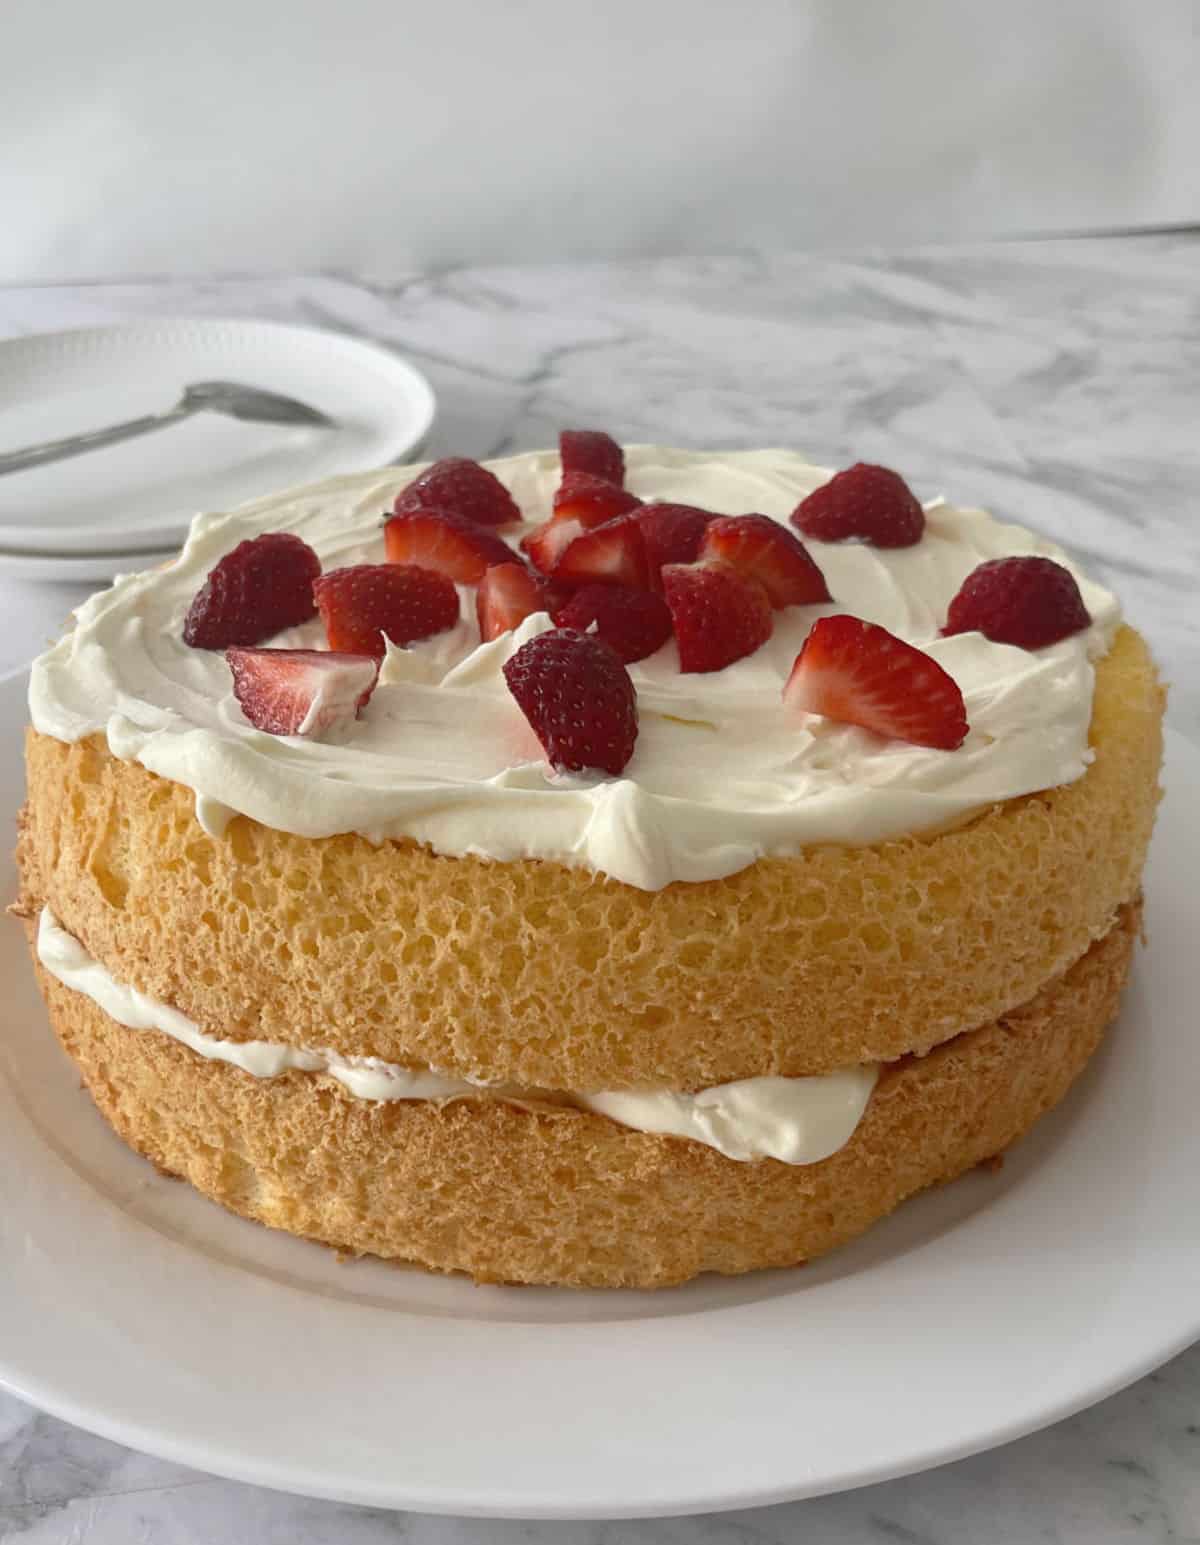
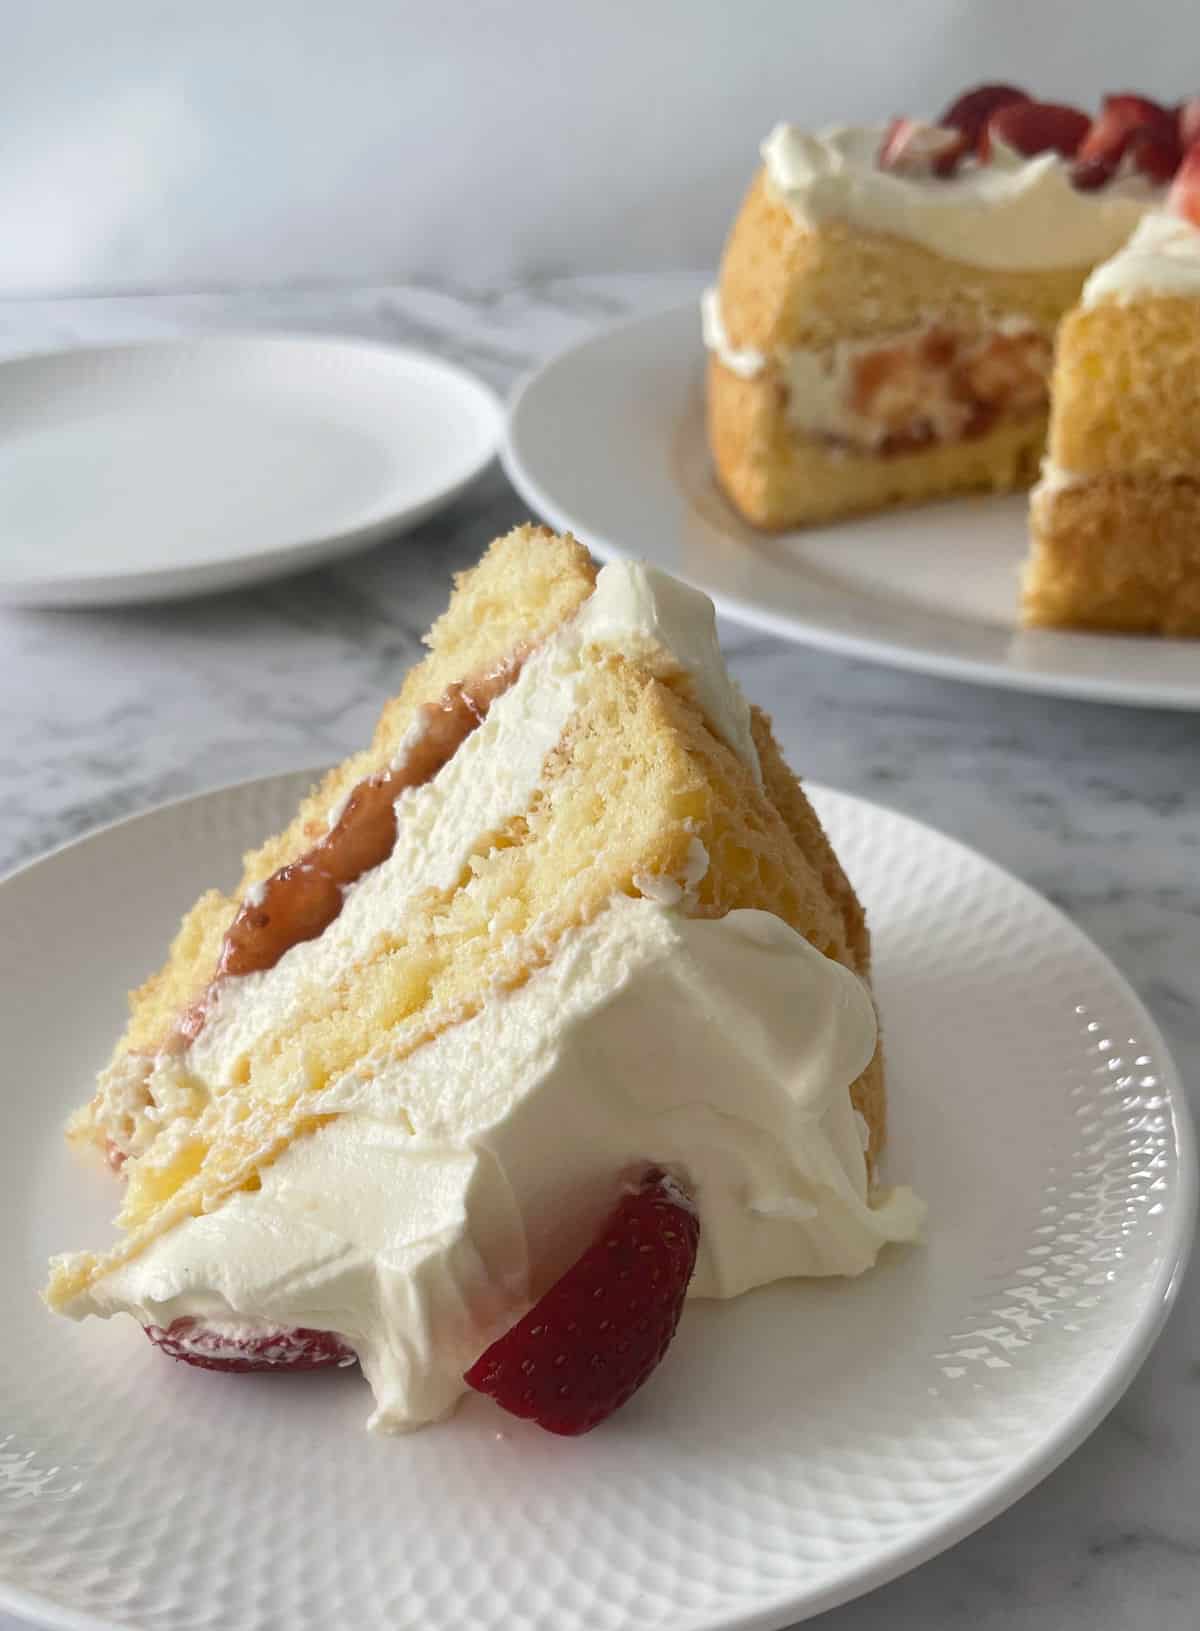
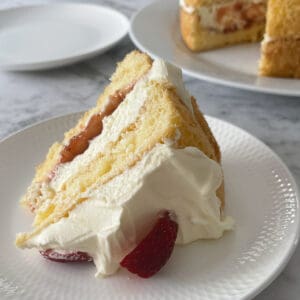
When it comes to filling and decorating your cake, really anything goes. Personally I don’t think you can go past a thick jam and cream centre and to be extra indulgent, I add another layer of cream and berries to top it off perfectly!
Why you will love this recipe for Sponge Cake:
- Six Ingredients – This sponge is made with simple pantry ingredients.
- Ready Quickly – In as little as 15-20 minutes you can be putting this cake into the oven.
- Easy to adapt – Don’t like strawberries of Jam? You can fill and decorate this sponge with anything you like! It is also delicious topped with blueberries or passionfruit. Or you can decorate with chocolate shavings.
- Celebration Cake – This Sponge is the perfect cake for your next celebration and will serve 6 – 8 people.
- Freezer Friendly – you can freeze the unfilled sponge for up to two months.
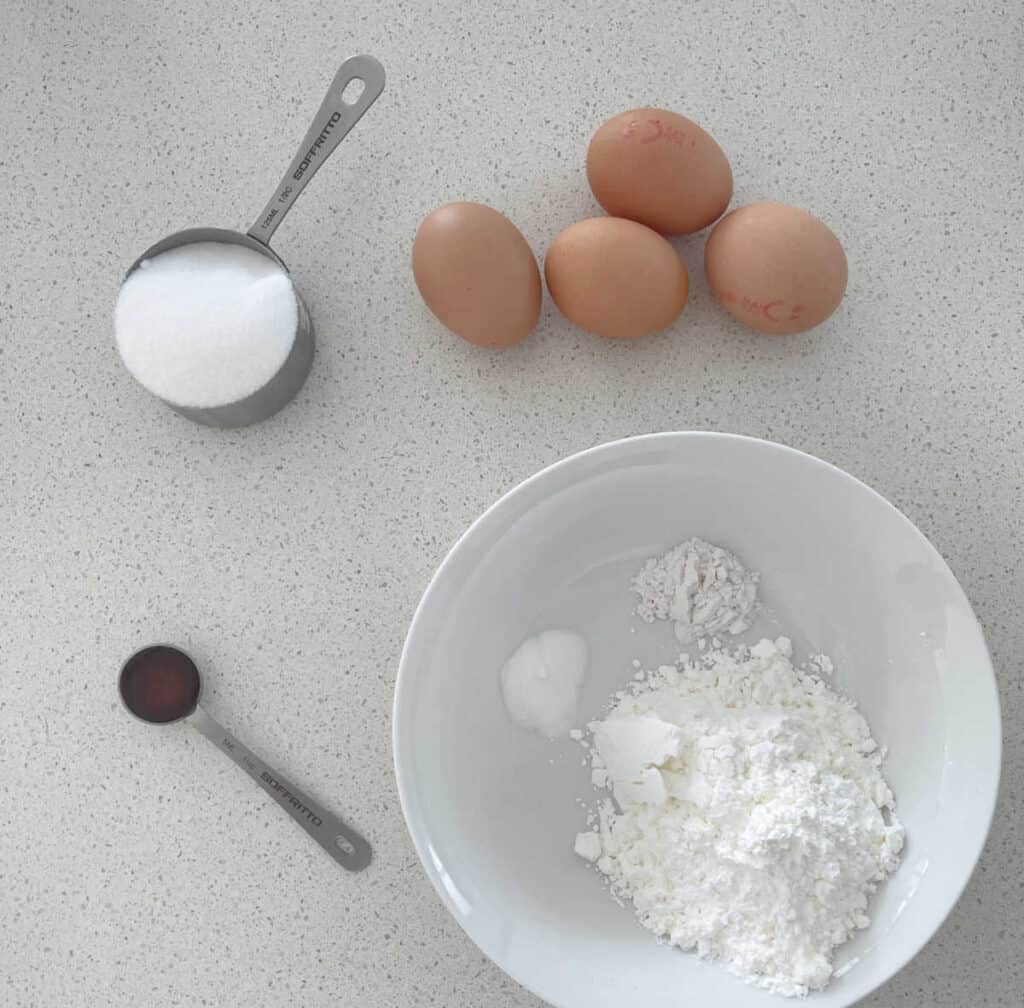
Ingredients:
For the complete list of ingredients and both regular and Thermomix instructions, please see the recipe card below.
- Eggs – 70 gram eggs at room temperature were used to make the cake pictured.
- Caster Sugar
- Cornflour – if you don’t have cornflour, plain flour an be used instead. Please note the consistency will be slightly different.
- Vanilla Extract
- Bicarbonate of soda
- Cream of Tartar
Method:
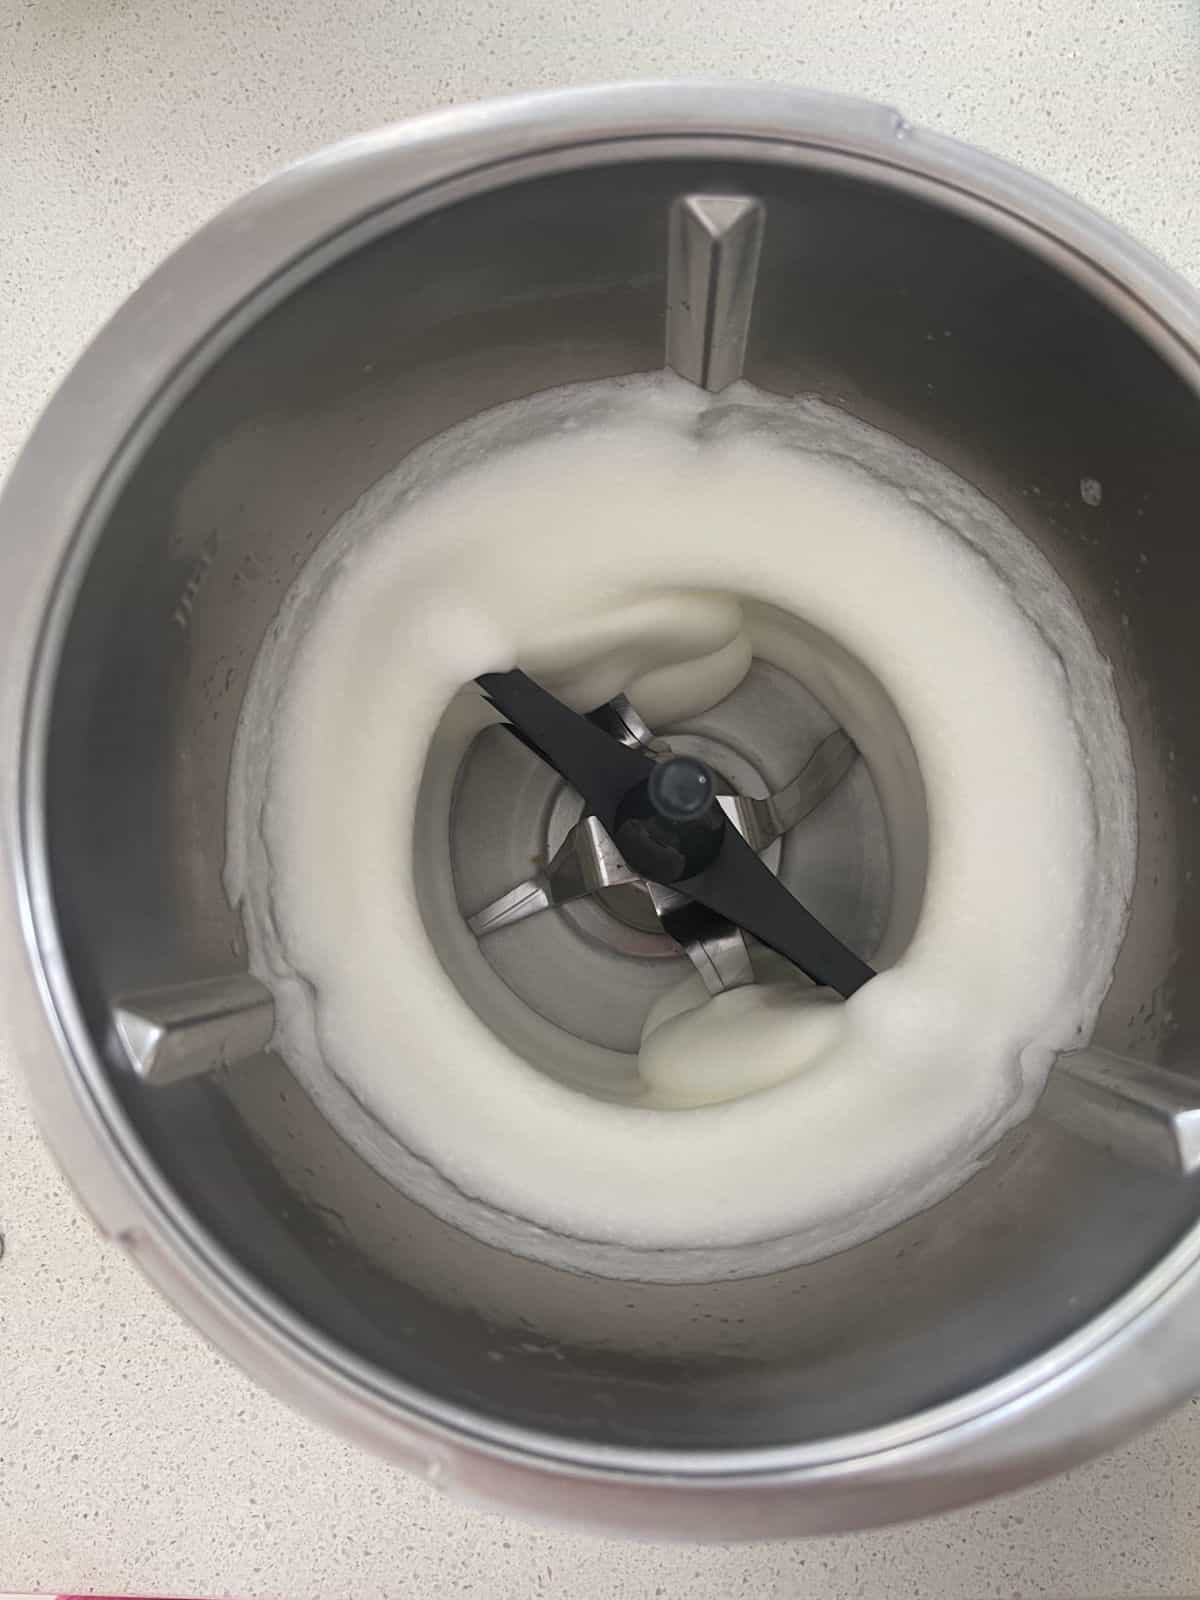
Step 1. Using an electric mixer or Thermomix, whip the egg whites until white and stiff.
Step 2. Add the caster sugar one teaspoon at a time and mix well to combine.
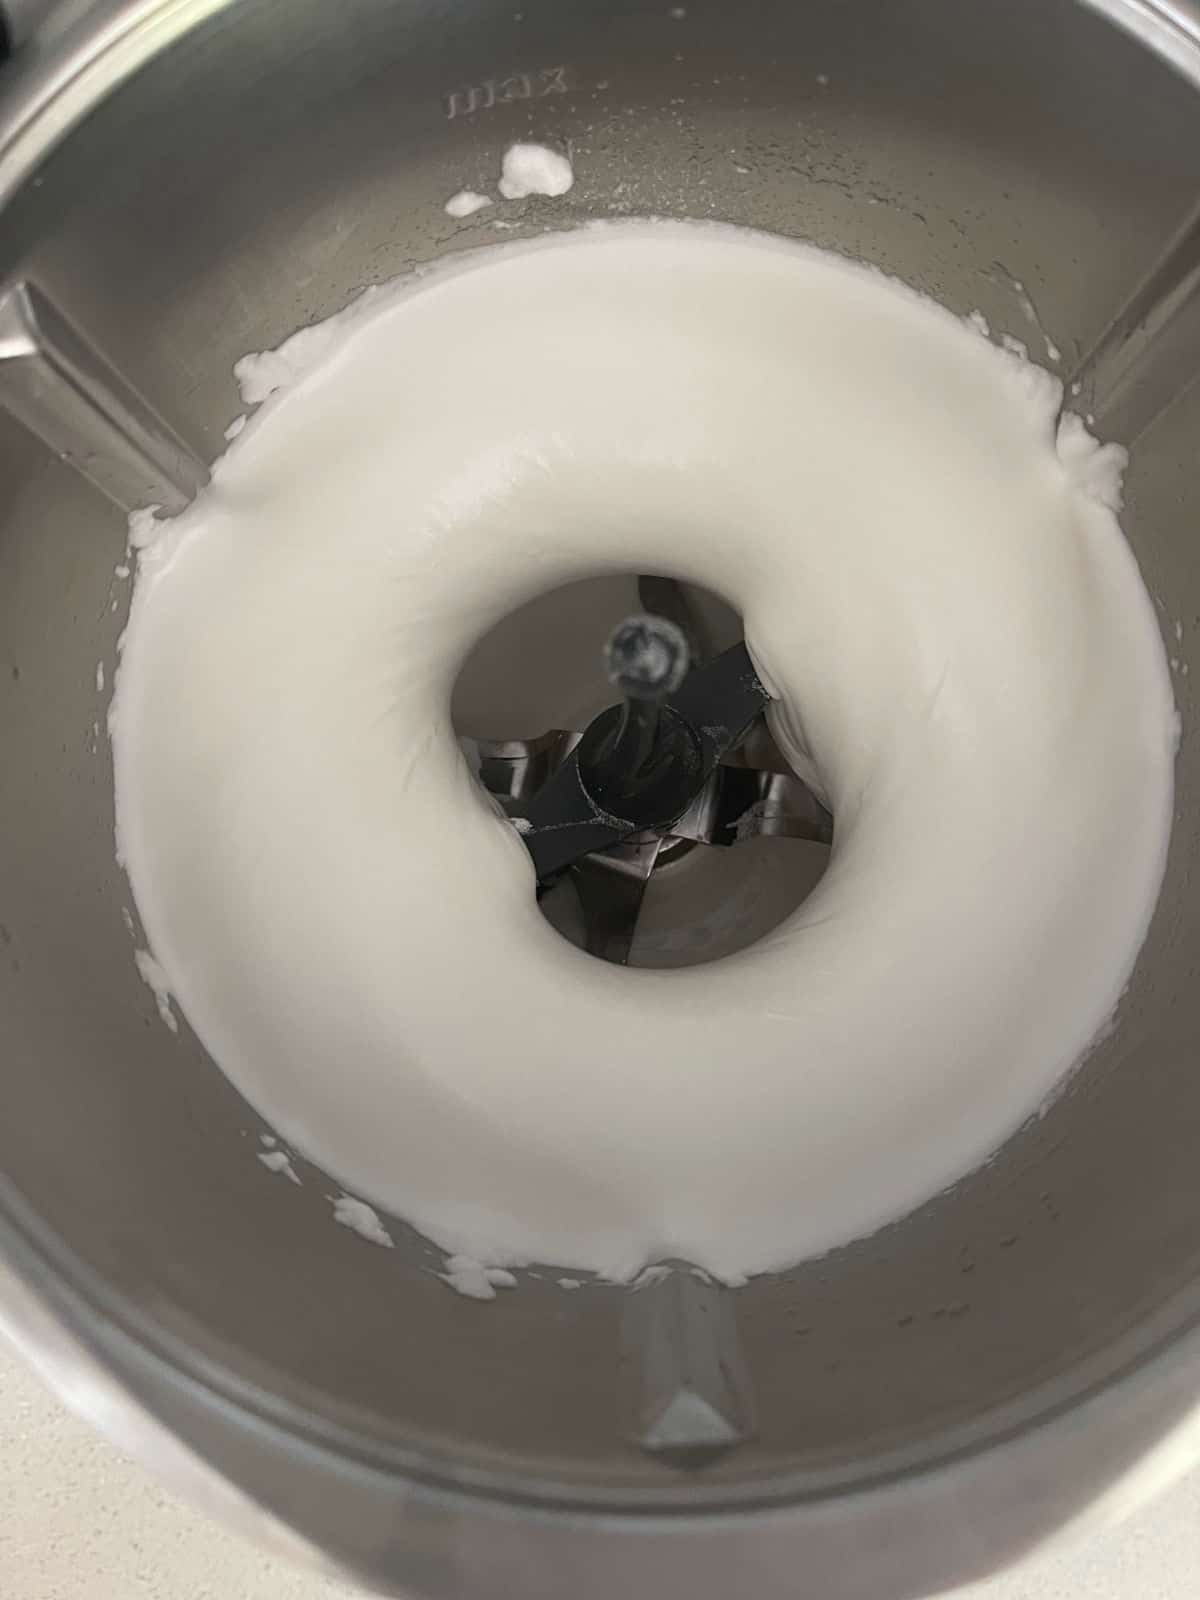
Step 3. Add the Egg Yolks.
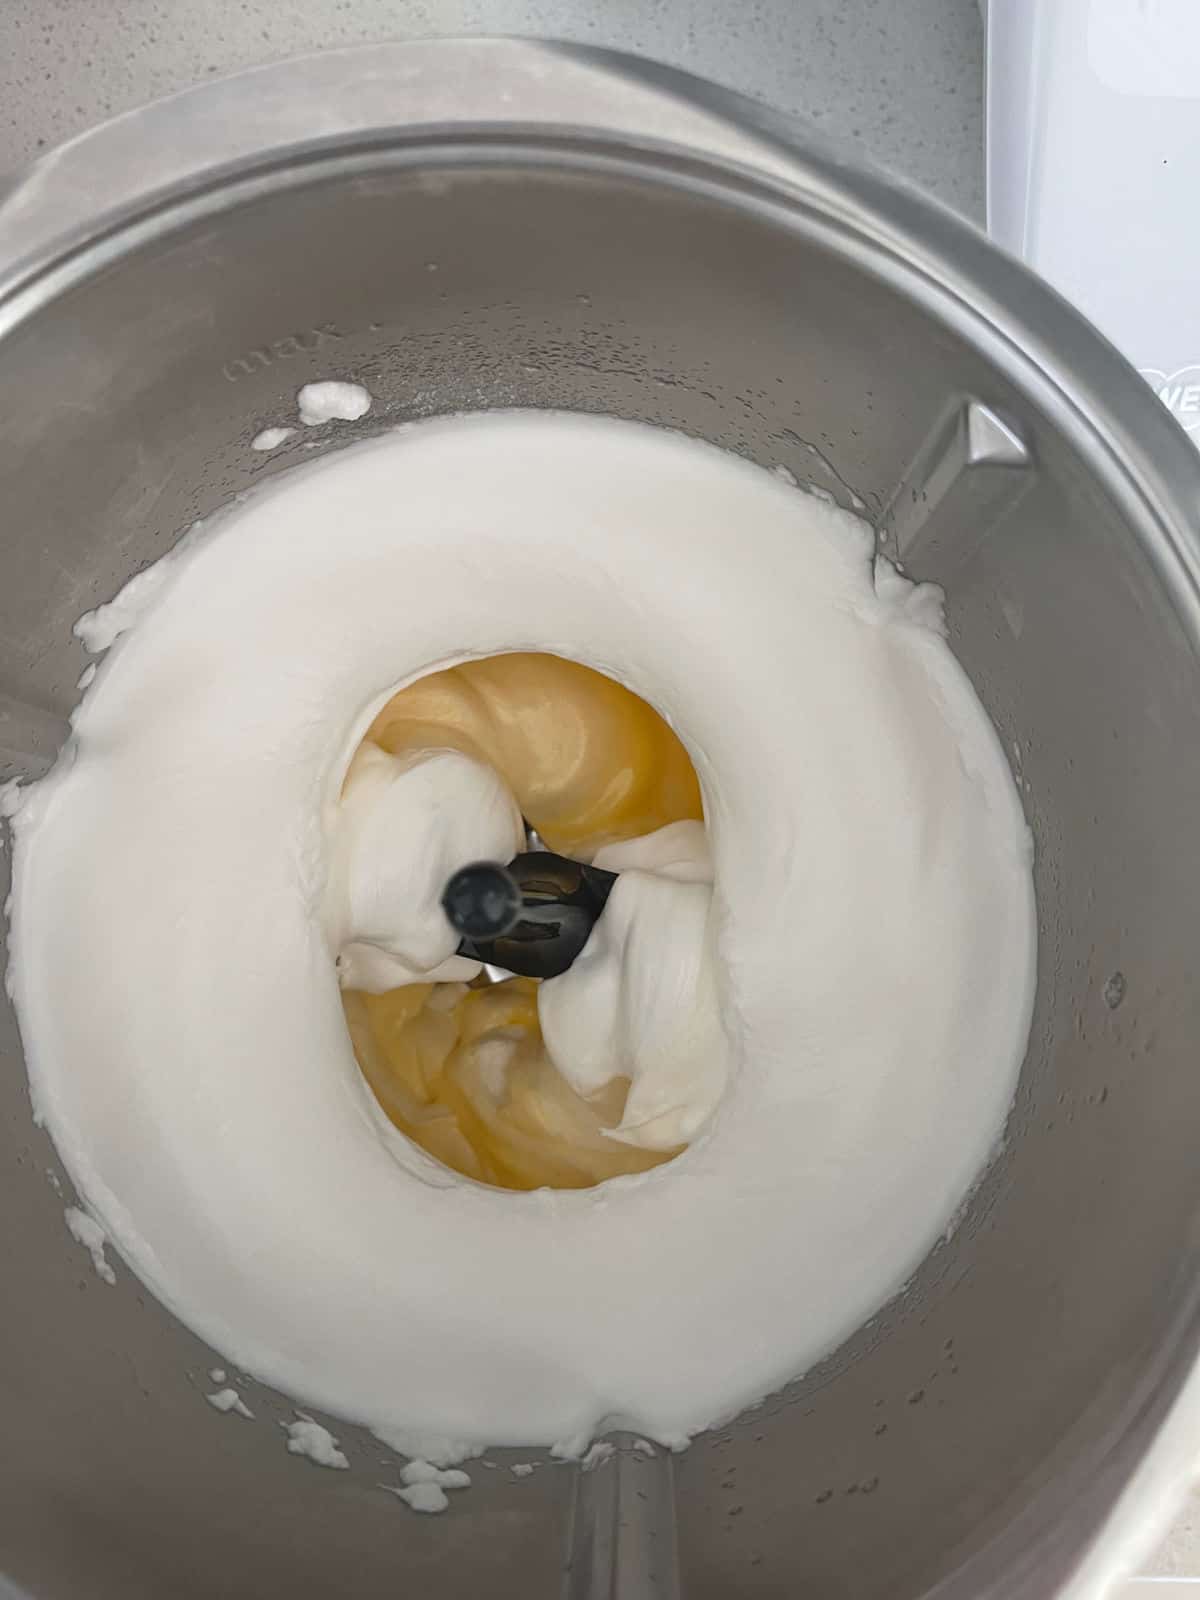
Step 4. Add the remaining ingredients.
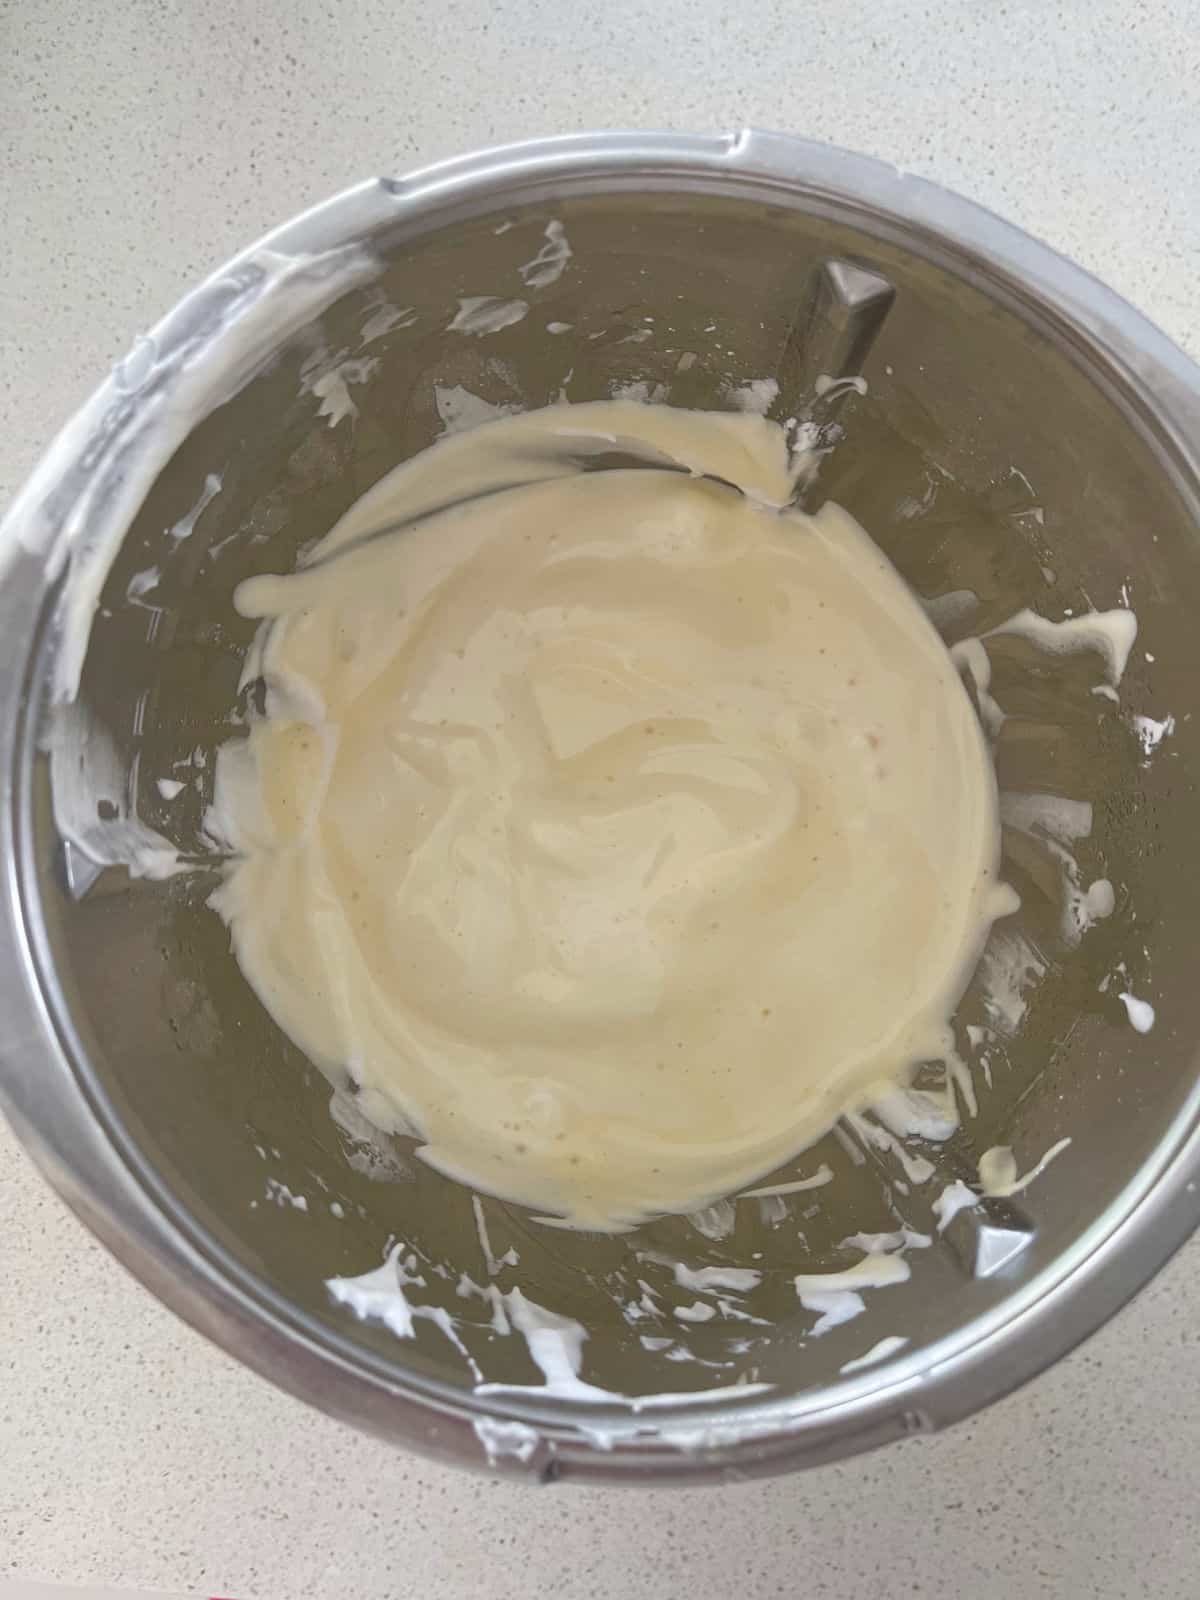
Step 5. Split the batter evenly between two 20cm round cake tins which have been lined and greased.
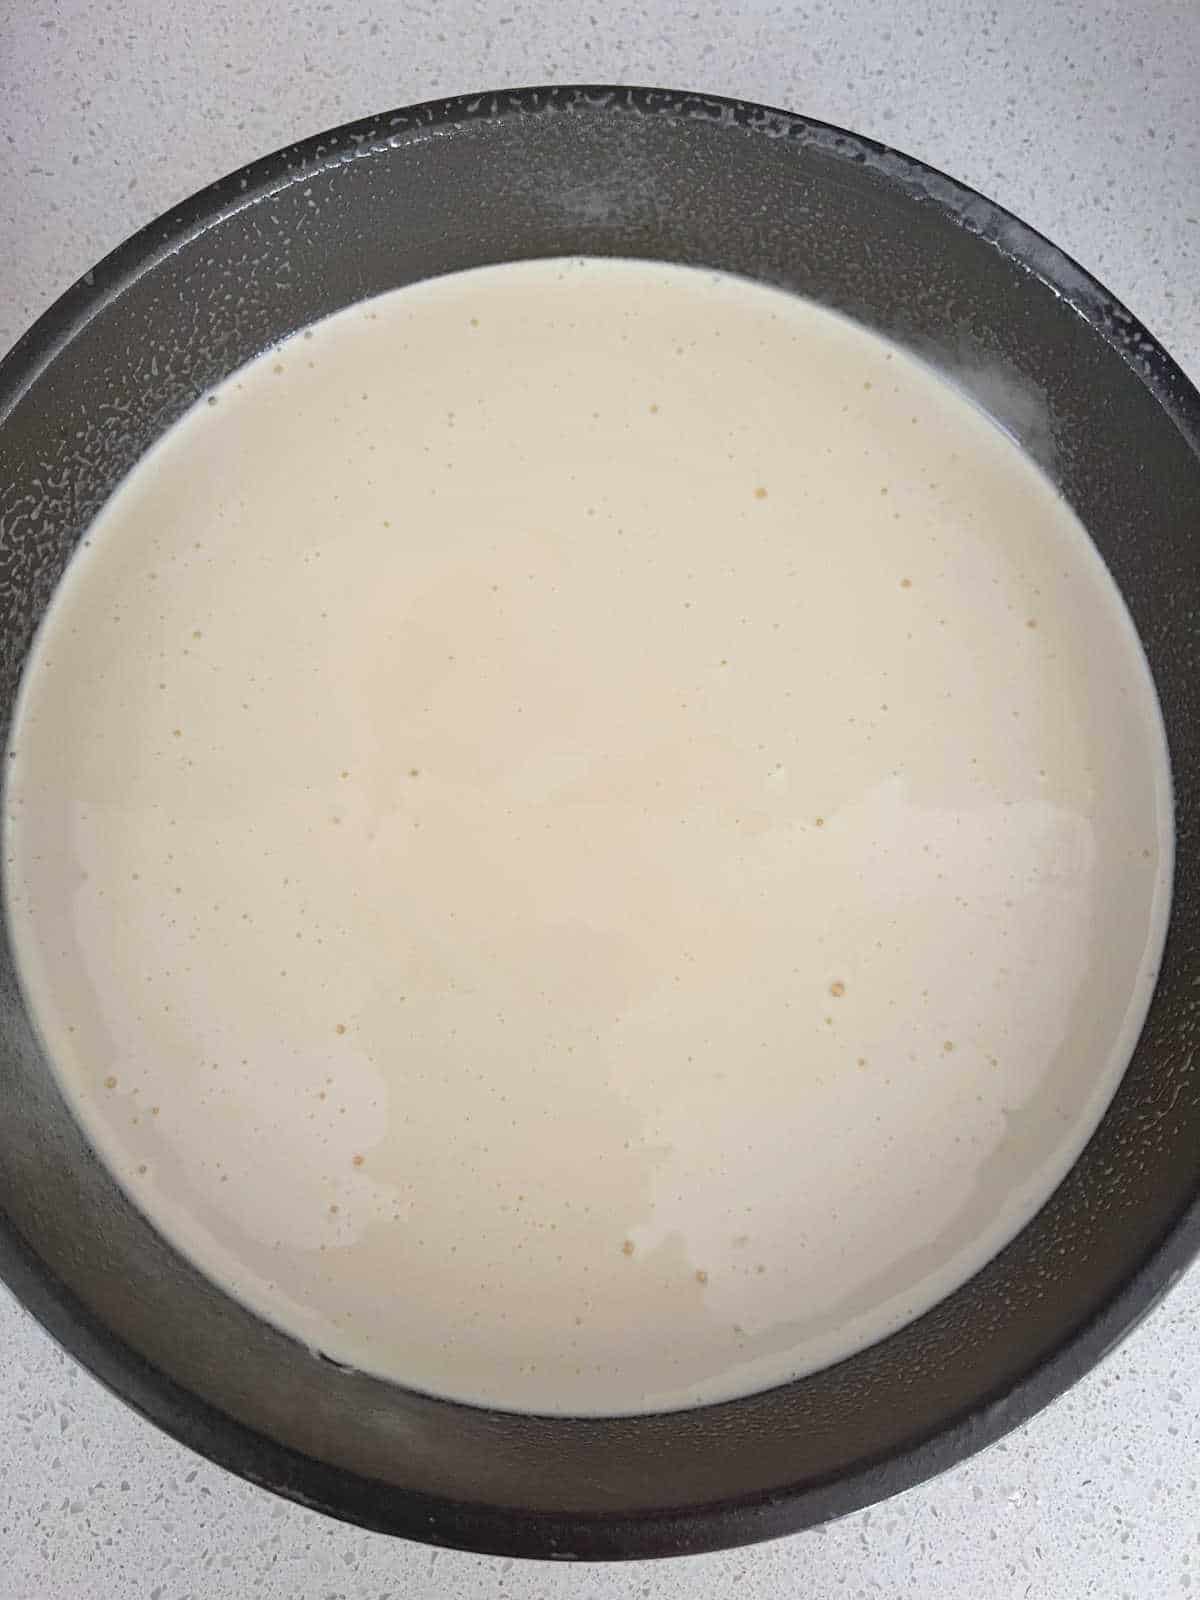
Step 6. Bake until cooked when tested with a skewer. The top of the cakes will be golden.
Step 7. Once completely cool, stack the cakes and decorate.
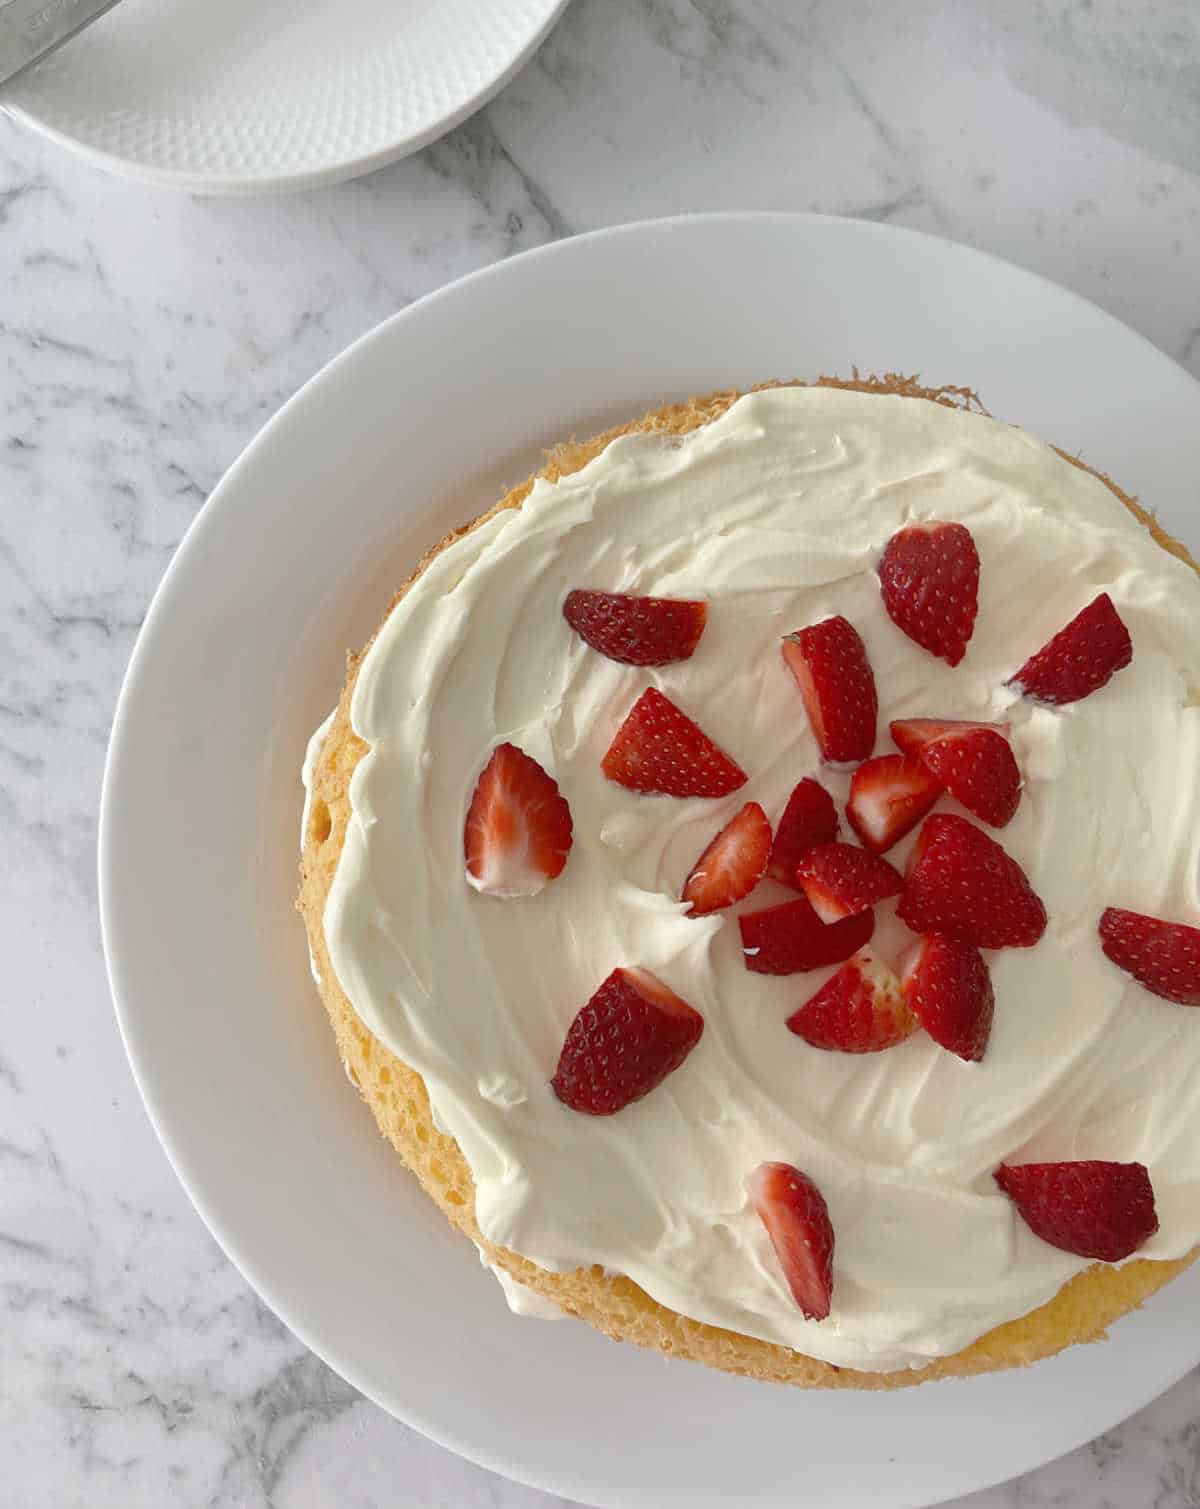
Decorating Ideas
- Fill the cake with cream and then top with a chocolate icing.
- Sprinkle grated chocolate through the cream.
- Decorate with passionfruit pulp.
- Decorate with fresh fruits including Kiwi Fruit, Blueberries or Raspberries.
Hints and Tips:
- To bake, use 2 x 20cm round cake tins. Line the bottoms with baking paper and lightly grease the sides.
- 70 gram eggs which have been bought to room temperature were used to bake the Sponge pictured
- When whipping the egg whites, it is essential to use a clean bowl/beaters to ensure best results. You may like to give the bowl a wash before starting this recipe..
- The same quantity of plain flour can be used in place of the cornflour.
- After removing the cakes from the oven, allow them to cool for 5 minutes before transferring to a wire rack to cool completely.
- Wait until the cakes have completely cooled before decorating.
- Cover your decorated sponge in cling wrap or place into an airtight container and store in the fridge until ready to consume.
- The unfilled sponge can be frozen for up to two months.
More Delicious Cake Recipes:
- Chocolate Ripple Cake
- Lemon and Poppy Seed Cake
- Chocolate Sponge Cake
- Vanilla Butter Cake | Classic Plain Cake Recipe
- One Bowl Lemon Cake
- Double Chocolate Banana Bread Recipe
- Classic Marble Cake
- Simple Chocolate Cake Recipe | Nan’s Recipe
- Mum’s Orange Cake
- Fluffy Banana Cake with Cream Cheese Frosting
- Cinnamon Tea Cake
Sponge Cake Recipe with Jam and Cream
Equipment
- 2 x 20cm round cake tins
- Electric Mixer or Thermomix
Ingredients
- 4 eggs separated and at room temperature.
- ⅔ cup caster sugar 150 grams
- 1 teaspoon cream of tartar
- ½ tsp bicarbonate of soda
- ⅔ cup Cornflour 90 grams
- 1 teaspoon vanilla extract
- 2 tablespoon hot water
To decorate
- 600 mls thickened cream
- 2 tablespoon icing sugar
- ½ cup strawberry jam Other types of jam can be used.
- 250 grams strawberries Sliced
Instructions
- Preheat oven to 180 degrees celsius (fan-forced) and line and grease 2 X 20cm round cake tins.
- Place the egg whites into the bowl of an electric mixer and mix on a high speed until white and fluffy.
- Reduce the speed to medium and add the caster sugar, 1 teaspoon at at time. This will take 3 – 4 minutes.
- Reduce the speed to low and add the egg yolks.
- Turn the mixer off and carefully scrape down the sides. Sift the cornflour, bicarbonate of soda, cream of tartar over the egg white mixture. Add the vanilla and water and mix on a medium/low speed until just combined.
- Divide the mixture between the greased cake tins and bake for 20 – 25 minutes or until golden and cooked when tested with a skewer.
- Leave the cakes in the tins for 5 minutes and then place onto a wire rack to cool completely.
Thermomix Instructions
- Preheat oven to 180 degrees celsius (fan-forced) and line and grease 2 X 20cm round cake tins.
- Place the bicarb soda, cream of tartar and cornflour into Thermomix bowl and mix for 10 seconds, speed 5. Set aside until needed.
- Wash and dry the Thermomix bowl – this is very important!
- Insert the butterfly attachment into the bowl. Add the egg whites and mix for 2 – 3 minutes on speed 3 or until the egg whites are stiff.
- Set the Thermomix to speed 3 and remove the measuring cup. Add the caster sugar to the bowl one spoonful at a time. Please note this will take up to 5 minutes.
- With the measuring cup still off, set the Thermoix to speed 1 and add egg yolks one at a time.
- Scrape down the sides of the bowl and remove the butterfly attachment. Add the vanilla extract, hot water and cornflour mixture prepared earlier to Thermomix bowl. Mix for 5 seconds, speed 3.
- Again scrape down the sides of the bowl and mix for 4 seconds, speed 3.
- Evenly divide the batter between the two prepared cake tins. Bake for 20-25 minutes or until the cakes are golden and a skewer comes out clean when inserted in the middle.
- Allow the sponges to cool for 10 minutes before carefully transferring to a wire rack to cool completely.
To decorate
- Combine the thickened cream and icing sugar in a bowl and use an electric mixer to mix until soft peaks form.
- Spread the jam over the top of one of the cakes. Add half of the whipped cream.
- Place the second cake on top and spread the remaining whipped cream over the top of the cake.
- Decorate with fresh strawberries and refrigerate until needed.
Notes
- To bake, use 2 x 20cm round cake tins. Line the bottoms with baking paper and lightly grease the sides.
- 70 gram eggs which have been bought to room temperature were used to bake the Sponge pictured
- When whipping the egg whites, it is essential to use a clean bowl/beaters to ensure best results. You may like to give the bowl a wash before starting this recipe..
- The same quantity of plain flour can be used in place of the cornflour.
- After removing the cakes from the oven, allow them to cool for 5 minutes before transferring to a wire rack to cool completely.
- Wait until the cakes have completely cooled before decorating.
- Cover your decorated sponge in cling wrap or place into an airtight container and store in the fridge until ready to consume.
- The unfilled sponge can be frozen for up to two months.
Nutrition
Looking for even more?
You can find more simple and delicious cake recipes in our books and eBooks – shop the full range here.













Cooker and a Looker
Loved this recipe Lauren (and was thrilled to meet you on the weekend). I’m featuring your Jam and Cream Sponge as my favourite post for this week’s I’m Pinning Around Pinterest Link Party. xx
Lauren @ Create Bake Make
Thank you Kate. I’ve never made a soufflé either – let’s do it!!
Kate @rosehipsrhubarb
Oh, I love making sponge cakes. They are one of my favourite things to bake. Yours looks delicious.
One thing I have never made is a souffle. Perhaps I should give one a go?
Lauren @ Create Bake Make
You can never go wrong with a sponge Alicia 🙂
Alicia
Oooh. Yummy, who doesn’t love a good sponge cake!