


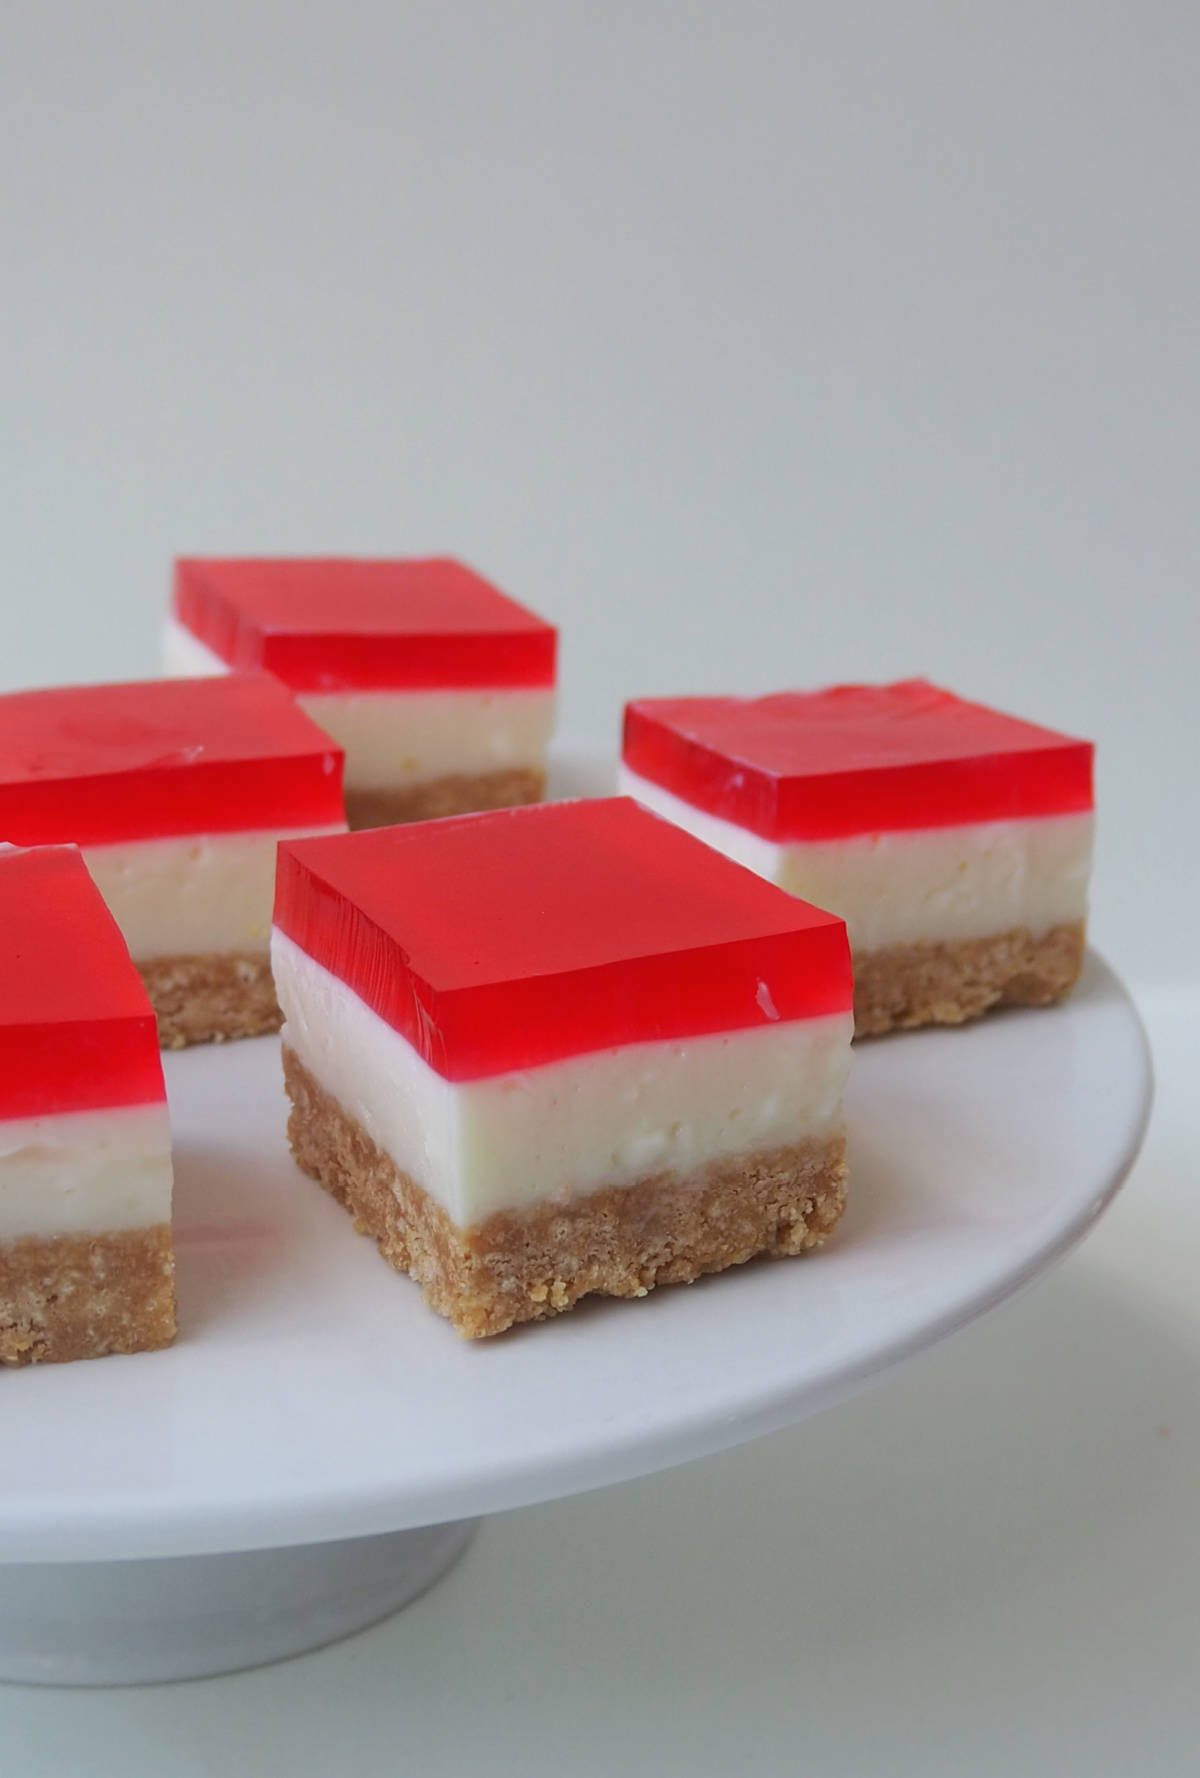
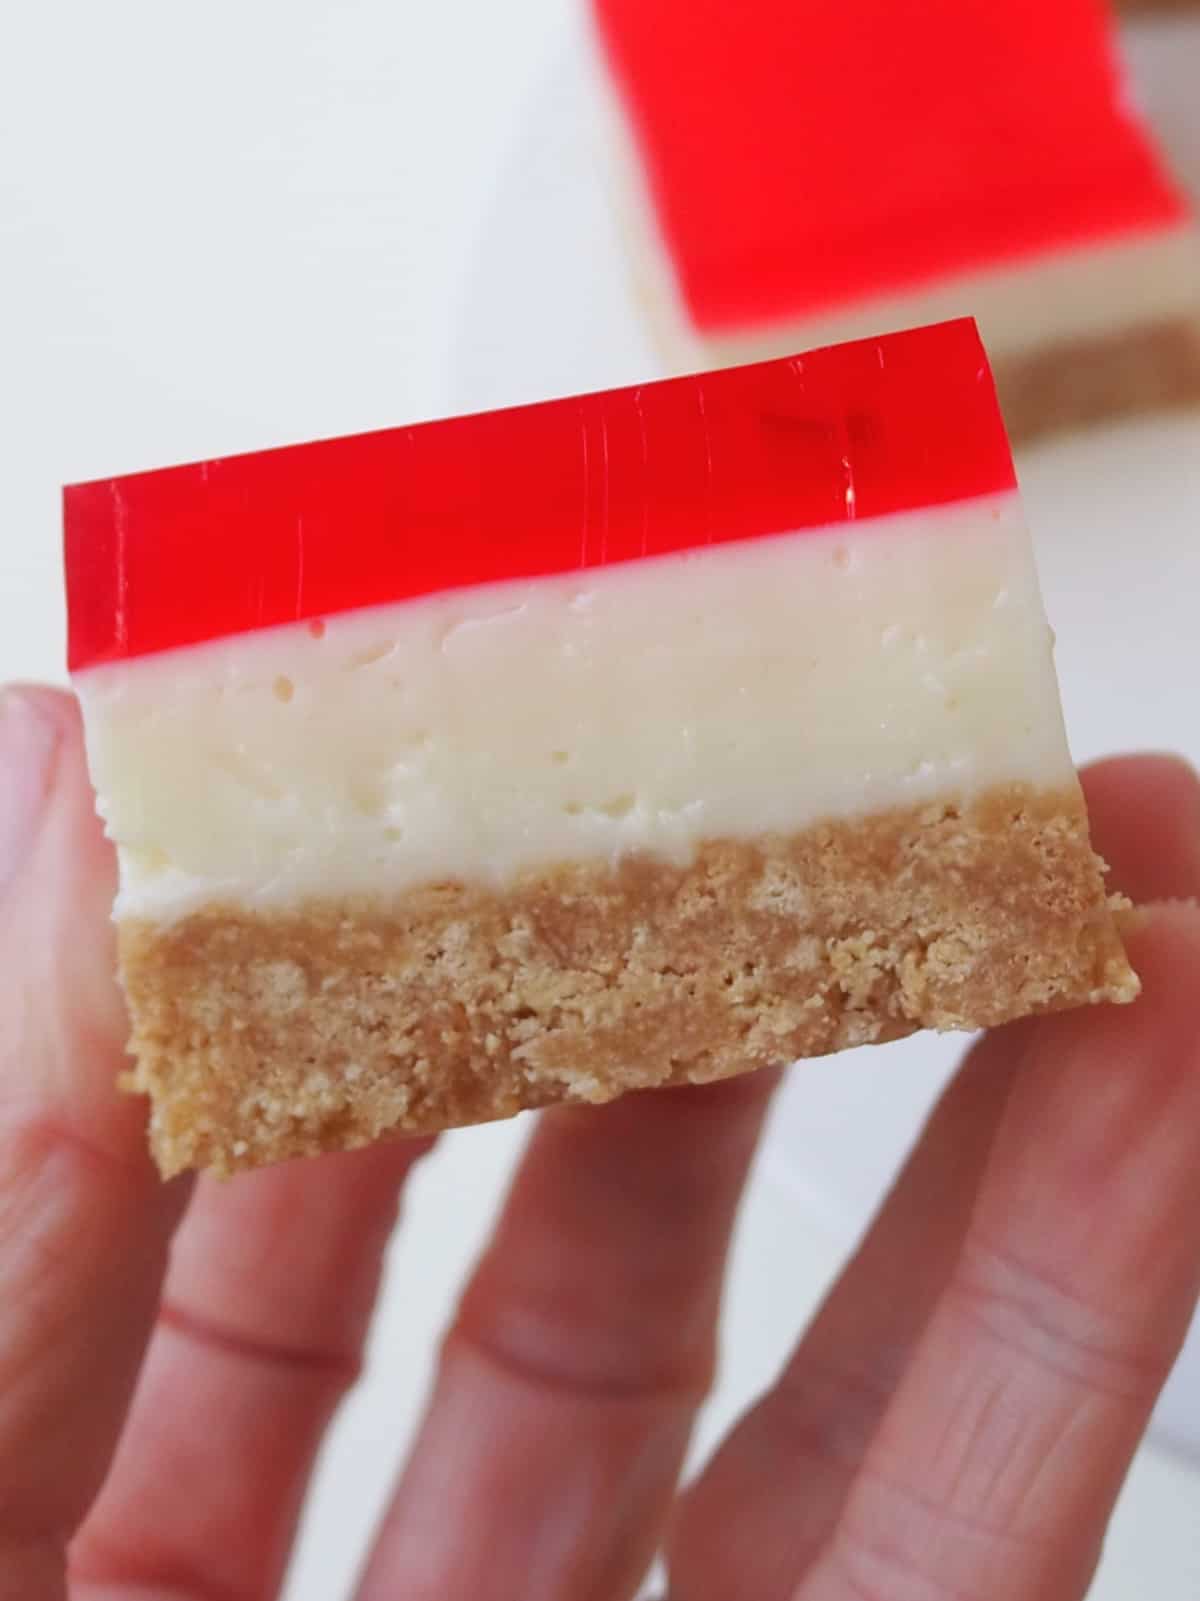
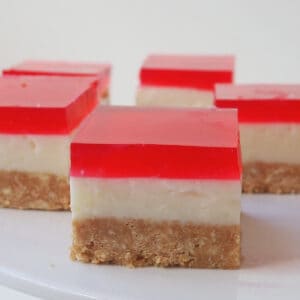
With a yummy buttery biscuit base, a middle layer filled with a creamy cheesecake and then the sweet jelly topping – this really is the BEST Jelly Slice recipe and will become a family favourite in no time at all!
This classic Jelly Slice really is easy to prepare and you will find both regular and Thermomix methods in the recipe card below.

Table of contents
I’ve made a few versions of Jelly Slice in the past including this Strawberry Jelly Slice and my Christmas Jelly Slice, but this traditional Jelly Slice recipe is my favourite – a big call I know!
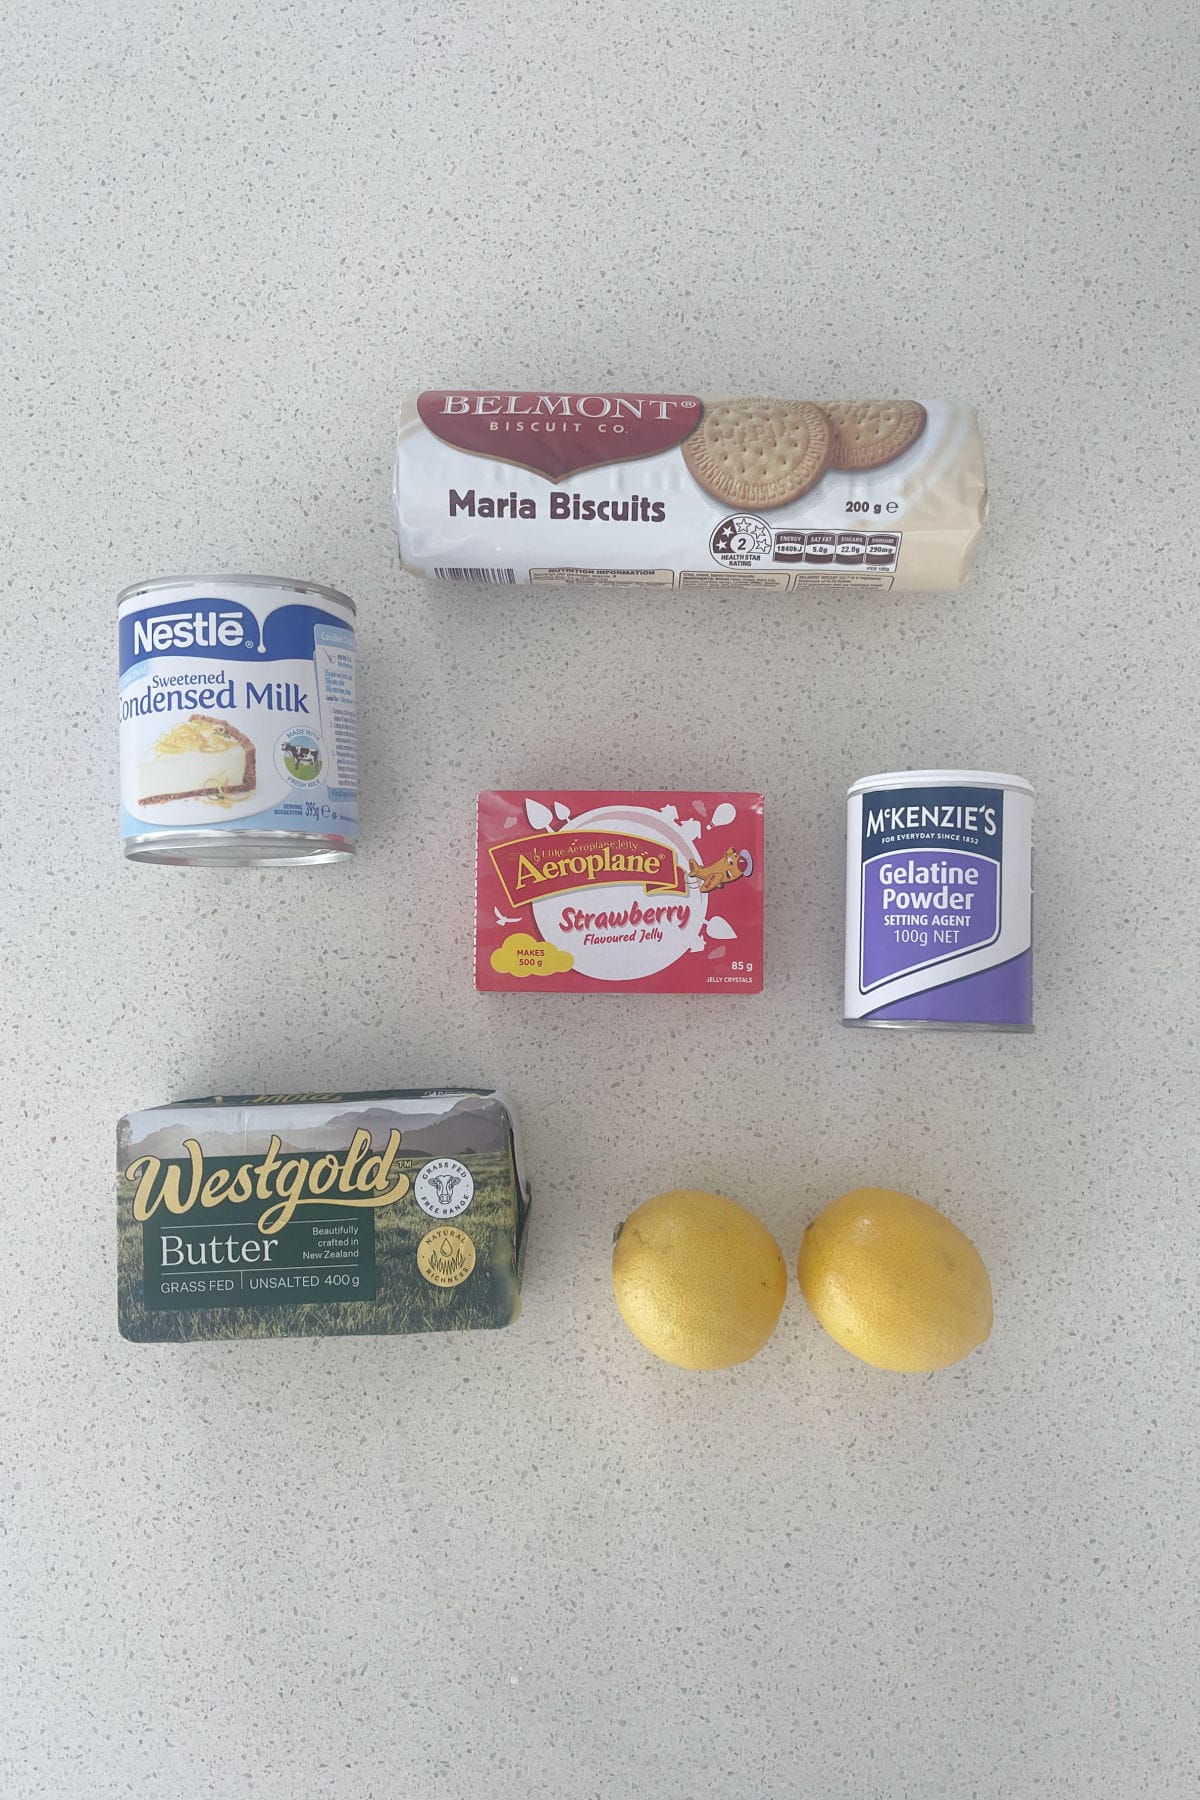
Jelly Slice Ingredients
Please note you will find the full list of ingredients in the recipe card below. You will need just SIX ingredients to make this classic Jelly Slice recipe.
- Butter – we use unsalted butter.
- Plain Biscuits – Marie, Nice or Digestive biscuits can all be used.
- Sweetened Condensed Milk
- Jelly Crystals – we like to use Strawberry Jelly but you can also use Raspberry Jelly if you prefer.
- Gelatine Powder
- Lemon Juice
How to Make The BEST Jelly Slice:
You will find the full method in the recipe card below.
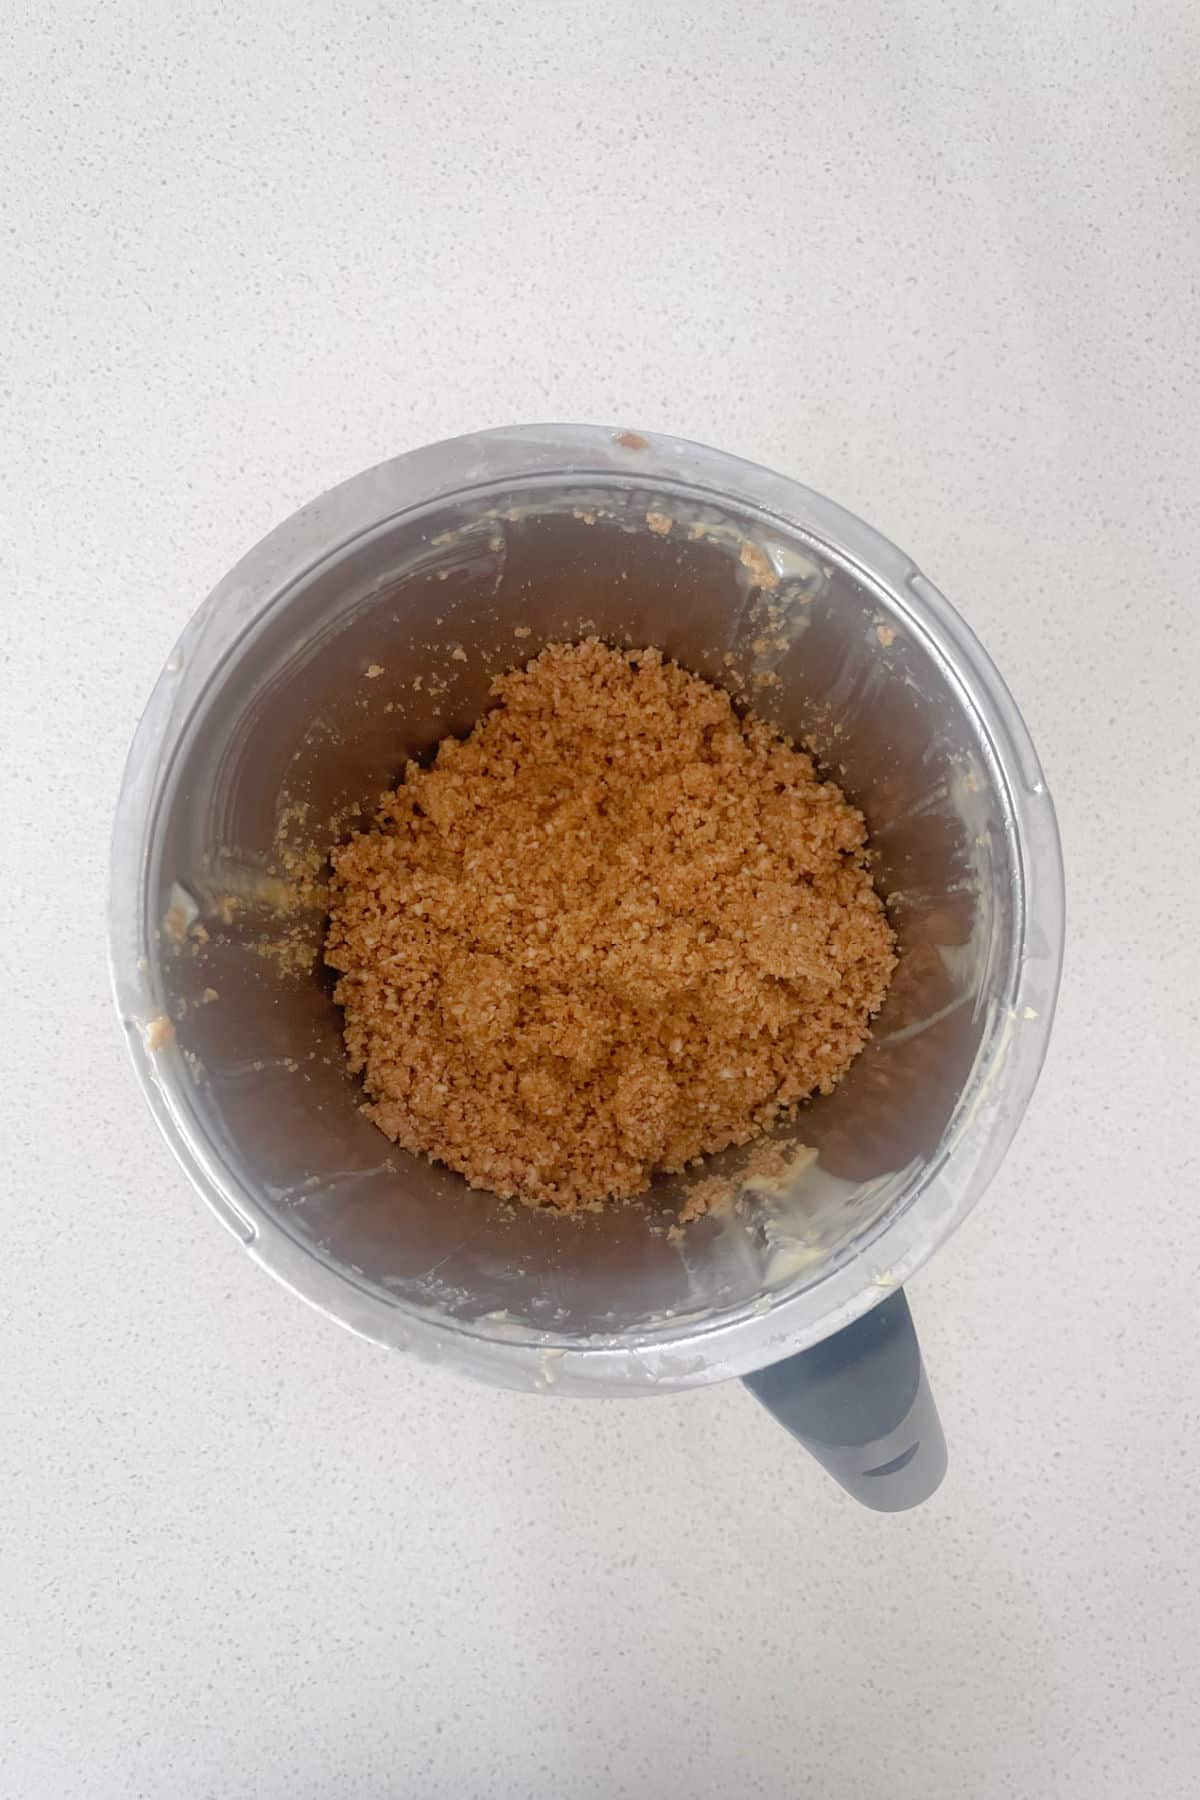
Step 1. Make the biscuit base.
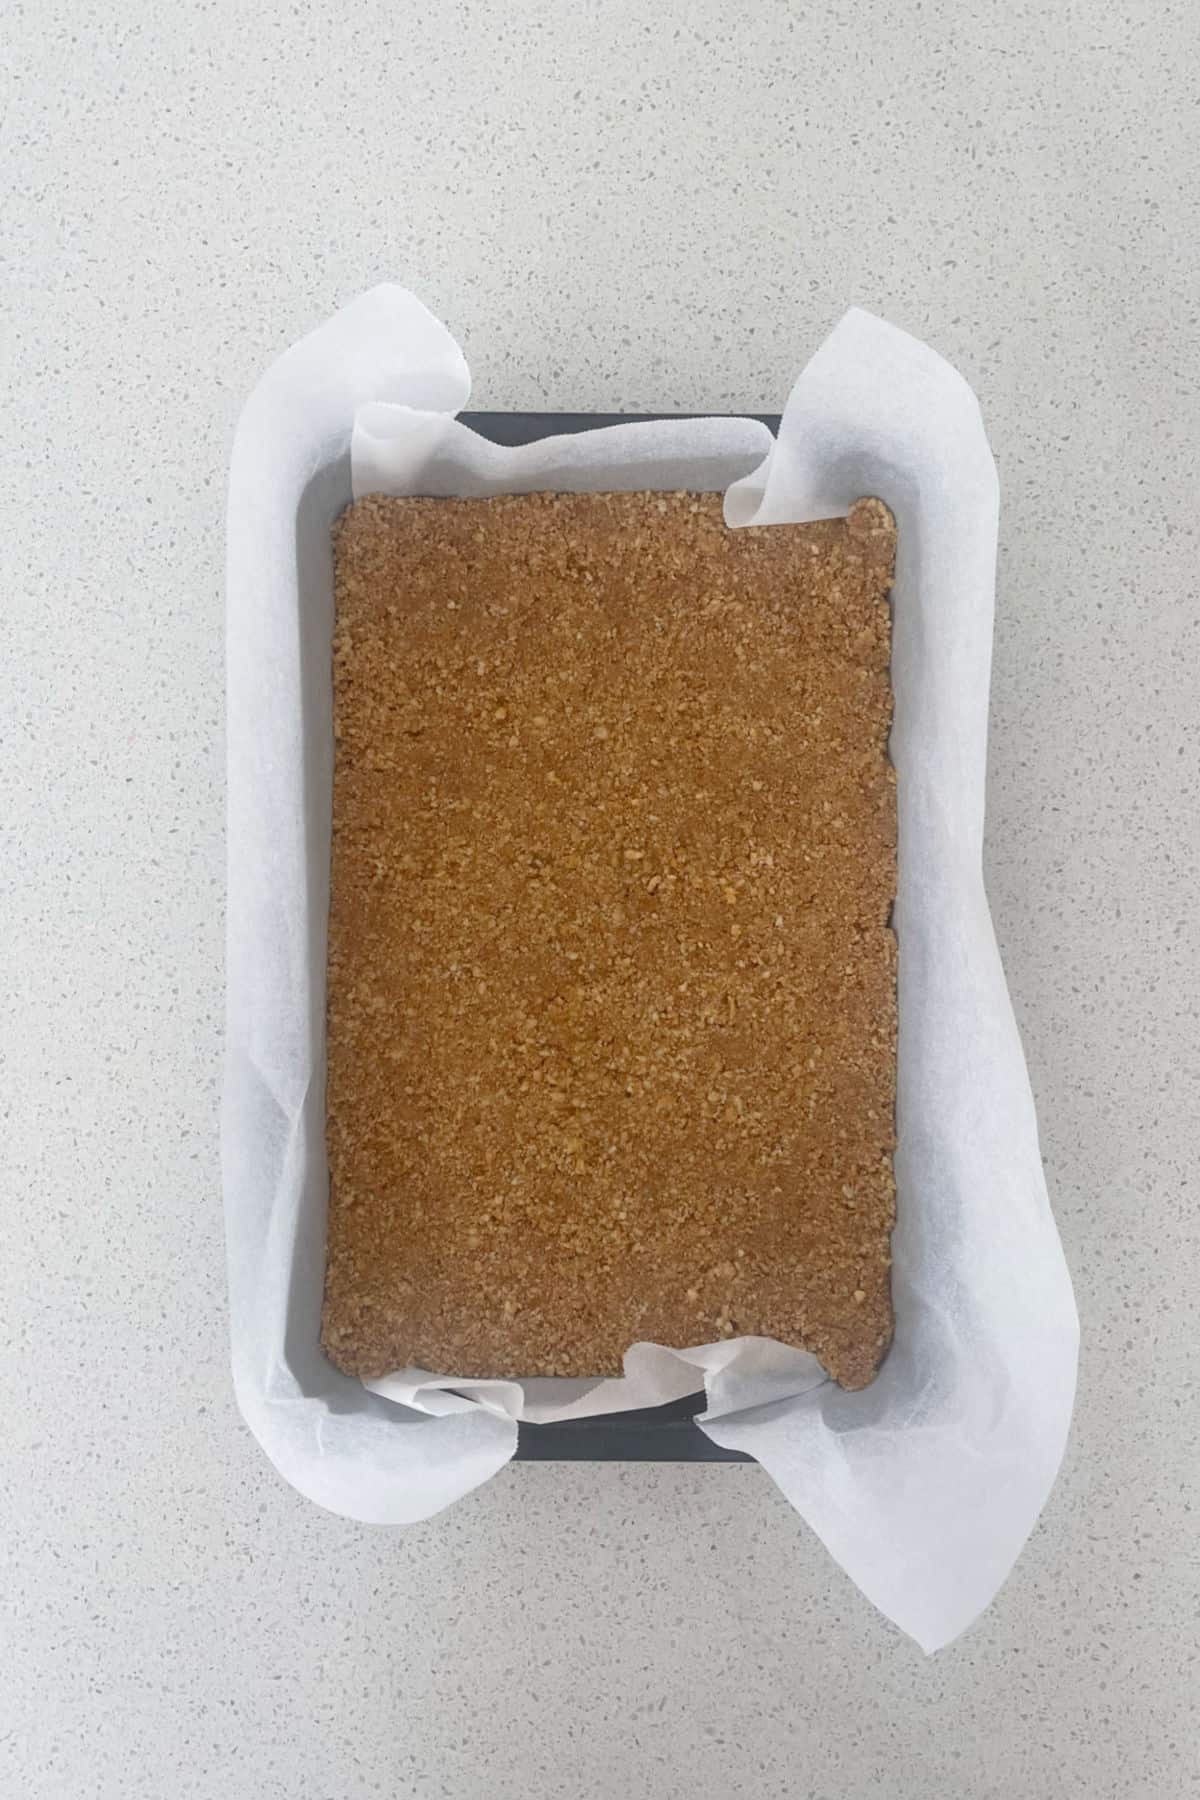
To make the buttery biscuit base, crush the biscuits (using a rolling pin or food processor or Thermomix) until the resemble bread crumbs and combine with melted butter. Transfer to a slice tin lined with baking paper and press mixture down with the back of a spoon to flatten the surface.
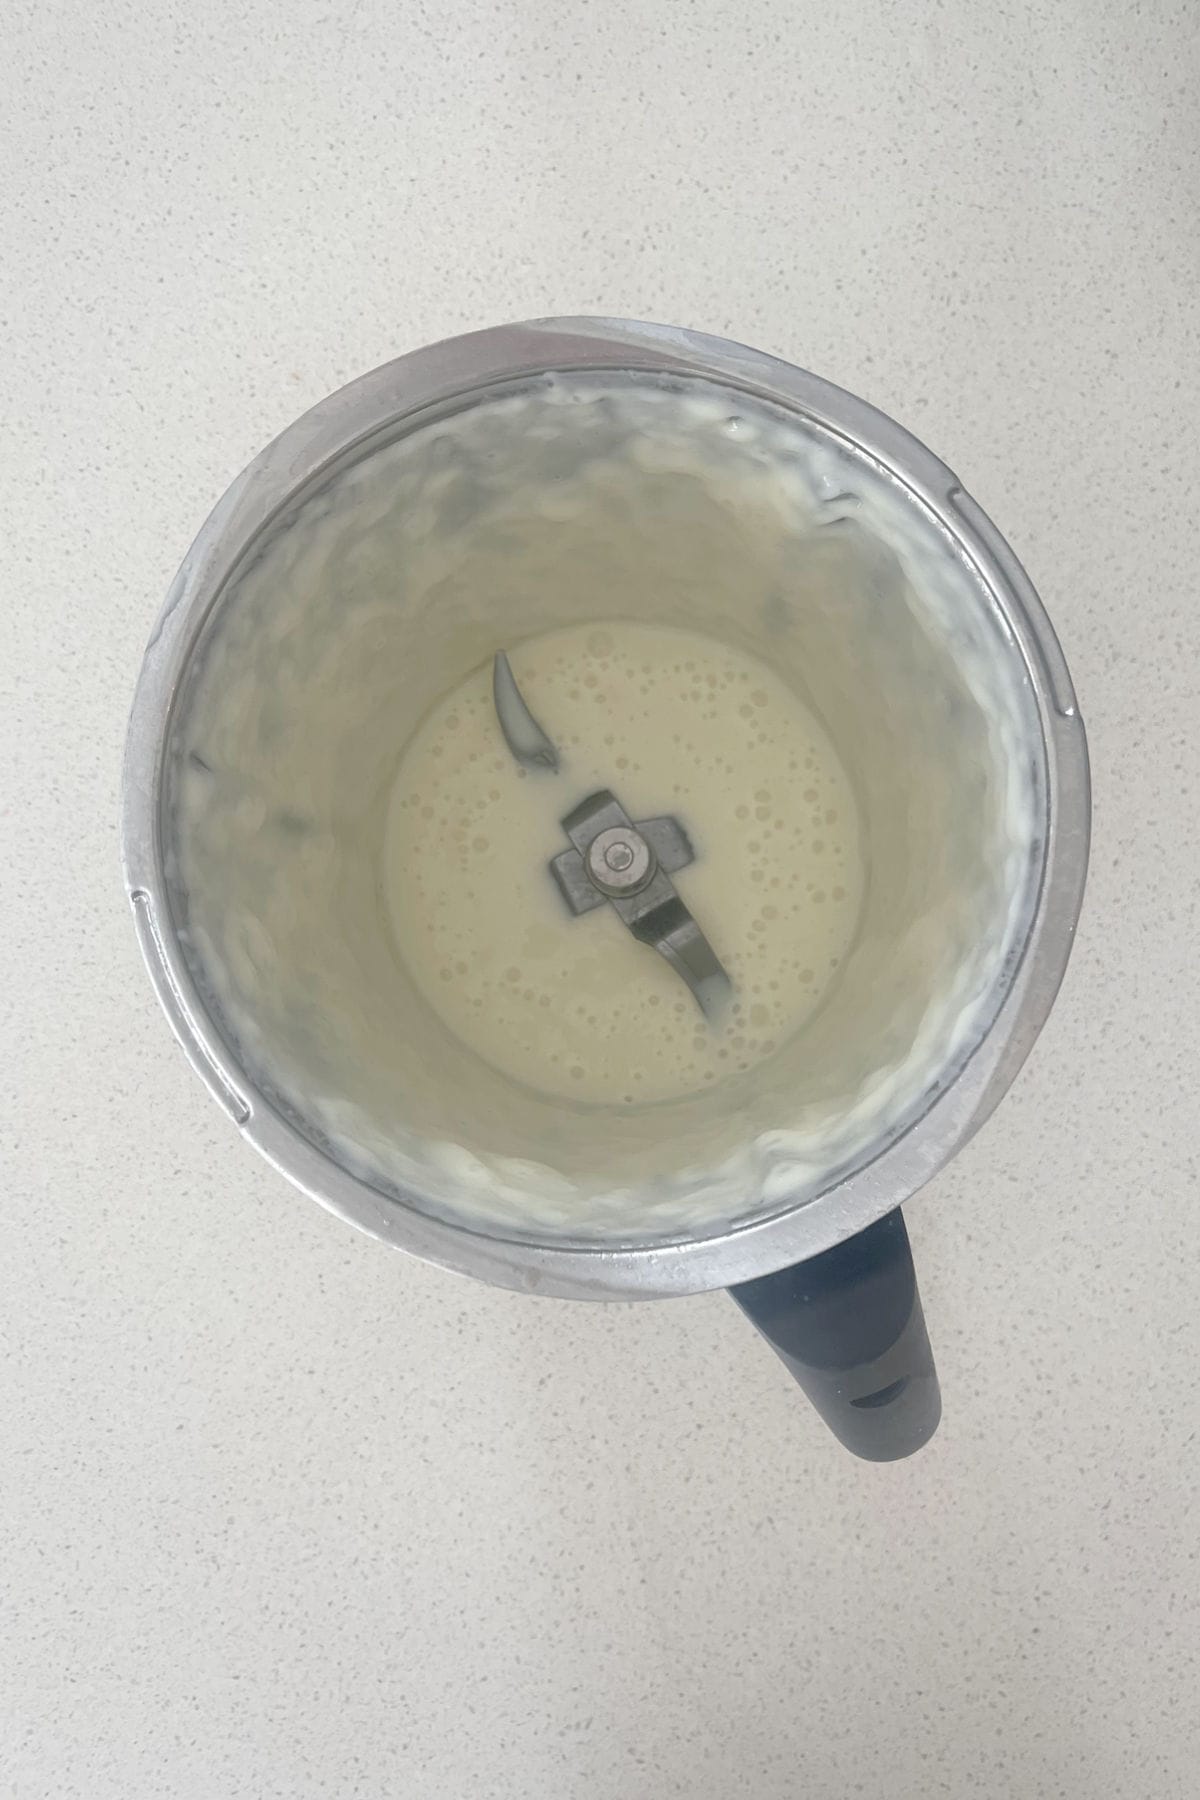
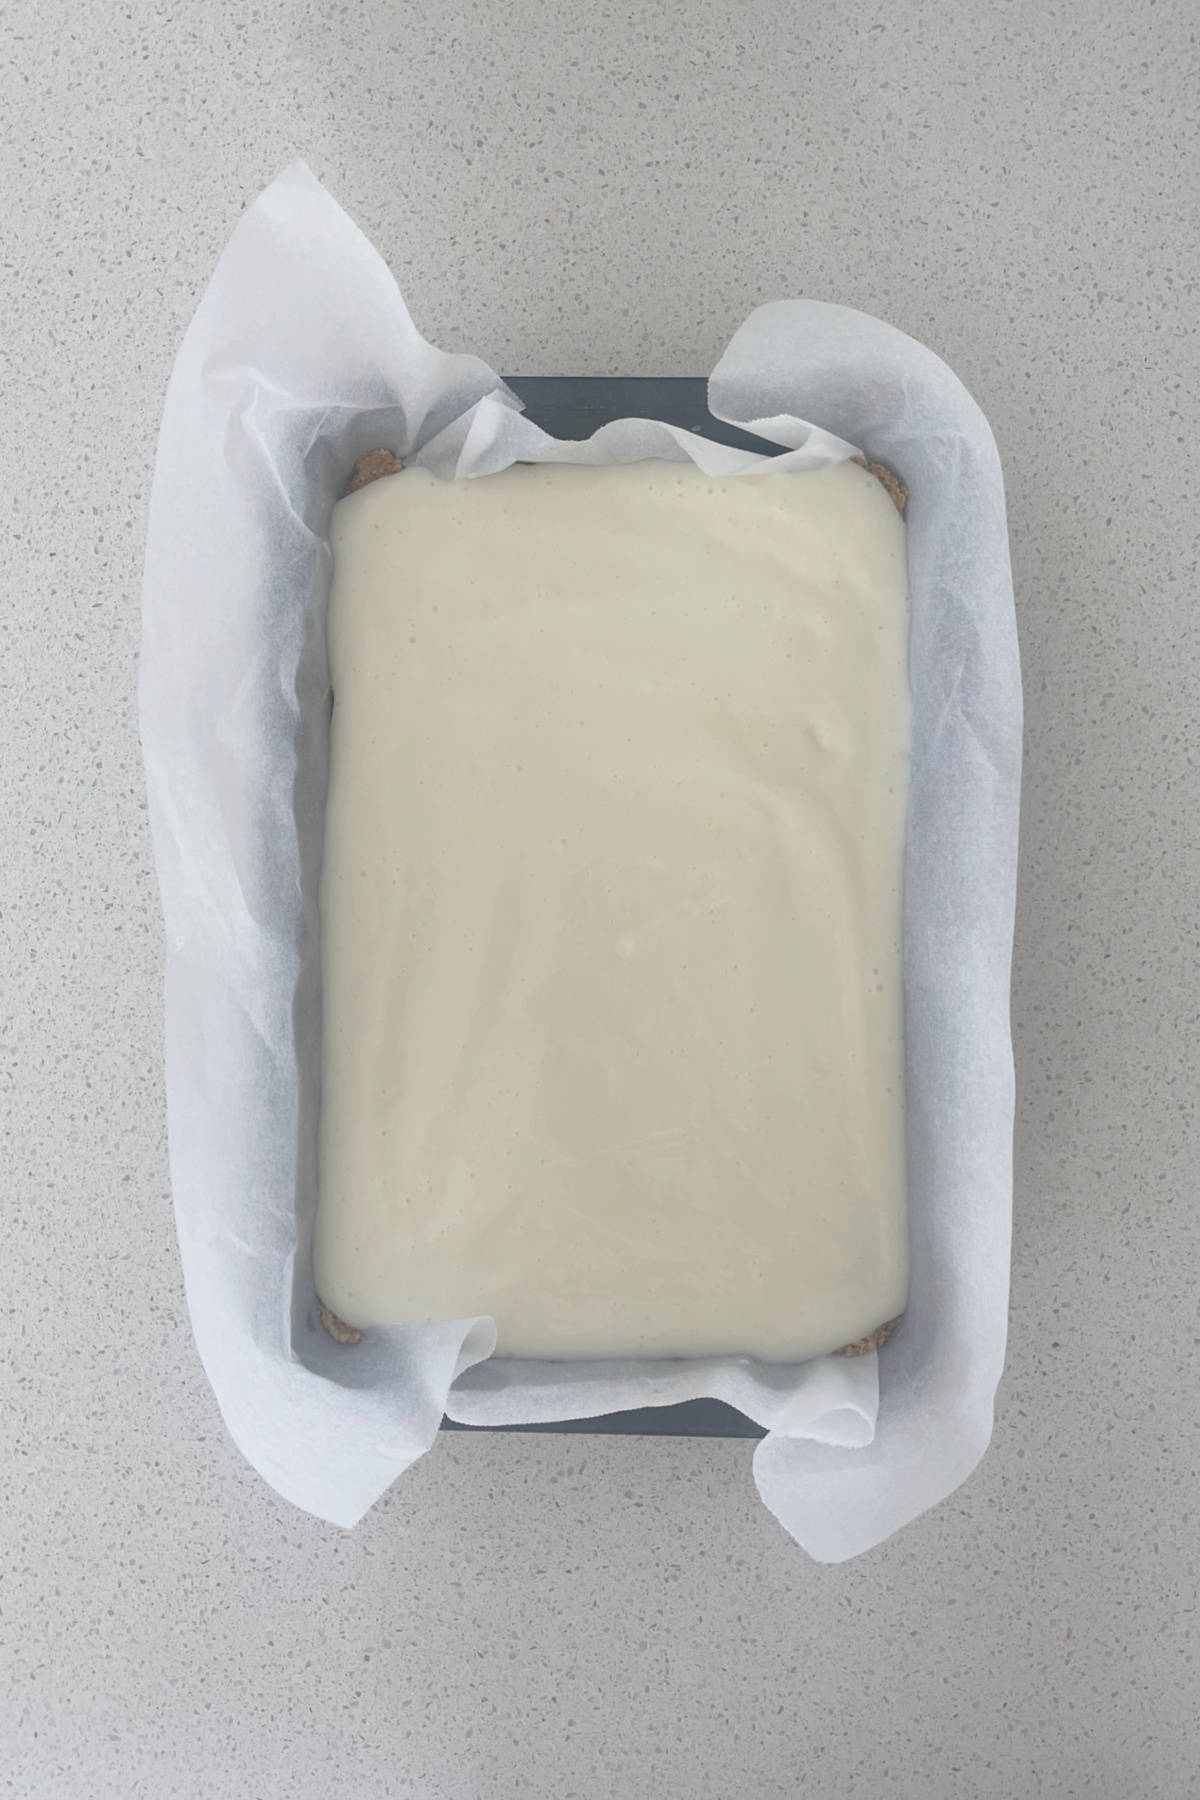
Step 2. Make the creamy cheesecake filling
Sprinkle the gelatine powder into a cup of boiling water and whisk to combine. Then, combine the sweetened condensed milk with the lemon juice. With your mixer on a medium speed, slowly add the gelatine mixture. Carefully pour over the top of the biscuit base and place into the fridge to set.
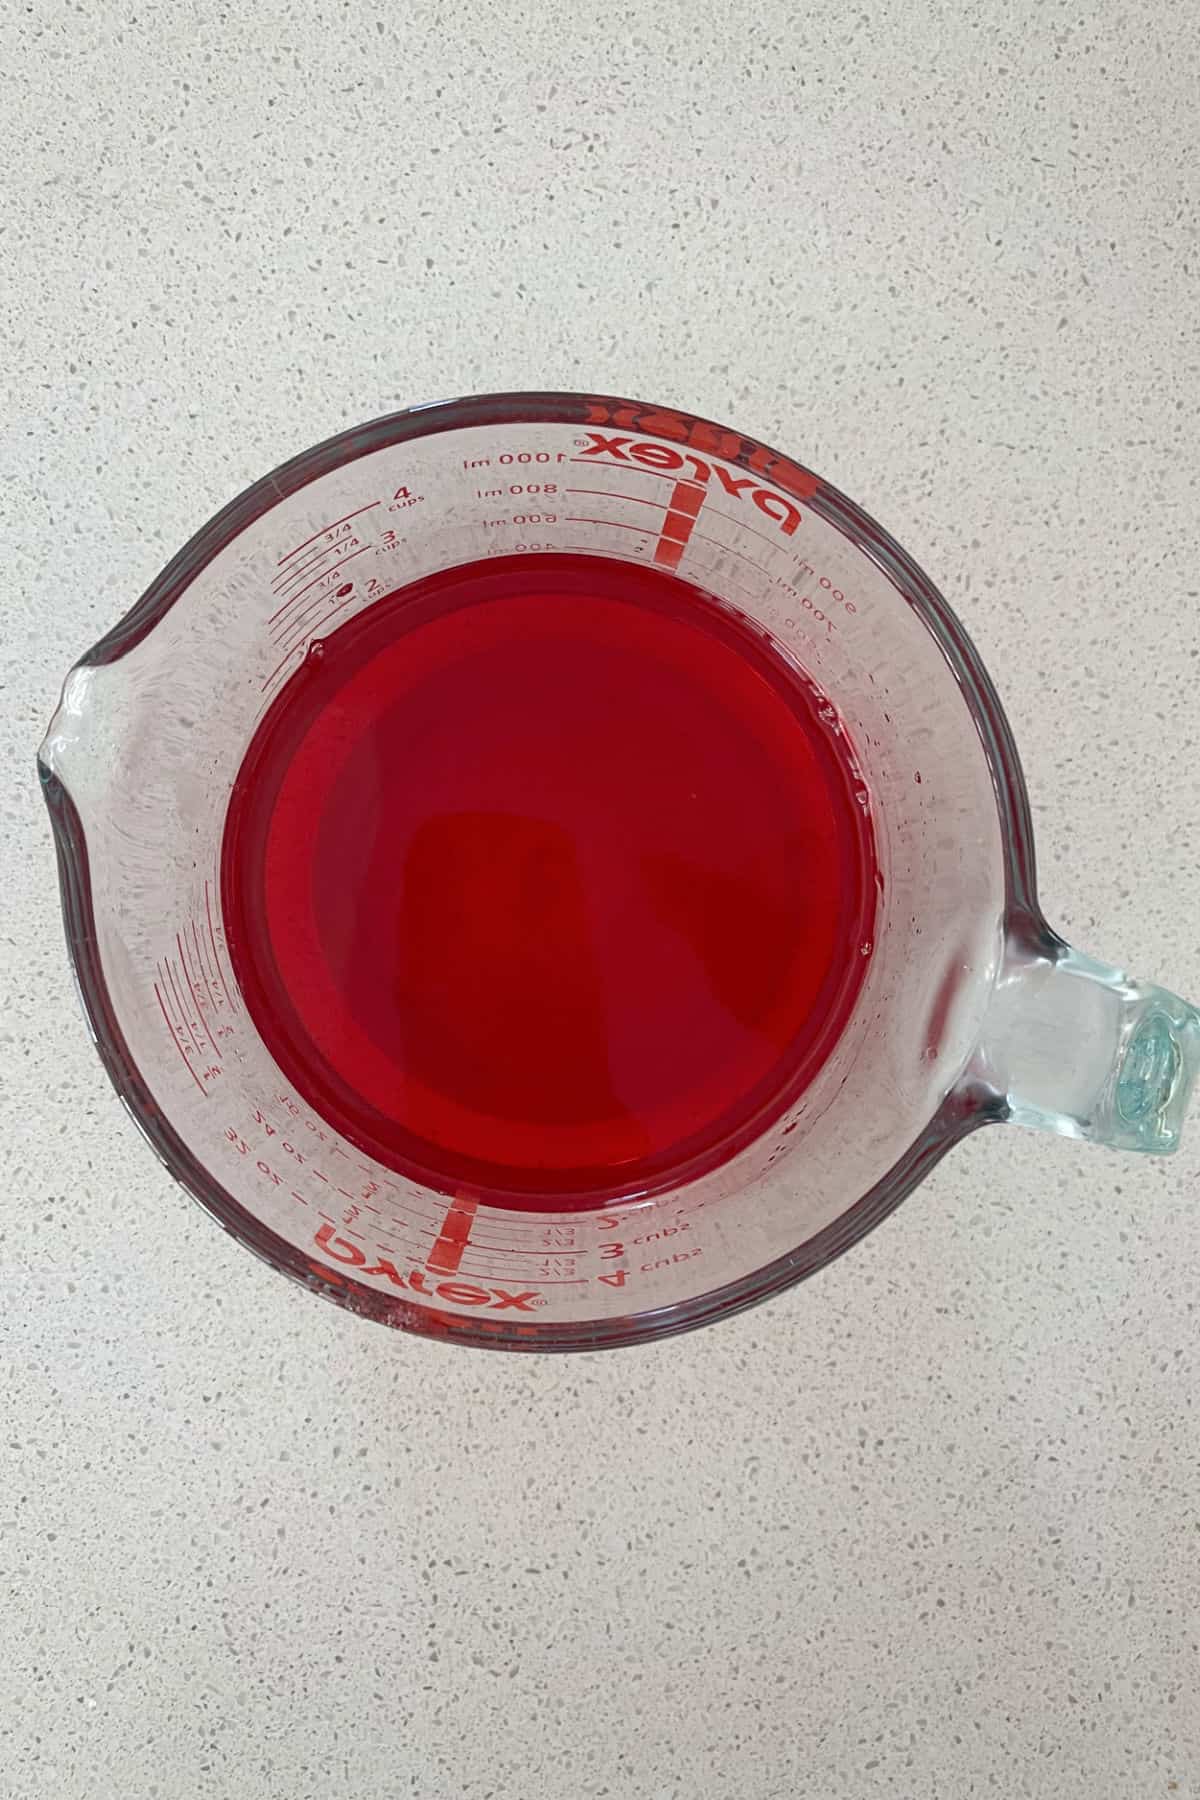
Step 3. Prepare the jelly
Make the jelly as per the packet instructions (don’t forget to add the cold water!) and add the extra gelatine powder. Allow it to sit at room temperature.
Step 4. Adding the Jelly Layer
The secret to achieving perfect layers with your Jelly Slice, is to make sure you let the cheesecake layer cool in the fridge and begin to set before pouring the COOLED jelly over the top. Return the Jelly Slice to the fridge to completely set.

And there you have it! This really is an easy Jelly Slice Recipe!
Tips for making the BEST Jelly Slice:
When adding the Jelly layer, I recommend pouring the jelly onto the back of a spoon before it lands on the cheesecake layer.
It is important to have extra baking paper hanging over the edges of the tin as this will help support the slice when all three layers are added.
If you try and pour jelly which is still a little warm over the cheesecake layer which hasn’t chilled for long enough you are going to end up with ‘holes’ filled with jelly in your slice – this doesn’t change the taste but can be an issue when you try to cut it into neat little squares.
I also suggest you place the tin you are making your Jelly Slice in, onto a baking tray before you add the jelly. This will make is a whole lot easier to transfer into the fridge.
You can use any brand of Jelly to make this recipe (we use aeroplane jelly), just follow the instructions on the back of the pack and add the extra gelatine to it as per the recipe instructions below.
Store this Jelly Slice in an airtight container in the fridge and enjoy within seven days.
Frequently Asked Questions
Jelly Slice is best stored in an airtight container in the fridge and consumed within five days.
No, this slice is not freezer friendly.
Watch How to Make this Easy Jelly Slice Recipe Here:
You may also enjoy these delicious recipes:
- Christmas Jelly Slice
- Easy Hedgehog Slice
- No Bake Passionfruit Slice
- Lolly Slice
- Rice Bubbles and Honey Slice
- No Bake Malteser Slice
- Easy Trifle Recipe
The BEST Jelly Slice Recipe
Equipment
- 1 x 28 x 18cm slice tin
Ingredients
- 250 grams Marie biscuits – or any other plain biscuit – or any other plain biscuit
- 180 grams butter melted
- 395 grams sweetened condensed milk
- 2 & ½ teaspoons gelatine
- ¾ cup boiling water
- 2 Lemons juiced
- 1 packet to strawberry jelly
- Boiling Water as per jelly packet instructions
- An extra 1 teaspoon of gelatine – for the jelly top
Instructions
- Line the base and the sides of a slice tin with baking paper, making sure you leave plenty hanging over the sides.
- Crush the biscuits until they resemble fine breadcrumbs. You can use a rolling pin or food processor.
- Add the melted butter to the crushed biscuits and mix until combined. Pour the mixture into the lined slice tine and press down with the back of a metal spoon and place in the fridge to chill.
- In the meantime, add 2 1/12 teaspoons of gelatine to ¾ of a cup of boiling water and stir until it has dissolved. Place the condensed milk into a bowl and while whisking, add the dissolved gelatine mixture and the lemon juice. Continue to whisk until mixture is smooth and has combined.
- Remove the set biscuit base from the fridge and pour over the condensed milk layer. Place back in the fridge, until it just begins to start to set – approximately 30 – 45 minutes
- While the slice is chilling, you can make the strawberry jelly as per the packet instructions – adding an extra teaspoon of gelatine. Allow the jelly to cool until it has reached room temperature.
- Remove the slice from the fridge and carefully pour the jelly over the slice and place it back in the fridge to completely set approximately 6 hours – overnight is best.
- Remove the set slice from the fridge and using a hot knife, cut into squares.
Thermomix Instructions
- Line the base and the sides of a slice tin with baking paper, making sure you leave plenty hanging over the sides.
- Place the biscuits in the bowl and crush for 5 seconds on speed 9.
- Add the butter and heat for 3 minutes on 80 degrees speed 2.
- Remove biscuit mixture from the bowl and pour into the lined tray. Push the mixture down with a metal spoon to create a flat surface. Place in the fridge for 30 minutes to set.
- To make the filling, combine the gelatine in a jug with the boiling water and allow to cool slightly. In a clean bowl, add the lemon juice and condensed milk and mix for 45 seconds on speed 4. After 5 seconds, remove the measuring cup and carefully pour the gelatine mixture in. Remove the set slice base from the fridge and pour over the filling.
- Put back into the fridge for 30 minutes.
- In a clean Thermomix bowl, add the hot water and heat for 3 minutes on 90 degrees speed 2.
- Add the jelly crystals and one extra teaspoon of gelatine and stir until they have dissolved. Pour jelly into another bowl and allow it to cool until it has reached room temperature.
- Remove the slice from the fridge and carefully pour the jelly over the slice and place it back in the fridge to set for approximately 4 hours – overnight is best.
- Remove the set slice from the fridge and cut into squares.
Notes
Nutrition
Looking for even more?
You can find even more simple and delicious slice recipes in our books and ebooks, shop the range here.

Sajini Ambepitiya
Made this during the weekend and it came out perfect! It was so yummy too! Thanks for sharing the recipe!
Rhonda Arthurson
My name is Rhonda, I made my first jelly slice with success, it is absolutely beautiful. My husband can’t wait for me to make more which I will be doing shortly for Xmas.
Hannah
This was my first ever attempt at making Jelly Slice and it was a total SUCCESS! My husband told me I was crazy trying to make this a day before Christmas but I figured I had nothing to loose lol. Using a Tupperware Slice container I found each layer was a perfect 1/3, giving a beautiful appearance. The base was perfect, cheesecake layer set enough within 40mins as stated to add jelly and the extra gelatine in the jelly kept it firm without tasting rubbery. I will definitely be making this again. My only suggestion would be to add more lemon. I used large lemons but found it wasn’t as lemony as I would like.
Kelly
Everyone loved it and said it WAS actually the best jelly slice! I think the firmness was the key, and I used digestives as the base which was so buttery. I’d love to know how much lemon juice is 4 lemons, as I felt like I put heaps in but I could have had more to make it more lemony I think!