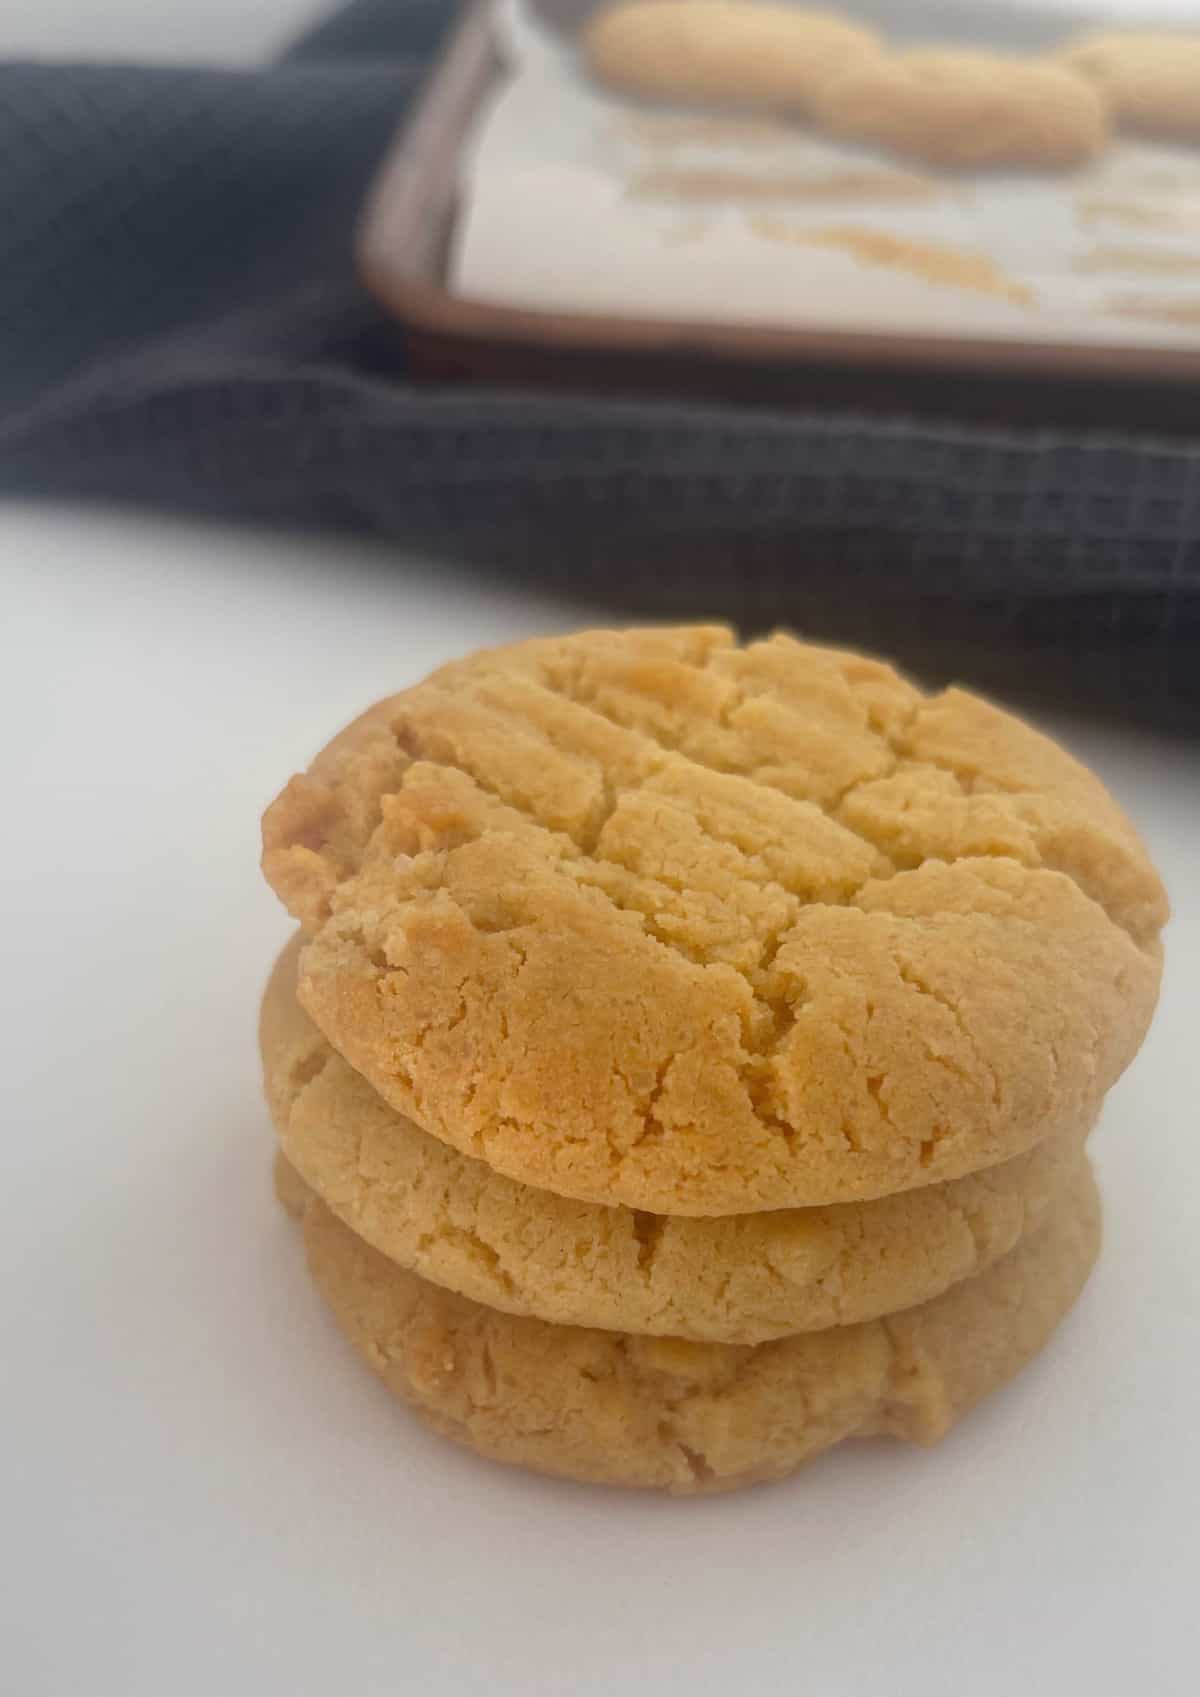
These sweet classic Honey Biscuits make a perfect snack! They are made using just five ingredients, are freezer friendly and both regular and Thermomix instructions are included.
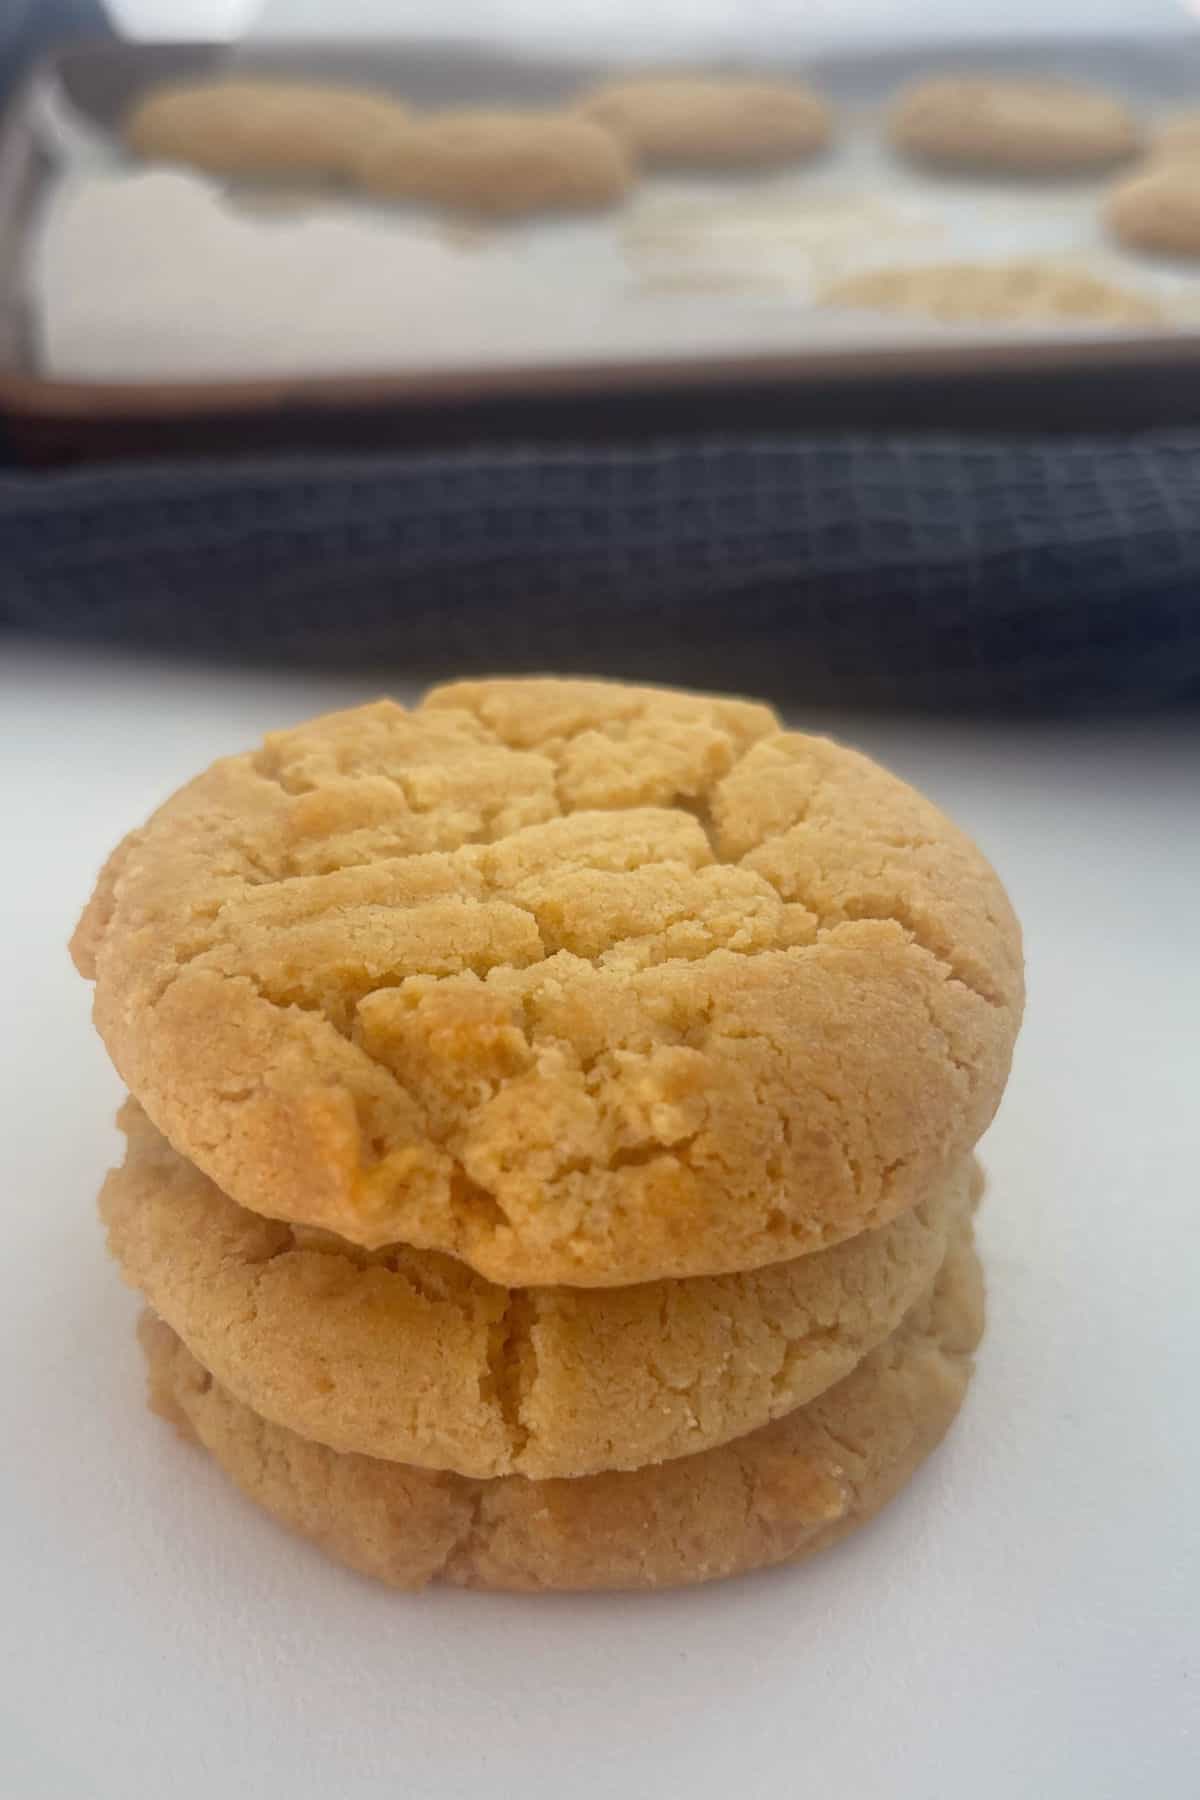
This classic Honey Biscuits recipe couldn’t be easier to put together and they are just perfect for a special lunchbox treat! They have just the right amount of sweetness and are perfect for the biscuit tin!
One of the best things about this recipe is that you most likely have everything you need to make them already sitting in your pantry – perfect!
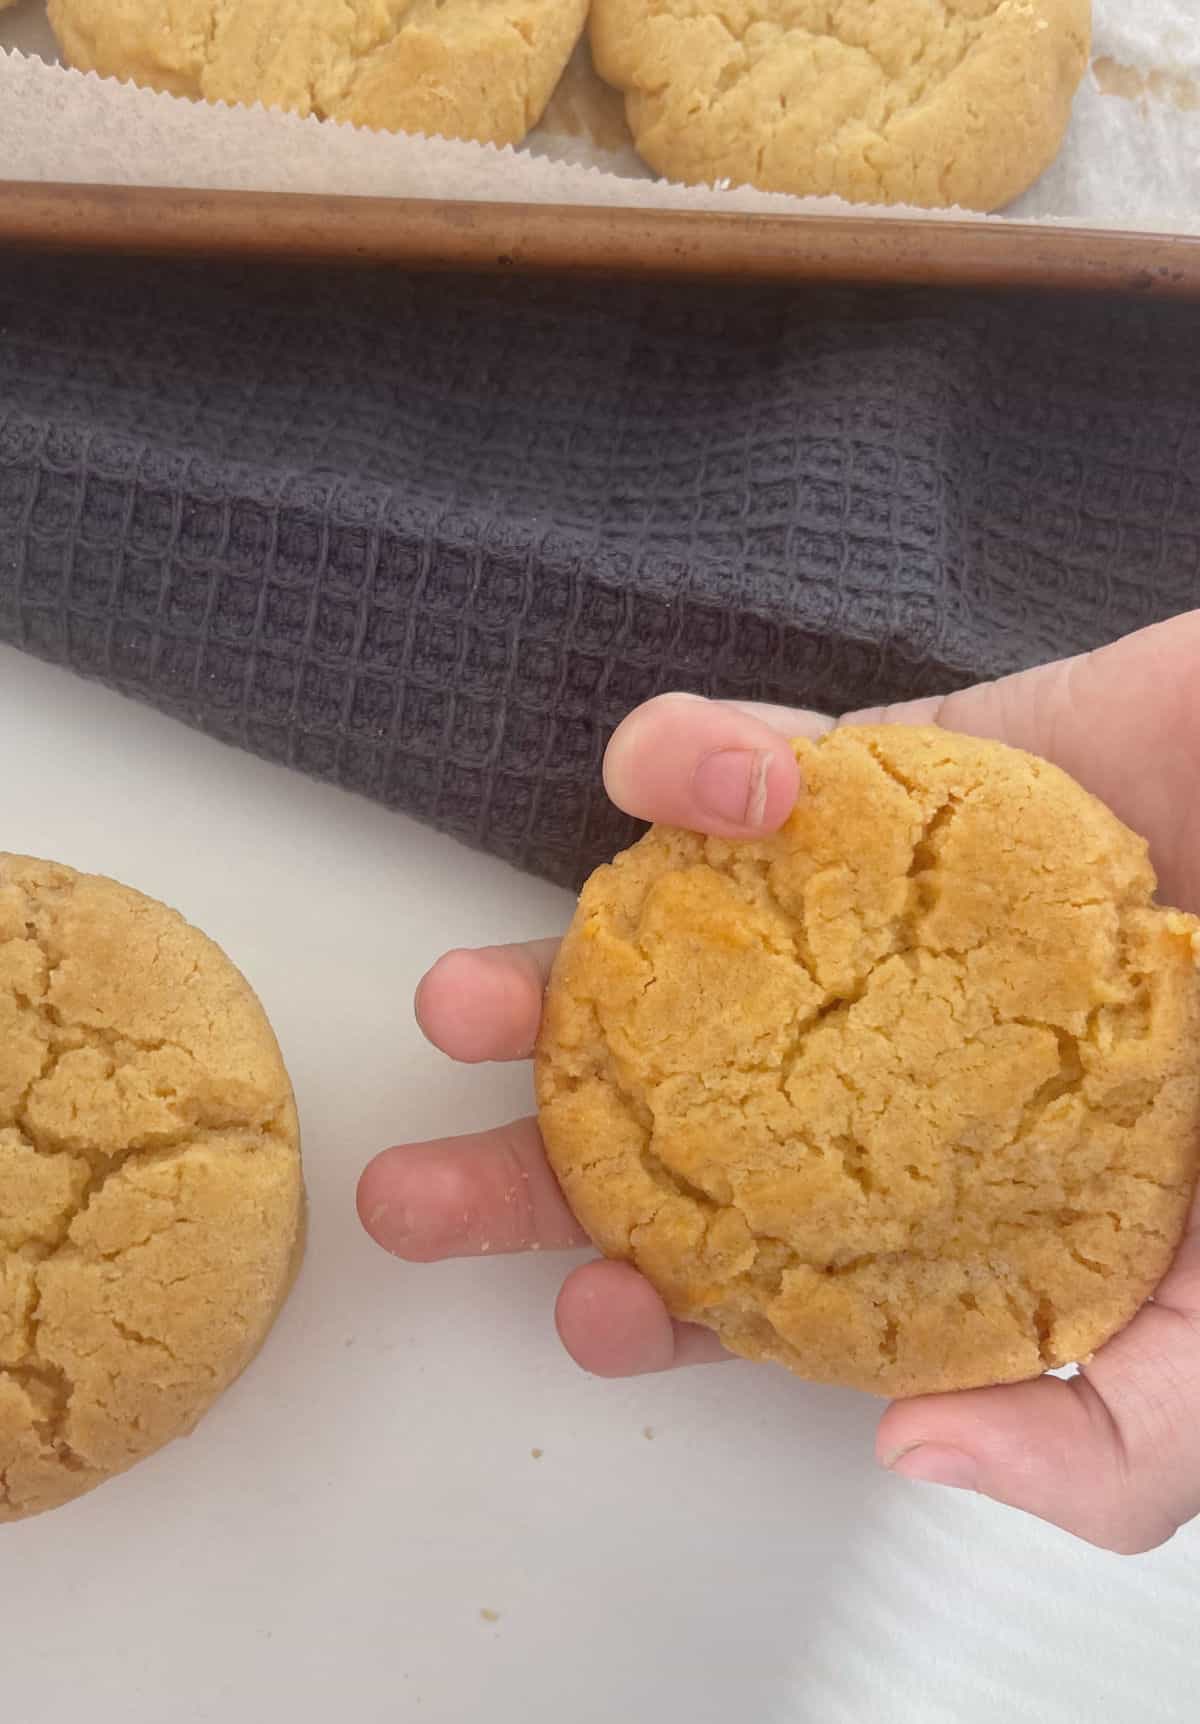
You will love:
Quick to prepare – these Honey Biscuits can be ready to enjoy in just over 30 minutes.
Budget friendly – made with pantry staples, you won’t need to buy any special (or expensive) ingredients.
Freezer friendly – freeze for up to three months.
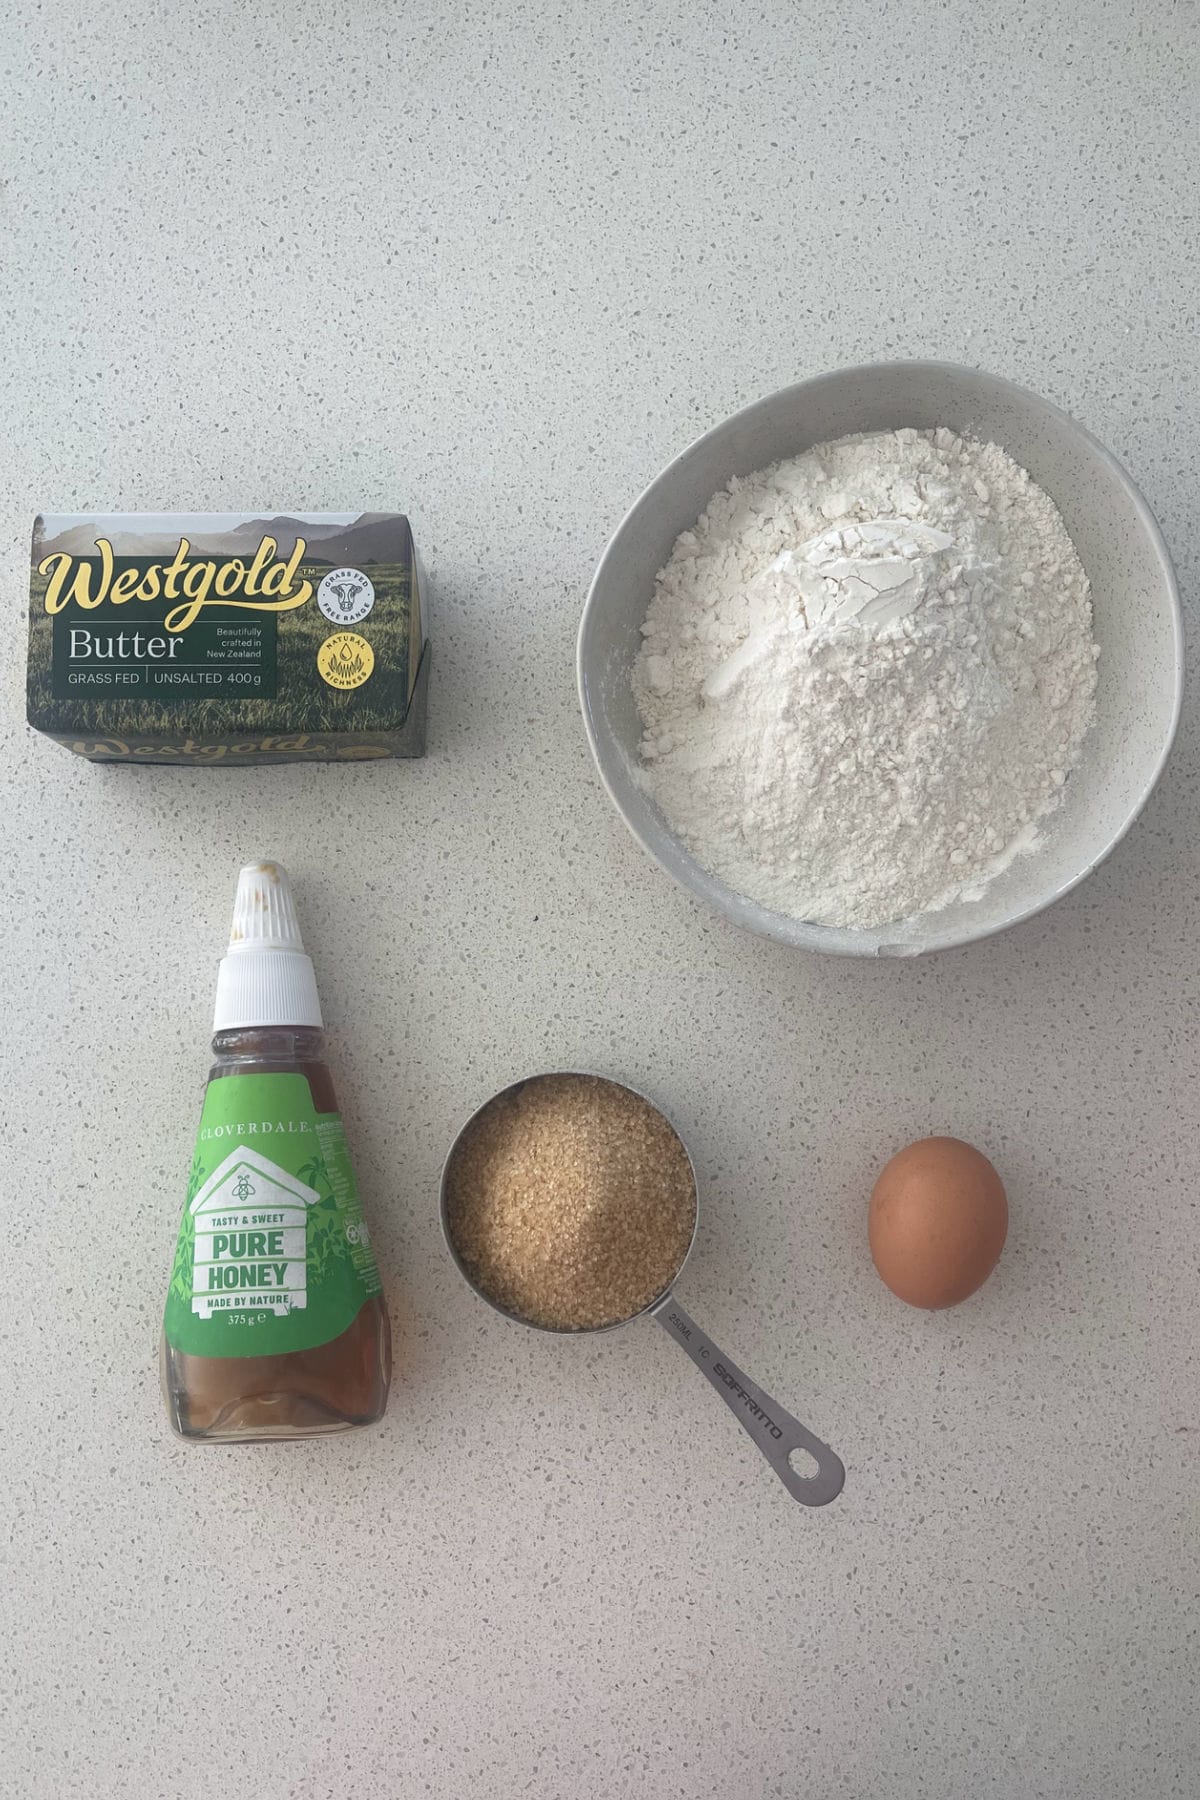
Honey Biscuit Ingredients:
- Butter
- Raw Sugar
- Honey
- Egg Yolk
- Self-raising flour – you can use plain flour with 2 teaspoon of baking powder in it’s place.
How to Make Honey Biscuits
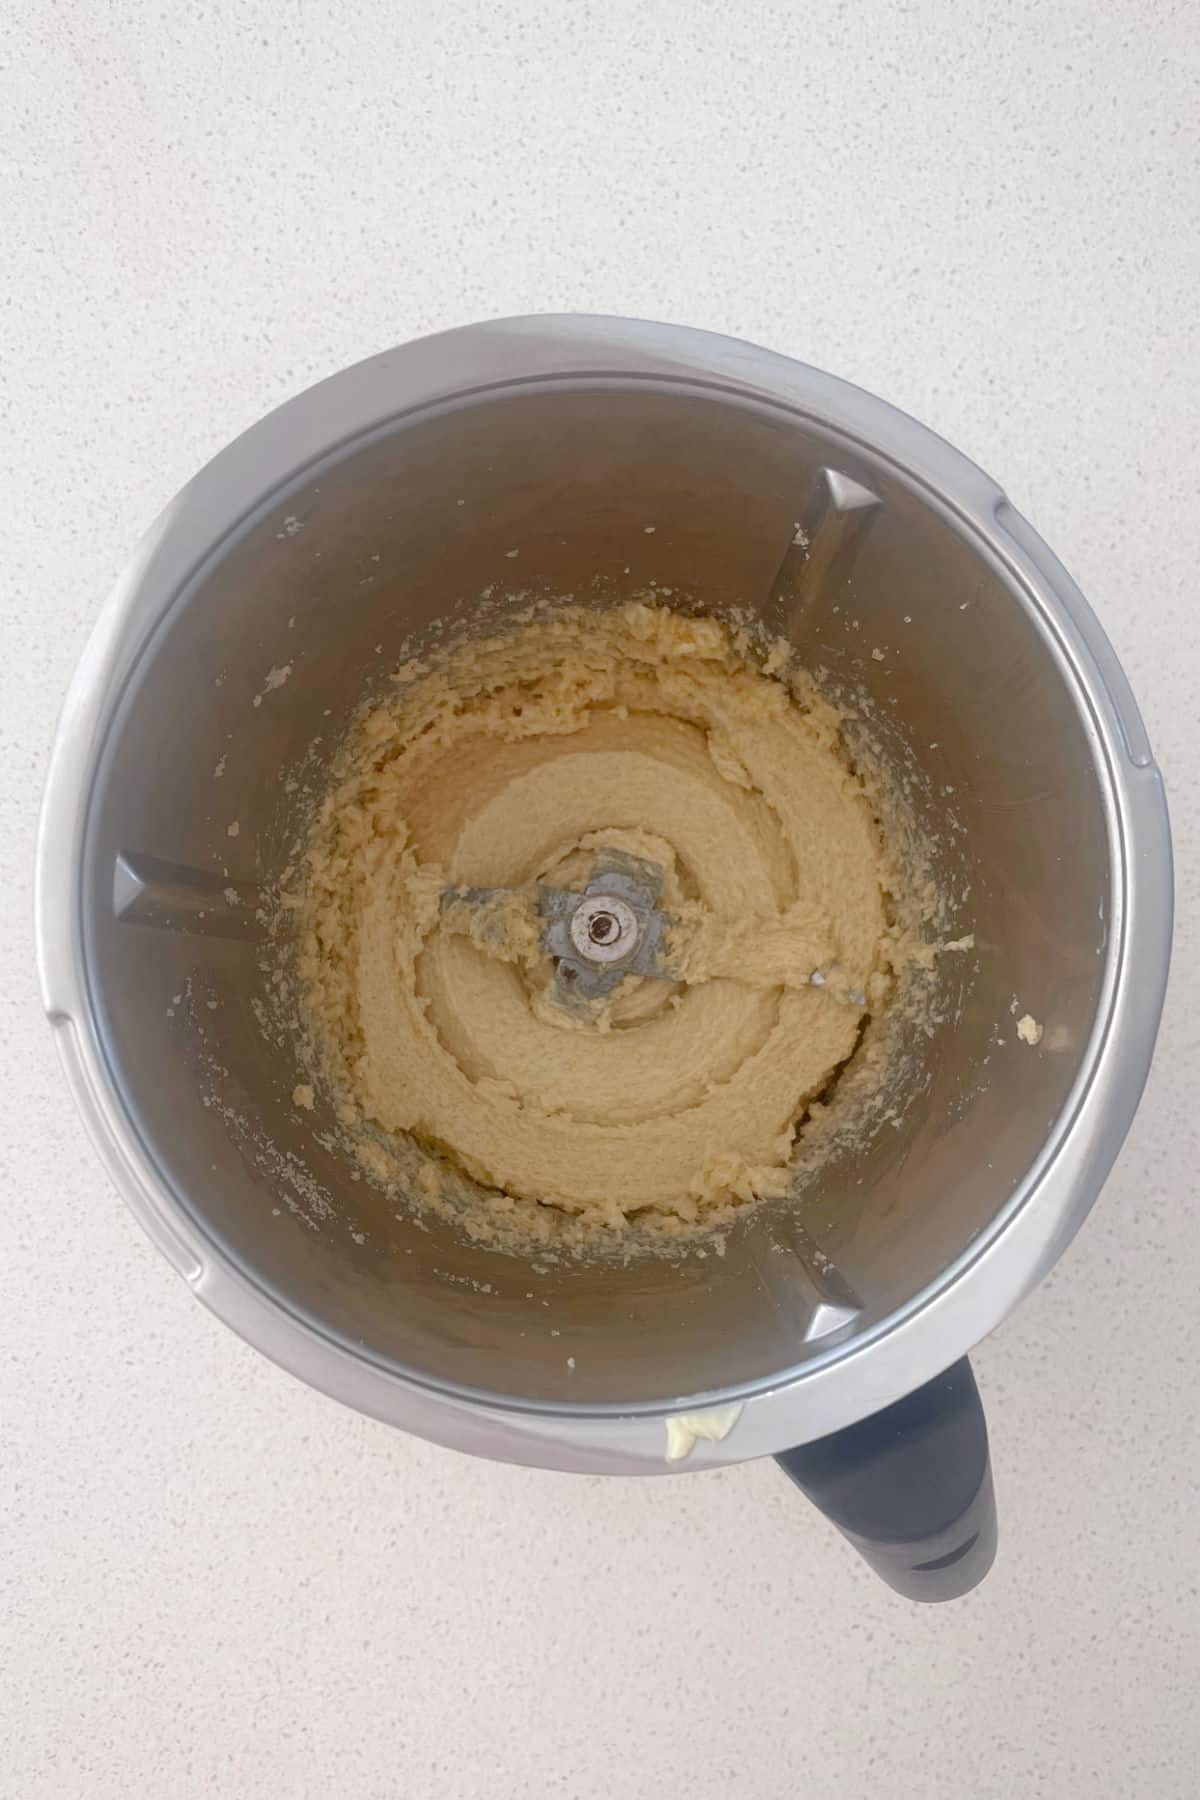
Step 1. Cream the butter and sugar using an electric mixer or a Thermomix until pale and creamy.
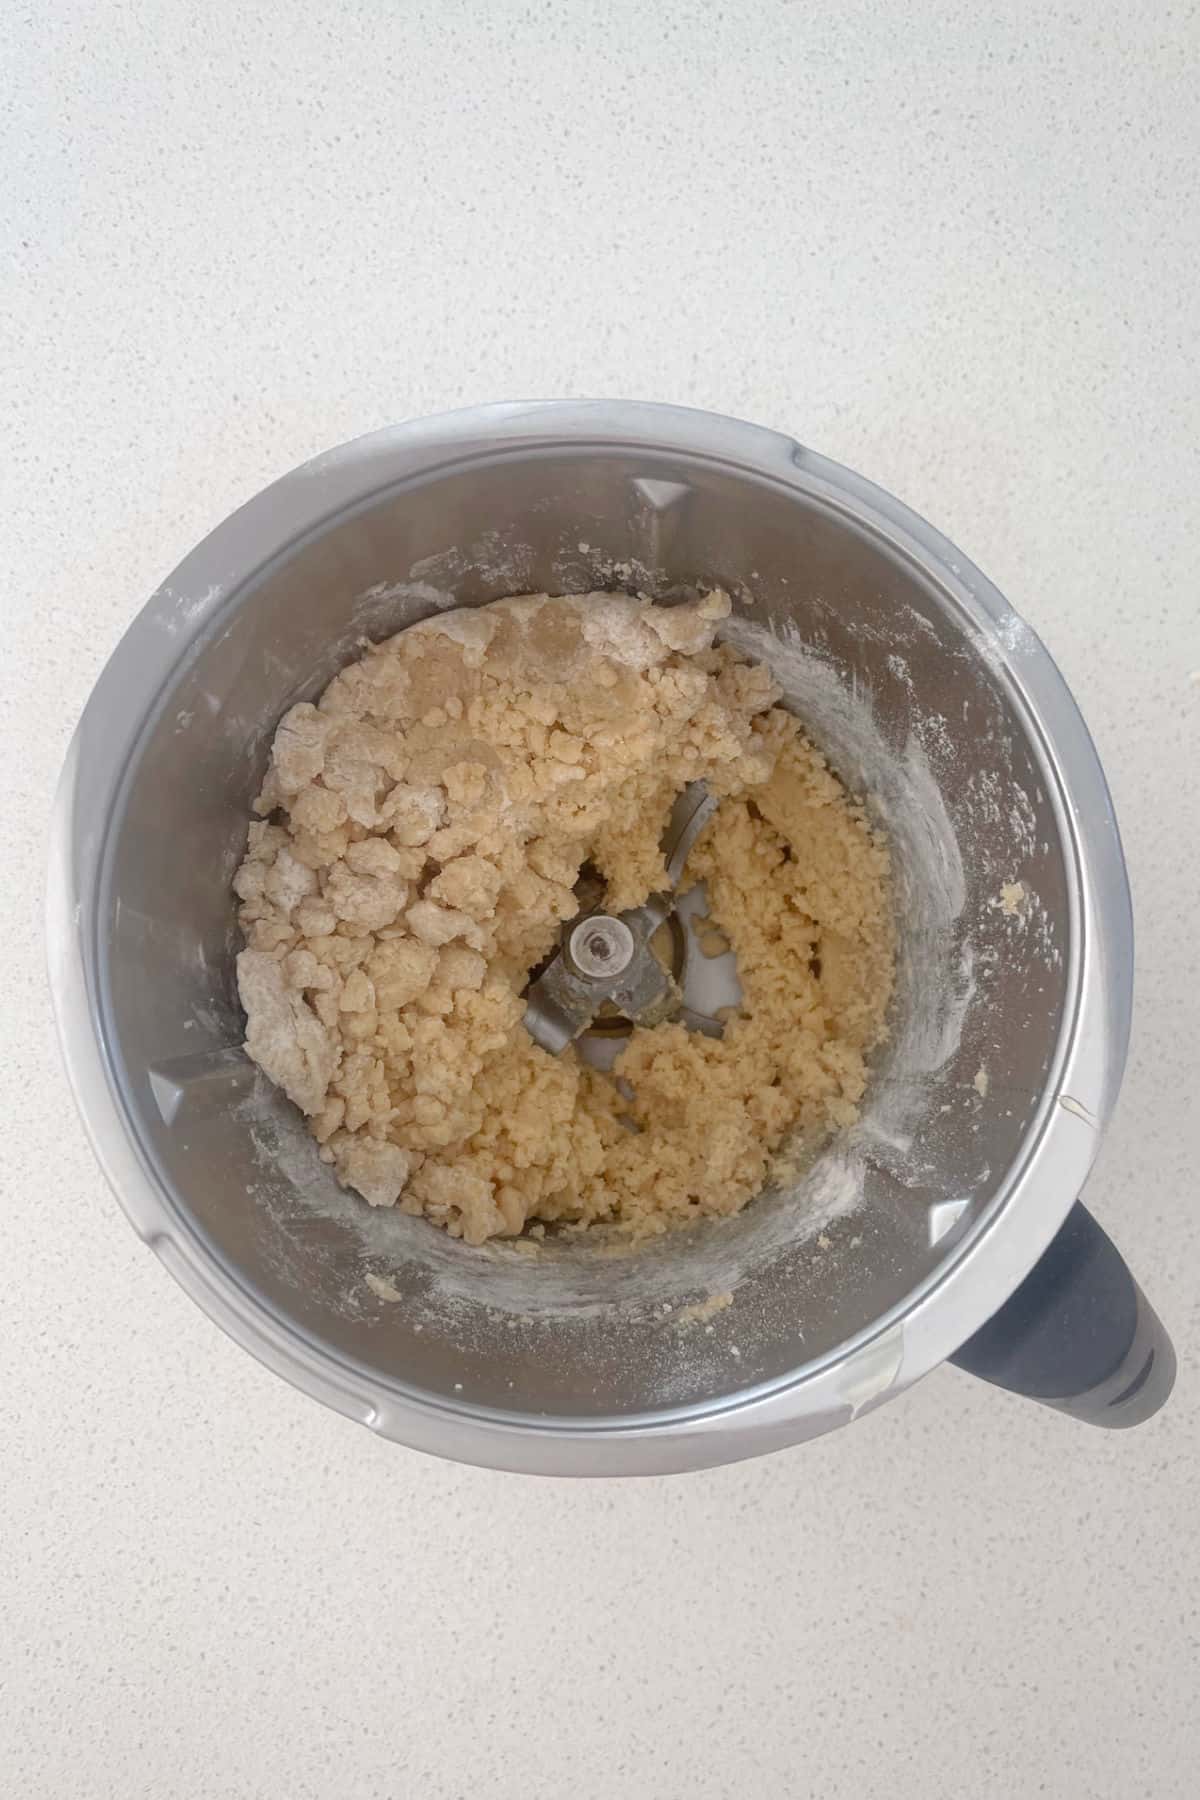
Step 2. Add the remaining ingredients and mix until a dough forms.
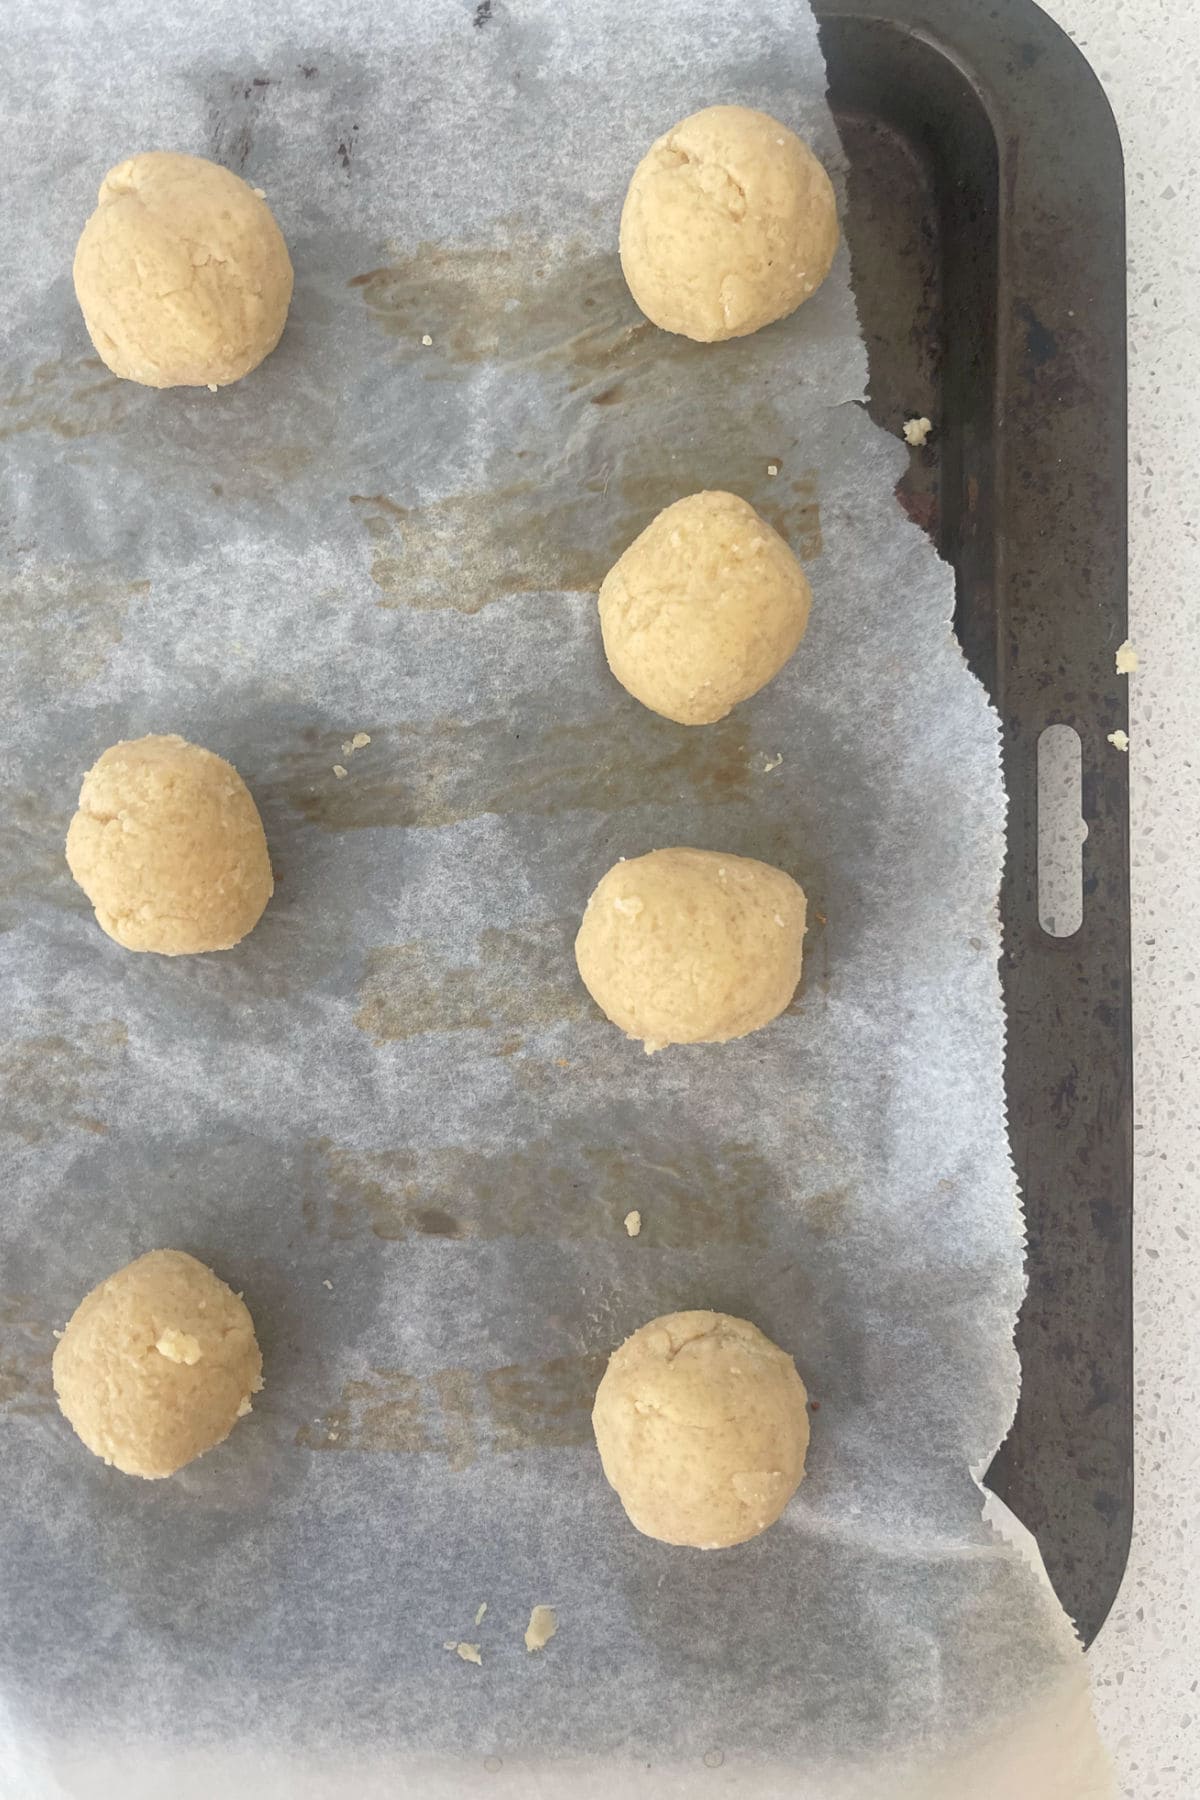
Step 3. Scoop up the mixture and roll into balls. Place onto a lined baking tray.
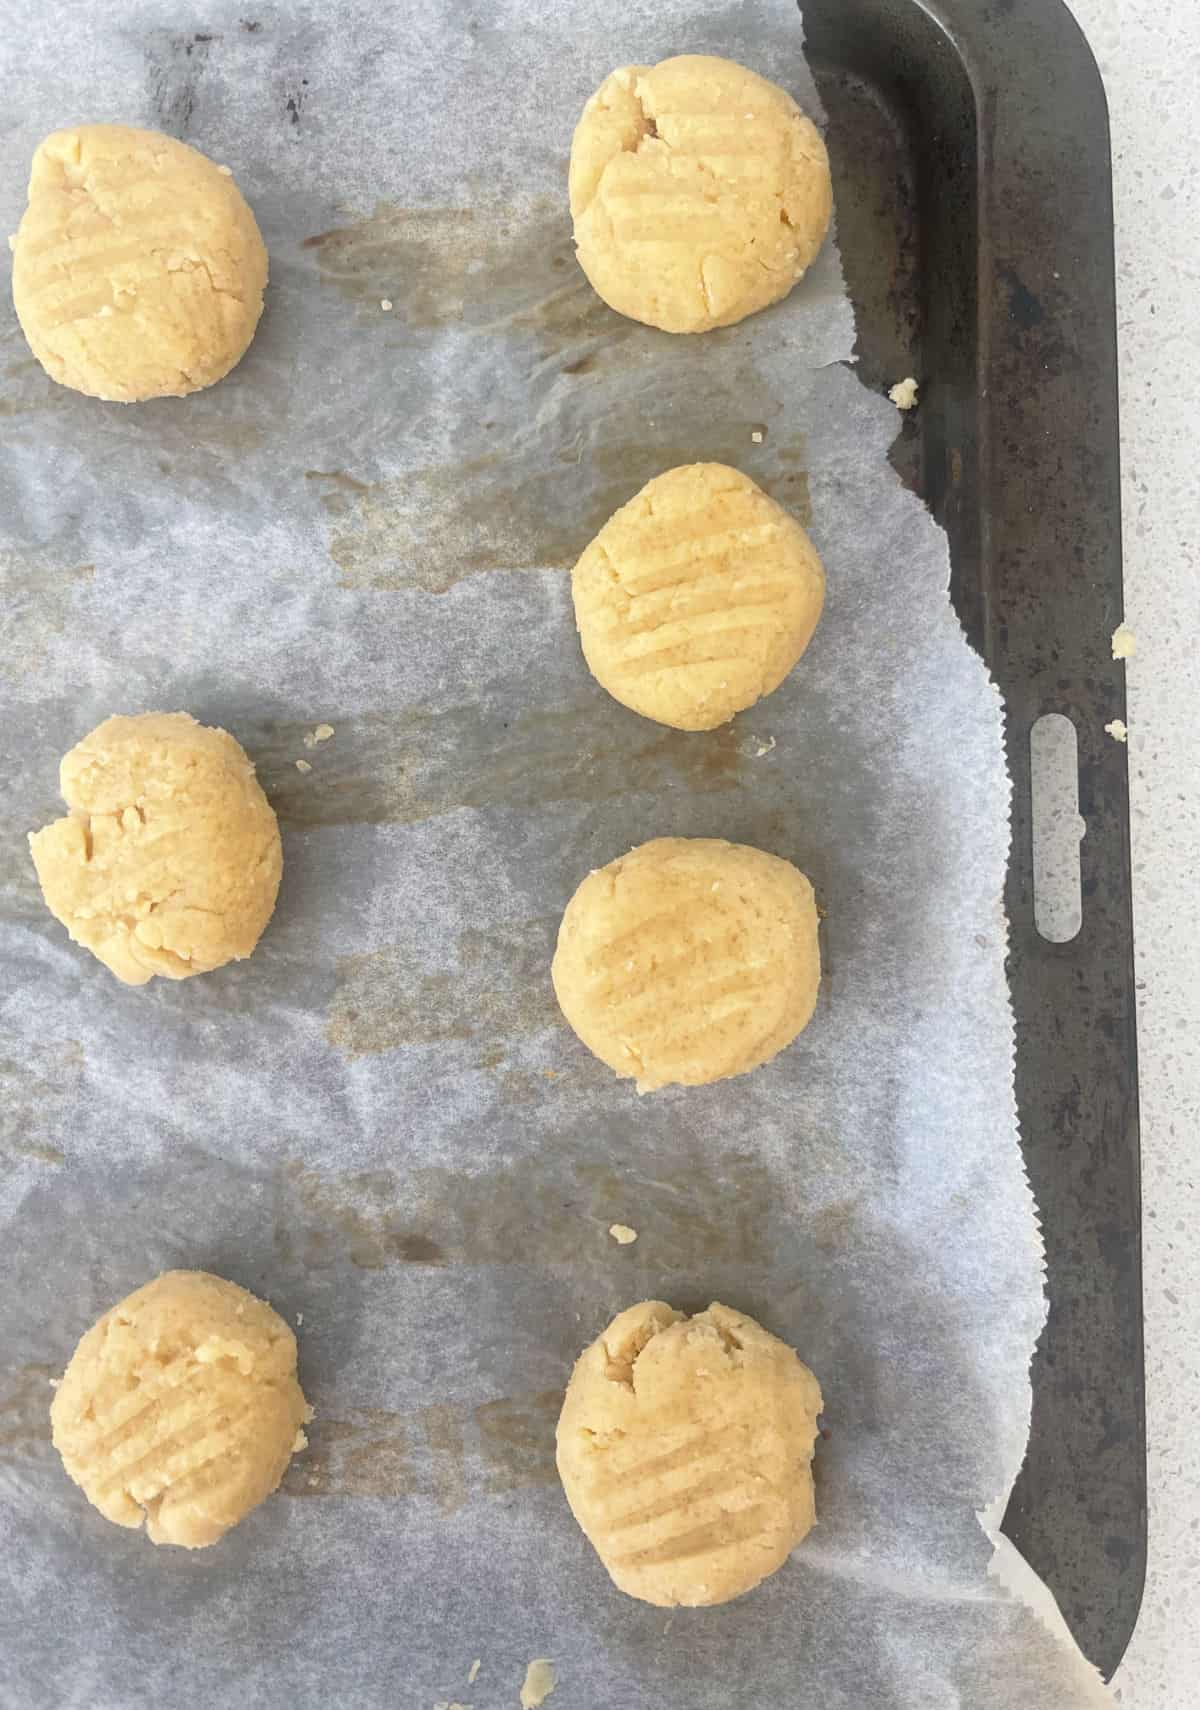
Step 4. Gently press down on the top of the biscuits with a fork.
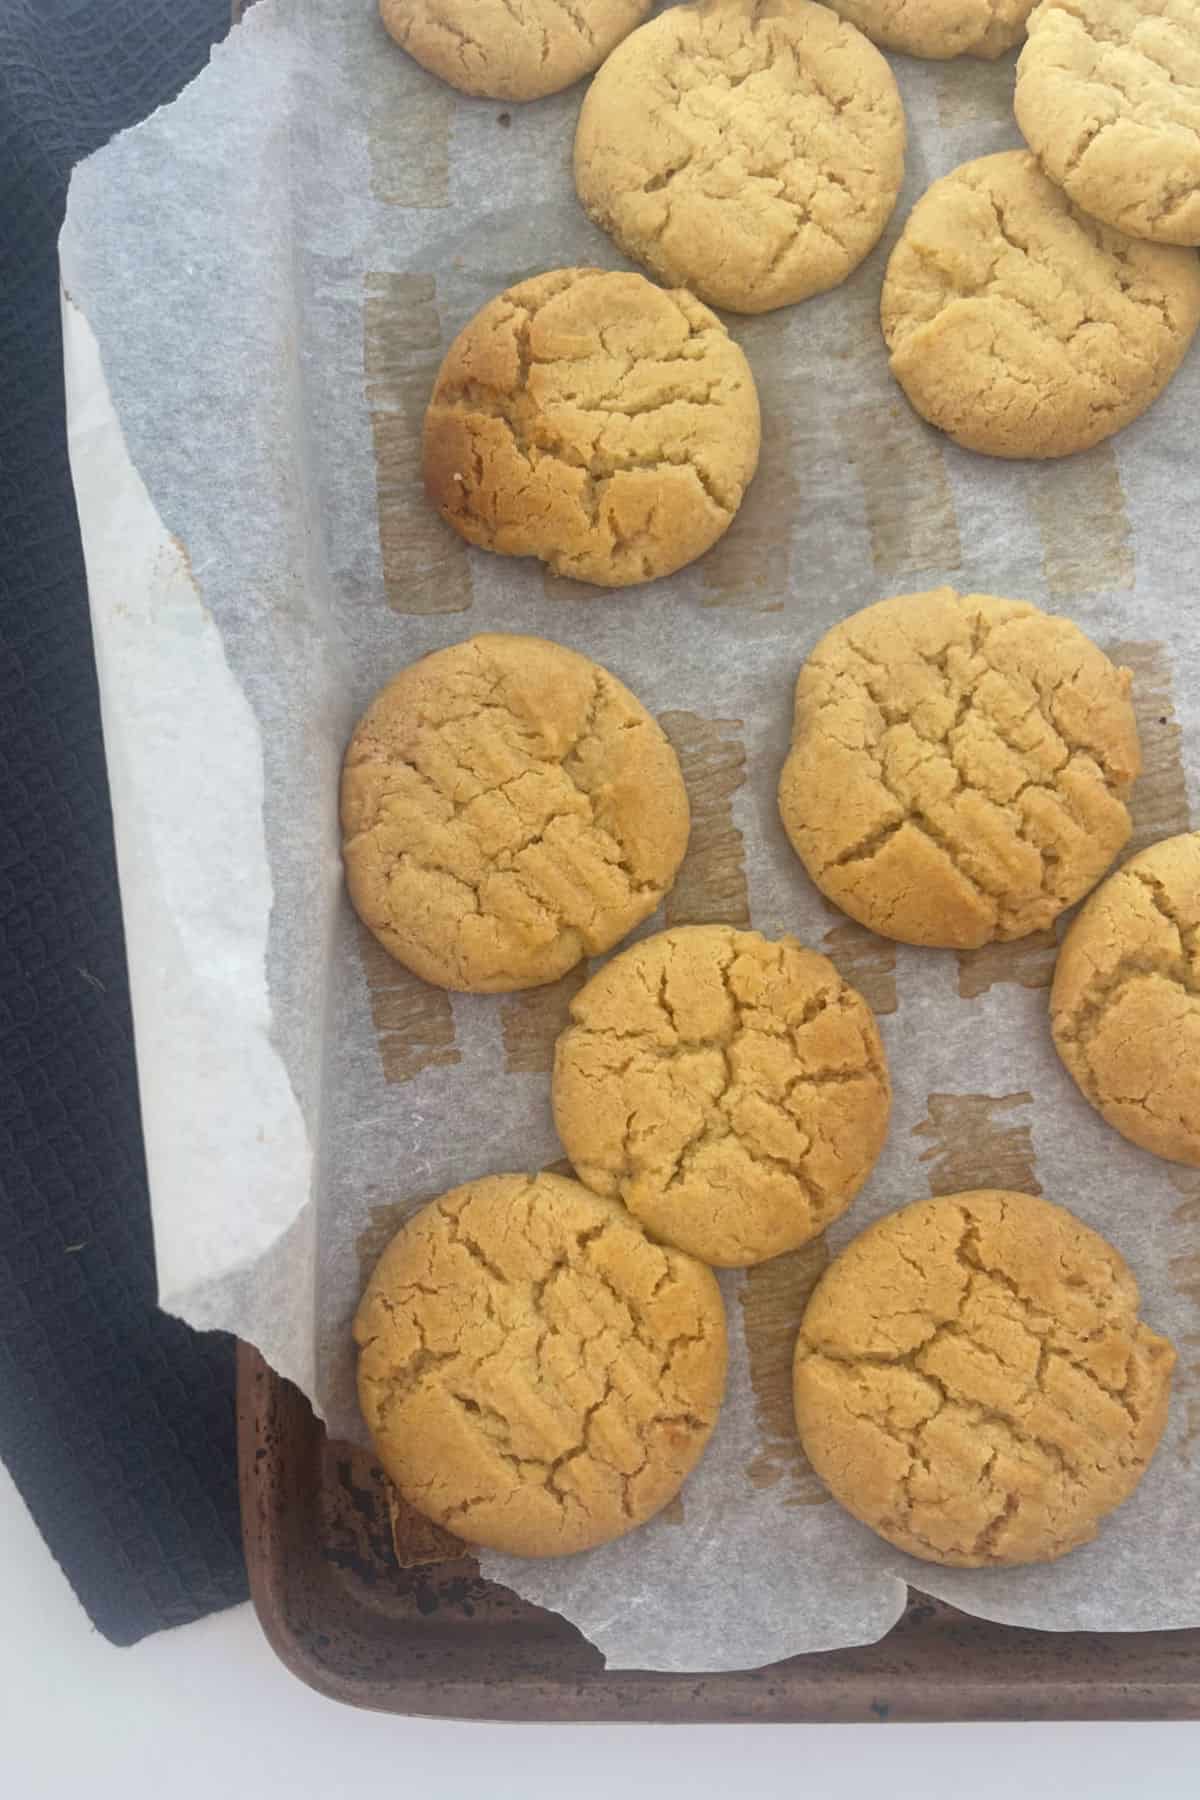
Step 5. Bake until golden.
Recipe Hints and Tips:
- This recipe will make around 36 biscuits when you use a dessert spoon to scoop up the mixture, however you can certainly make your biscuits smaller or larger if your prefer, just make sure you adjust your cooking time accordingly.
- The time it takes to cream your butter and sugar will be impacted by the temperature of your butter.
- Freezer Friendly – both the dough and cooked biscuits are freezer friendly.
- Easy to Double/Half – feeding a crowd? You can easily double this recipe. If making in a Thermomix just make sure you don’t exceed the maximum capacity line of your bowl.
- You can make this dough in advance and store covered in your fridge and freezer, bring it back to room temperature before attempting to make balls.
- Store in an airtight container in a cool and dark spot for up to one week.
- These Biscuits are also freezer friendly, store for up to three months.
Frequently asked Questions:
Unfortunately Honey Jumble Biscuits are no longer made by Arnott’s. You can find a similar recipe in the ThermoBliss Cookies and Slices book.
Yes, in most cases biscuits can be frozen for up to three months when stored in a freezer safe container.
More Biscuit Recipes:
- Caramel Biscuits
- Easy Anzac Biscuits
- Fairy Biscuits
- Coconut Biscuits
- Easy Yo Yo Biscuits
- Jam Drops
- Condensed Milk Cookies | Makes 100 Biscuits!
- Easy Milo Biscuits
- Easy Ginger Nut Biscuits Recipe
Honey Biscuits Recipe
Equipment
- 2 x Baking Trays
Ingredients
- 200 grams butter softened
- 1 cup raw sugar 220 grams
- 2 tablespoon honey
- 1 egg yolk
- 2 cups self raising flour 300 grams
Instructions
- Pre-heat your oven to 180 degrees celsius (fan-forced) and line two trays with baking paper.
- Place the softened butter and sugar into the bowl of an electric mixer and beat for 3 – 4 minutes or until pale and creamy.
- Add the honey, egg yolk and self raising flour and mix until a dough forms.
- Use a dessert spoon to scoop up the mixture and shape into a small ball with your hands. Place onto the baking tray and repeat until all of the mixture has been used.
- Gently press on the top of the biscuits with the back of a fork to slightly flatten before placing into your pre-heated oven and baking for 12 – 15 minutes or until they begin to turn golden.
- Carefully remove from the oven and allow the biscuits to cool on the baking tray for 10 minutes before transferring to a wire rack to cool completely.
Thermomix Instructions
- Place the softened butter and sugar into your Thermomix bowl and mix for 20 seconds, speed 2. Scrape down the sides of your Thermomix bowl and mix for a further 20 seconds, speed 3 or until pale and creamy.
- Add the honey, egg yolk and self raising flour and mix for 10 seconds on speed 4. Scrape down the sides of your Thermomix bowl and mix for a further 10 seconds, speed 4 to combine.
- Use a dessert spoon to scoop up the mixture and shape into a small ball with your hands. Place onto the baking tray and repeat until all of the mixture has been used.
- Gently press on the top of the biscuits with the back of a fork to slightly flatten before placing into your pre-heated oven and baking for 12 – 15 minutes or until they begin to turn golden.
- Carefully remove from the oven and allow the biscuits to cool on the baking tray for 10 minutes before transferring to a wire rack to cool completely.
Notes
- This recipe will make around 36 biscuits when you use a dessert spoon to scoop up the mixture, however you can certainly make your biscuits smaller or larger if your prefer, just make sure you adjust your cooking time accordingly.
- The time it takes to cream your butter and sugar will be impacted by the temperature of your butter.
- Freezer Friendly – both the dough and cooked biscuits are freezer friendly.
- Easy to Double/Half – feeding a crowd? You can easily double this recipe. If making in a Thermomix just make sure you don’t exceed the maximum capacity line of your bowl.
- You can make this dough in advance and store covered in your fridge and freezer, bring it back to room temperature before attempting to make balls.
- Store in an airtight container in a cool and dark spot for up to one week.
- These Biscuits are also freezer friendly, store for up to three months.
Nutrition
Looking for more?
For more easy snack recipes, check out our Snacks eBook – also available in a Thermomix edition or our ThermoBliss Lunch Box Recipes Book! You can shop the entire range of print, ebooks and lunch box accessories here.







Hannah
Perfect!
I used a little less sugar and added half a cup of crushed almonds.
These will become a regular in my house!
Helen
Delicious biscuits nice and crunchy. Will make again.
B
Too sweet. Suggest only putting 150g of sugar in.
But overall, pretty nice. Also good with icing and sprinkles on top.
Erin
I was looking for a few ways to use some Tasmanian Leatherwood honey as I was gifted a couple of jars (lucky me, it’s lovely) and tried it with this recipe – FANTASTIC! The next time (today!) I will probably add a little more honey just to boost the flavour as it was there but is such a distinctive taste I’d like it a little more prominent.
Gigi
Thank you! Gonna make these cookies with my friend to sell at the school’s play.
Ellie Jane Xx
Made these twice, just as delicious every time!
Lauren Matheson
Thanks!
Eʟʟɪᴇ
Lᴏᴠᴇ ᴛʜɪs ʀᴇ ɪᴘɪᴇ, sᴏ ᴅᴇʟɪᴄɪᴏᴜs!
Kate
Is this mixture suitable for rolling & cutting with cookie cutters?
Nics
This was my first time making cookies, and they turned out delicious! Thank you for this recipe
Winnie.
Love it
Lauren Matheson
Thank you 🙂
abeer
Very good