• Skip to primary navigation
  • Skip to main content
  • Skip to primary sidebar
Create Bake Make
  • Home
  • Recipes
    • Biscuits and Cookies
    • Cakes and Muffins
    • Lunchbox Ideas
    • Slices
    • Dinners
    • Desserts
    • Snacks & Treats
    • Cheesecake
    • Breakfast
    • Party Food
    • Easter
    • Christmas
  • Thermomix
    • Thermomix Biscuits
    • Thermomix Cakes and Muffins
    • Thermomix Dinners
    • Thermomix Desserts
    • Thermomix Lunch Box Snacks
    • Thermomix Slices
    • Thermomix Easter Recipes
    • Thermomix Christmas Recipes
  • Food for Kids
  • SHOP
  • About
    • Facebook
    • Instagram
    • Pinterest
    • RSS
    • Twitter
menu icon
go to homepage
  • Lunchbox Ideas
  • Dinners
  • Thermomix Recipes
  • Sweet
  • All Recipes
  • Shop
    • Facebook
    • Instagram
    • Pinterest
  • subscribe
    search icon
    Homepage link
    • Lunchbox Ideas
    • Dinners
    • Thermomix Recipes
    • Sweet
    • All Recipes
    • Shop
    • Facebook
    • Instagram
    • Pinterest
  • ×
    • Two Chocolate Snickers Brownies sitting on top of each other.
      Snickers Chocolate Brownies
    • Biscoff Cheesecake
    • Overhead view of corn relish dip in a blue bowl surrounded by crackers.
      Corn Relish Dip
    • Cheese Sauce dripping from a silver spoon into a bowl.
      Thermomix Cheese Sauce
    • Slice of Focaccia on a white bench. In the background are more slices of Focaccia.
      Thermomix Focaccia
    • Two slices of biscoff brownies on top of each other. in the background in a jar of biscoff.
      Biscoff Brownies
    • Side view of Thermomix zucchini slice on a green plate
      Thermomix Zucchini Slice
    • Close up of Curried Eggs topped with chives on a blue plate.
      Curried Eggs
    • Two Margaritas made using a thermomix in glasses garnished with salt and lime.
      Thermomix Margaritas
    • Side view of Cranberry and Brie Puff Pastry Star with a piece of brie removed
      Cranberry and Brie Puff Pastry Star
    • Close up of a piece of Biscoff Fudge on a sheet of baking paper. In the background is more fudge and jar of Biscoff spread.
      Biscoff Fudge
    • Slice of Vanilla Sheet Cake sitting in front of a wire rack.
      Vanilla Sheet Cake
    Create Bake Make / Biscuits and Cookies / Easy Ginger Nut Biscuits Recipe

    Easy Ginger Nut Biscuits Recipe

    Published: Aug 24, 2020 · Modified: Jan 22, 2021 by Lauren Matheson ·

    1402 shares
    • Share
    • Tweet
    Jump to Recipe Print Recipe

    This easy Ginger Nut Biscuits recipe makes a perfect afternoon tea or lunch box treat!

    Easy Ginger Nut Biscuit Recipe - Top View

    These Ginger Nut Biscuits are a big hit with my boys, and love having one added to their lunch boxes.  This recipe keeps really well (as long as you store the biscuits in an airtight container) and I find a batch can last up to five days in our house.

    Ginger Nut Biscuits side view of a stack

    You just need a few basic ingredients to make these biscuits: butter, golden syrup, flour, sugar, ginger and bicarb and you can be enjoying a still warm biscuit within around 40 minutes.

    I usually use a tablespoon to scoop up the biscuit mixture which makes around 24 biscuits, however you can also use a teaspoon to make smaller (and more) biscuits, however your cooking time will be a little less.

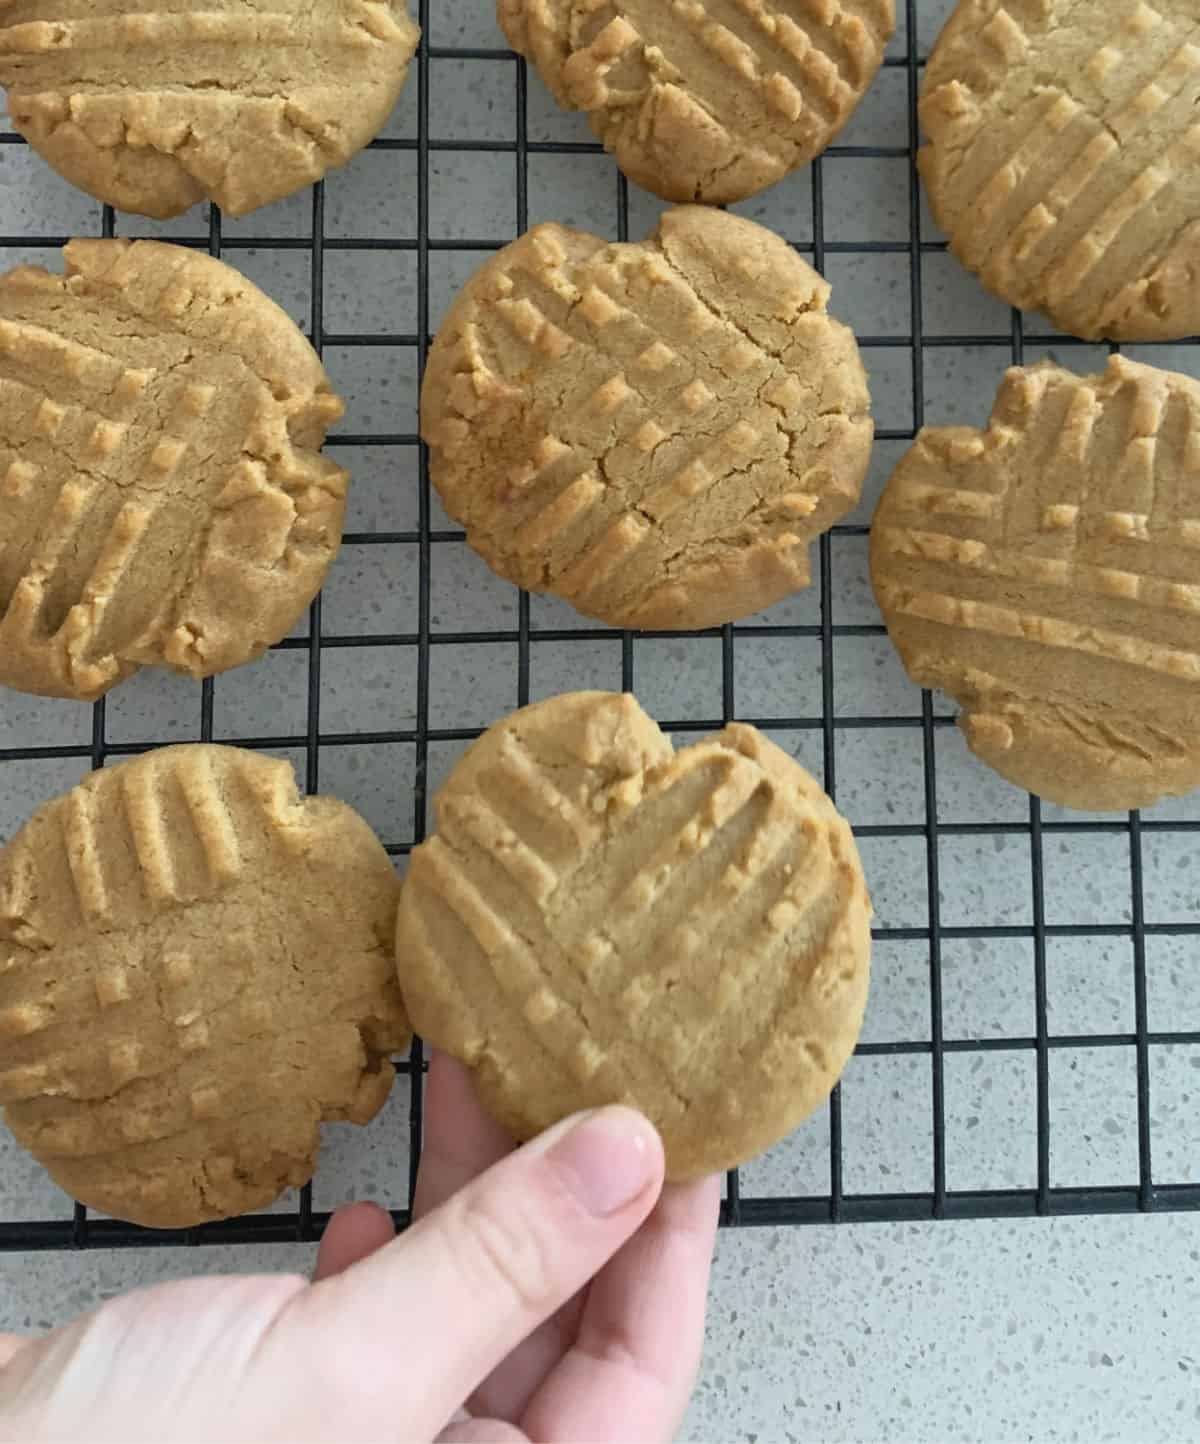
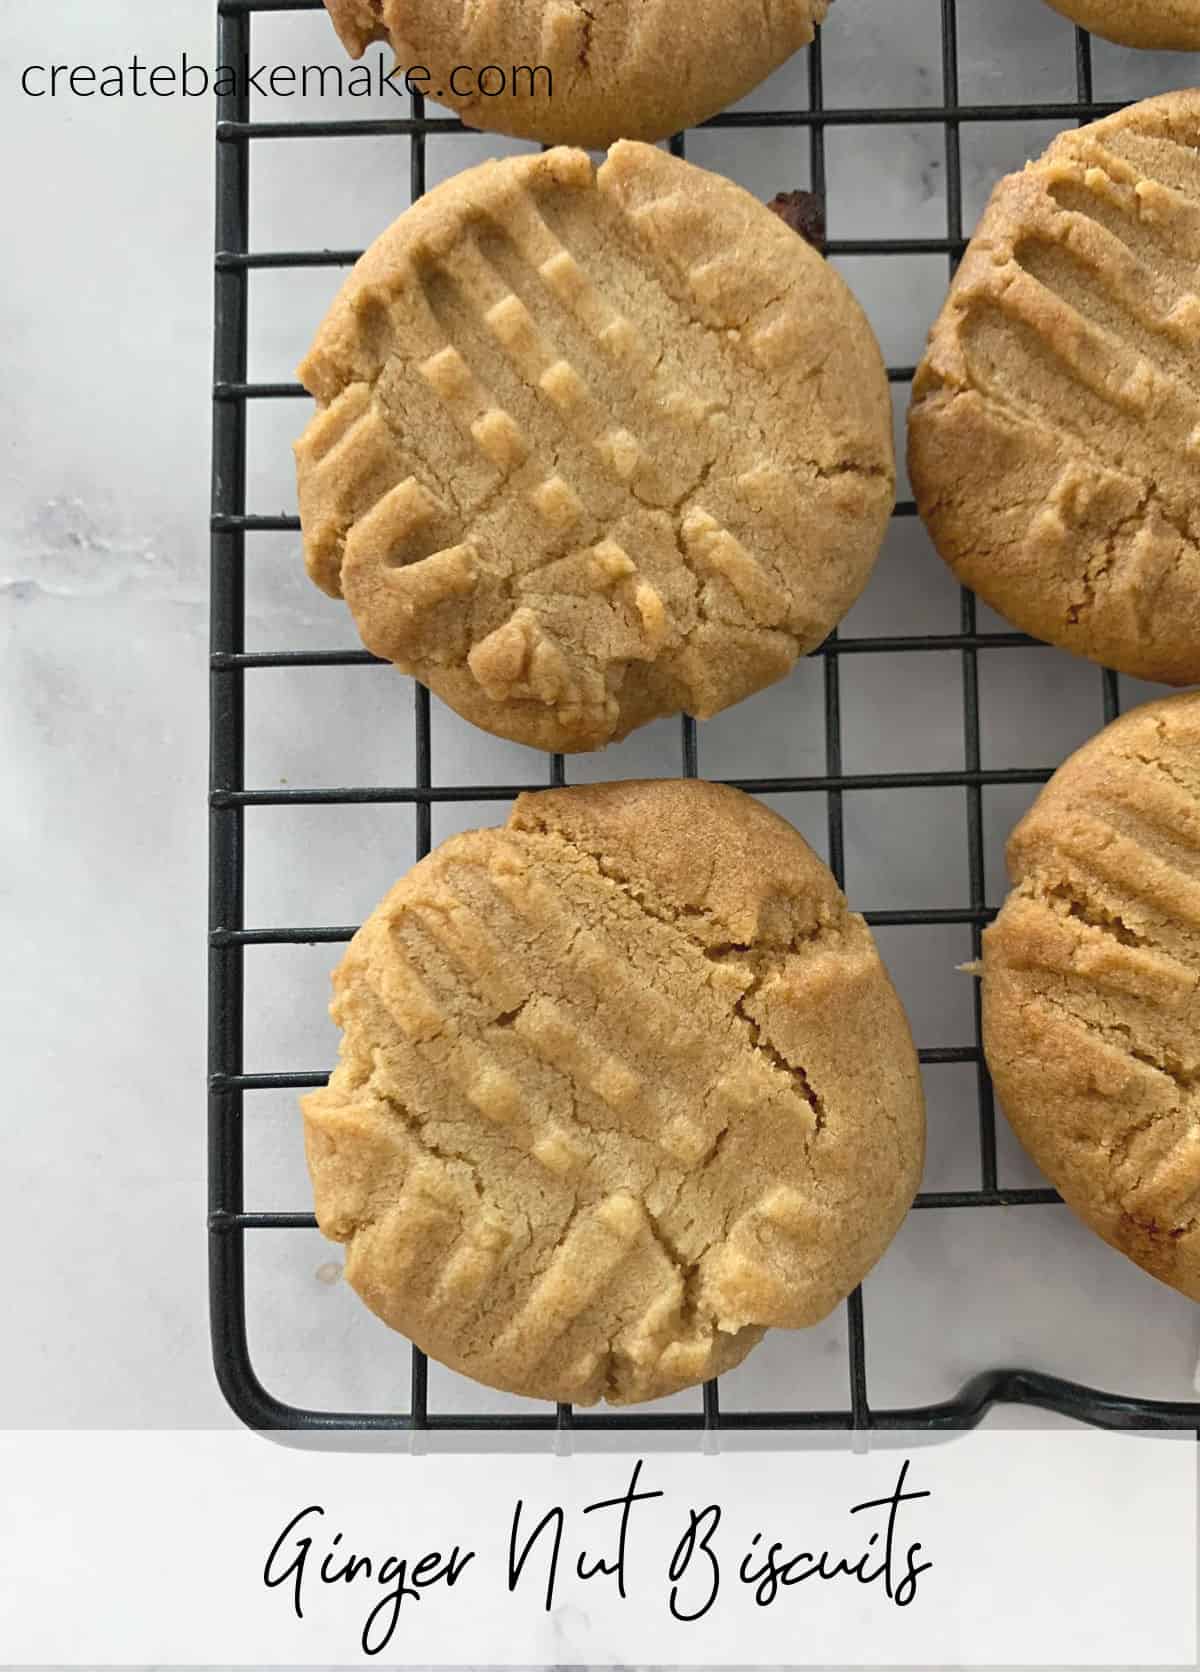
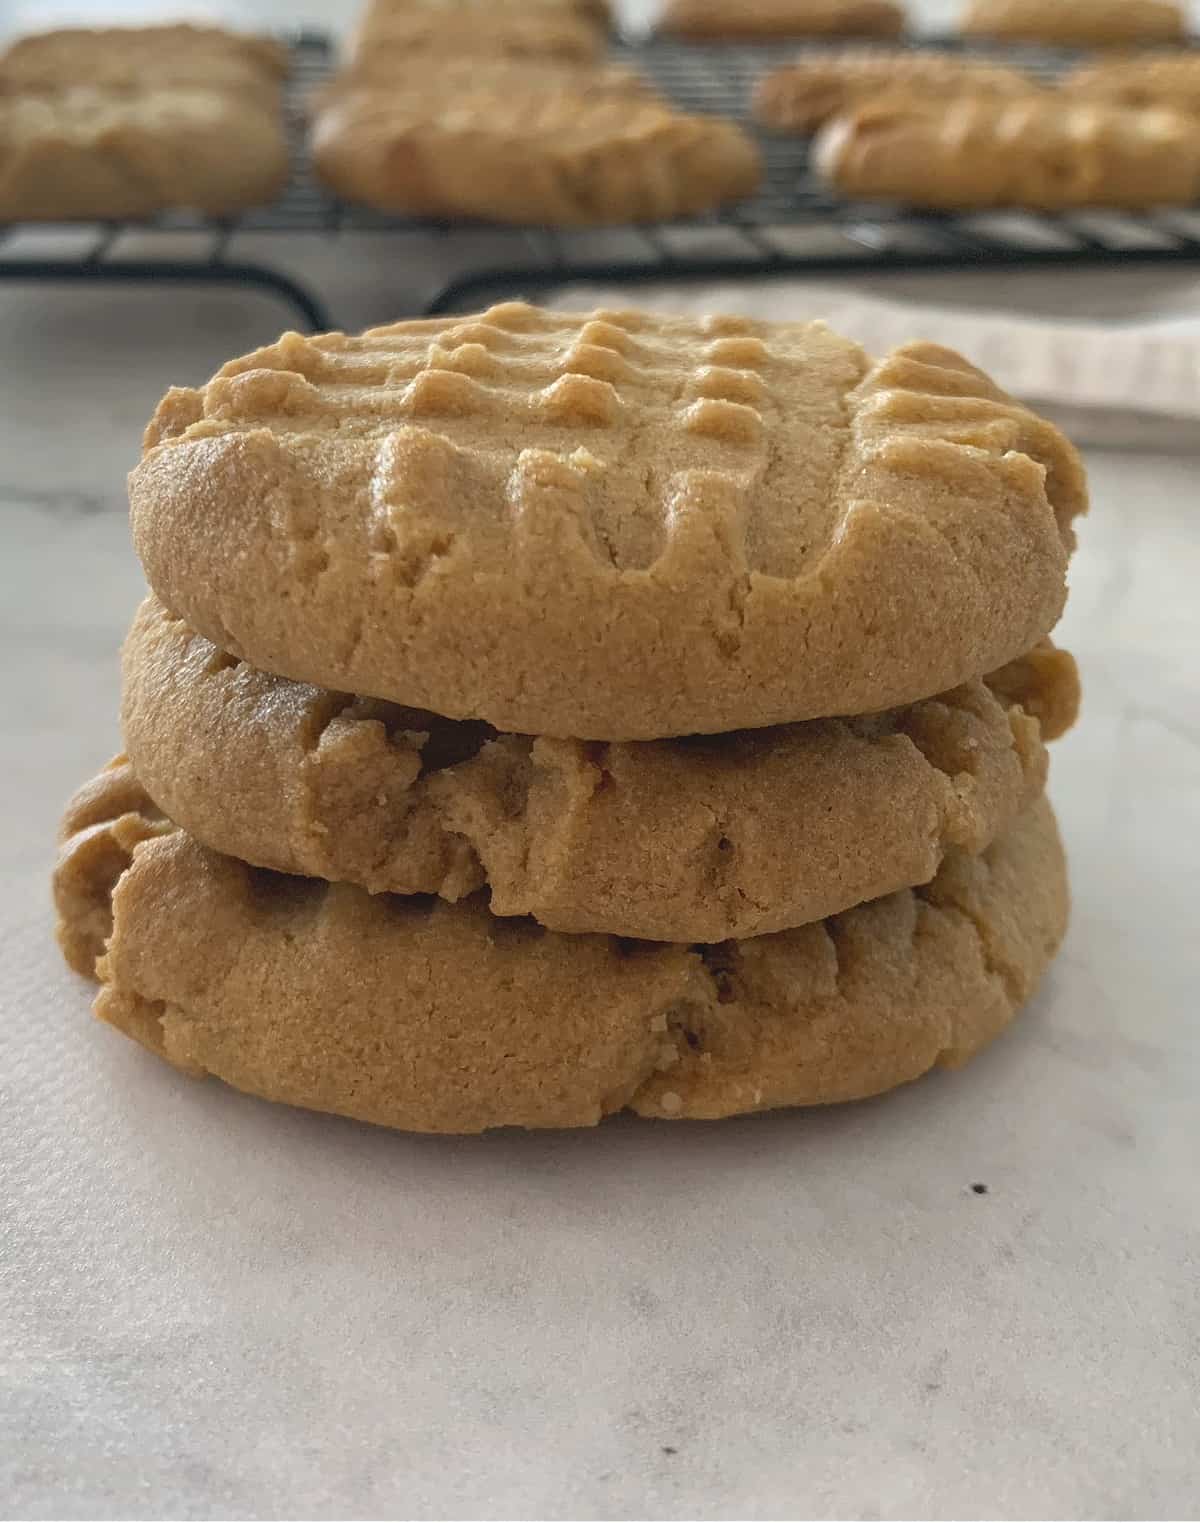
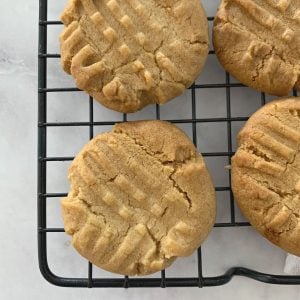
    To decorate, I lightly flatten the dough and then use a fork to make the criss cross pattern, of course you can leave you biscuit tops plain if you wish.

    Tips for Making These Ginger Nut Biscuits:

    • If your butter is not quite at room temperature then it will take longer to incorporate with the sugar and golden syrup.
    • Both the dough and the cooked biscuits can be frozen – store in the freezer for up to six weeks.
    • This recipe will make around 24 biscuits when you use a tablespoon to scoop up the mixture. You can make smaller or larger biscuits if you wish, however the cooking time will vary.
    • If you are making these biscuits in a warm climate and find the dough is too soft to roll, pop the mixture into the fridge fro 20 – 30 minutes to chill.
    • Before baking, I like to lightly flatten the tops of the biscuits and use the back of a fork to press down and make the criss cross pattern.
    • These biscuits will be soft when they first come out of the oven but will harden as they cool.
    • To store, keep the biscuits in an airtight container in your pantry.

    Looking for more Ginger Recipes? You might want to try these:

    • The Best Gingerbread Loaf Recipe
    • Easy Gingerbread
    • Gingerbread Pavlova
    Top View of Ginger Nut Biscuits on a cooling rack

    Ginger Nut Biscuits Recipe

    These easy Ginger Nut Biscuits make a yummy snack or lunch box treat. The mixture and cooked biscuits are both freezer friendy and regular and Thermomix instructions are included.
    4.87 from 15 votes
    Print Recipe Pin Recipe
    Prep Time 20 minutes mins
    Cook Time 15 minutes mins
    Cooling Time 10 minutes mins
    Total Time 45 minutes mins
    Course Snacks
    Cuisine Australian
    Servings 24 biscuits
    Calories 51 kcal

    Equipment

    • 2 x baking trays
    • Electric Mixer

    Ingredients
      

    • 115 grams butter softened
    • 110 grams caster sugar
    • 1 & ½ tablespoon golden syrup 30 grams
    • 1 & ⅓ cups plain flour 200 grams
    • 1 tablespoon ginger
    • ½ tsp bicarbonate of soda

    Instructions
     

    • Pre-heat your oven to 170 degrees celsius (fan-forced) and line the two baking trays with baking paper - set aside until needed.
    • Place the softened butter, caster sugar and golden syrup into the bowl of an electric mixer and mix on a medium/high speed for 5 - 6 minutes or until the mixture is pale and golden.
    • Add the flour, bicarbonate of soda and ginger and mix on a low speed to combine. Continue to mix for 1 - 2 minutes or until the dough just comes together.
    • Remove the bowl from the mixer stand and use a tablespoon to scoop up the mixture and roll into balls. Place onto your prepared baking trays. Repeat until all of the mixutre has been used.
    • Using the back of your hand or a spoon, lightly flatten the tops of the biscuits and press down with the back of a fork to create the criss cross patten. Place the trays into the oven and bake for 12 - 15 minutes or until the biscuits begin to turn golden at their edges.
    • Let the biscuits cool on the baking trays for 10 minutes before transferring to a wire rack to cool completely.

    Thermomix Instructions

    • Pre-heat your oven to 170 degrees celsius (fan-forced) and line the two baking trays with baking paper - set aside until needed.
    • Place the softened butter, caster sugar and golden syrup into your Thermomix bowl. Mix for 1 minutes, speed 2.
    • Scrape down the sides of the bowl and mix for a further 30 seconds, speed 3 or until pale and creamy.
    • Add the flour, bicarbonate of soda and ginger. Mix for 10 seconds, speed 4.
    • Select the kneading function and mix for 40 seconds.
    • Remove the bowl from the Thermomix and use a tablespoon to scoop up the mixture and roll into balls. Place onto your prepared baking trays. Repeat until all of the mixutre has been used.
    • Using the back of your hand or a spoon, lightly flatten the tops of the biscuits and press down with the back of a fork to create the criss cross patten. Place the trays into the oven and bake for 12 - 15 minutes or until the biscuits begin to turn golden at their edges.
    • Let the biscuits cool on the baking trays for 10 minutes before transferring to a wire rack to cool completely.

    Notes

    • If your butter is not quite at room temperature then it will take longer to incorporate with the sugar and golden syrup.
    • Both the dough and the cooked biscuits can be frozen - store in the freezer for up to six weeks.
    • This recipe will make around 24 biscuits when you use a tablespoon to scoop up the mixture. You can make smaller or larger biscuits if you wish, however the cooking time will vary.
    • If you are making these biscuits in a warm climate and find the dough is too soft to roll, pop the mixture into the fridge fro 20 - 30 minutes to chill.
    • Before baking, I like to lightly flatten the tops of the biscuits and use the back of a fork to press down and make the criss cross pattern.
    • These biscuits will be soft when they first come out of the oven but will harden as they cool.
    • To store, keep the biscuits in an airtight container in your pantry.

    Nutrition

    Calories: 51kcalCarbohydrates: 11gProtein: 1gFat: 0.2gSaturated Fat: 0.1gPolyunsaturated Fat: 0.04gMonounsaturated Fat: 0.05gCholesterol: 1mgSodium: 28mgPotassium: 15mgFiber: 0.2gSugar: 6gVitamin A: 8IUVitamin C: 0.01mgCalcium: 7mgIron: 0.3mg
    Keyword Ginger Nut Bisucits, THermomix Ginger Nut Biscuits
    Tried this recipe? Please leave a rating and tag me on Instagram! Mention @createbakemake or tag #createbakemake!

    Enjoy!

    You can also find more grea snack ideas in our ThermoBliss Kids Snacks Book – also available in a bundle pack. You can shop the full range of books, eBooks and products here.


    « Easy Chocolate Slice | A Classic Slice Recipe
    Nut Free Muesli Slice | Great for Lunch Boxes »

    Filed Under: Biscuits and Cookies, Desserts, Food for Kids, Lunchbox Ideas, Party Food, Snacks & Treats, Sweet, Thermomix

    Reader Interactions

    Comments

    1. Judith

      August 21, 2022 at 9:18 pm

      4 stars
      Seen this recipe a few weeks back and decided to make it today! Really tasty. First tray was in for 15 minutes but could have been less so for the last 2 trays I did 13 minutes and they were fine! I kind of like a crunchy well fired biscuit so I’ll be keeping the first tray all for me!

      Reply
    2. Nicole

      November 09, 2020 at 1:18 pm

      5 stars
      Just made these. Super simple! I used 50g of coconut sugar in place of the sugar. Perfect amount of sweetness for us! Will make these again and again!

      Reply
    3. kamal

      October 27, 2020 at 4:54 pm

      Hi do you use freshly grated ginger?

      Reply
      • Lauren Matheson

        October 29, 2020 at 12:16 pm

        Hi, no I actually just use ground ginger 🙂

        Reply
    4.87 from 15 votes (13 ratings without comment)

    Leave a Reply Cancel reply

    Your email address will not be published. Required fields are marked *

    Recipe Rating


    Primary Sidebar

    Lauren placing sprinkles onto cupcakes in her kitchen

    Hi, I'm Lauren! As a Mum of three VERY hungry boys, I know what it’s like to need dinner on the the table FAST. All of my recipes are made using simple ingredients and you will also find both conventional and Thermomix cooking instructions.

    More about me →

    Lunchbox Snacks

    • three pieces of anzac slice stacked on top of each other.
      Anzac Slice
    • Condensed Milk Cookies Stacked in a pile
      Condensed Milk Cookies | Makes 100 Biscuits!
    • stack of banana pikelets on plate
      Easy Banana Pikelets Recipe
    • 3 Ingredient Marshmallow Rice Bubble Slice sitting on a white decorative platter.
      3 Ingredient Rice Bubble Bars Recipe

    Simple Family Dinners

    • spoon holding a baked chicken parma ball.
      Chicken Parma Balls
    • Creamy Chicken Pie cut in half on plate
      Creamy Chicken Pies | Homemade Chicken Pie Recipe
    • Roast Chicken on wooden board
      Air Fryer Roast Chicken | An Easy Family Friendly Dinner
    • Overhead view of two beef rissoles with a side of coleslaw on a grey speckled plate.
      Beef Rissoles

    Thermomix Recipe Books

    ThermoBliss 11 book complete set

    Browse the full range of books and eBooks here.

    Footer

    ↑ back to top

    About

    • About Me
    • Privacy Policy

    Newsletter

    • Sign Up! for emails and updates

    Contact

    • email: hello@createbakemake.com

    Copyright © 2024 Create Bake Make

    Please note that the content including images and recipes contained within the Create Bake Make website and recipe books are protected by copyright 2024. Adding and/or sharing of content from the Create Bake Make website or recipe books to third party websites or platforms is prohibited.

    Foodie Pro on the Foodie Pro Theme

    Rate This Recipe

    Your vote:


    A rating is required
    A name is required
    An email is required

    Recipe Ratings without Comment

    Something went wrong. Please try again.