


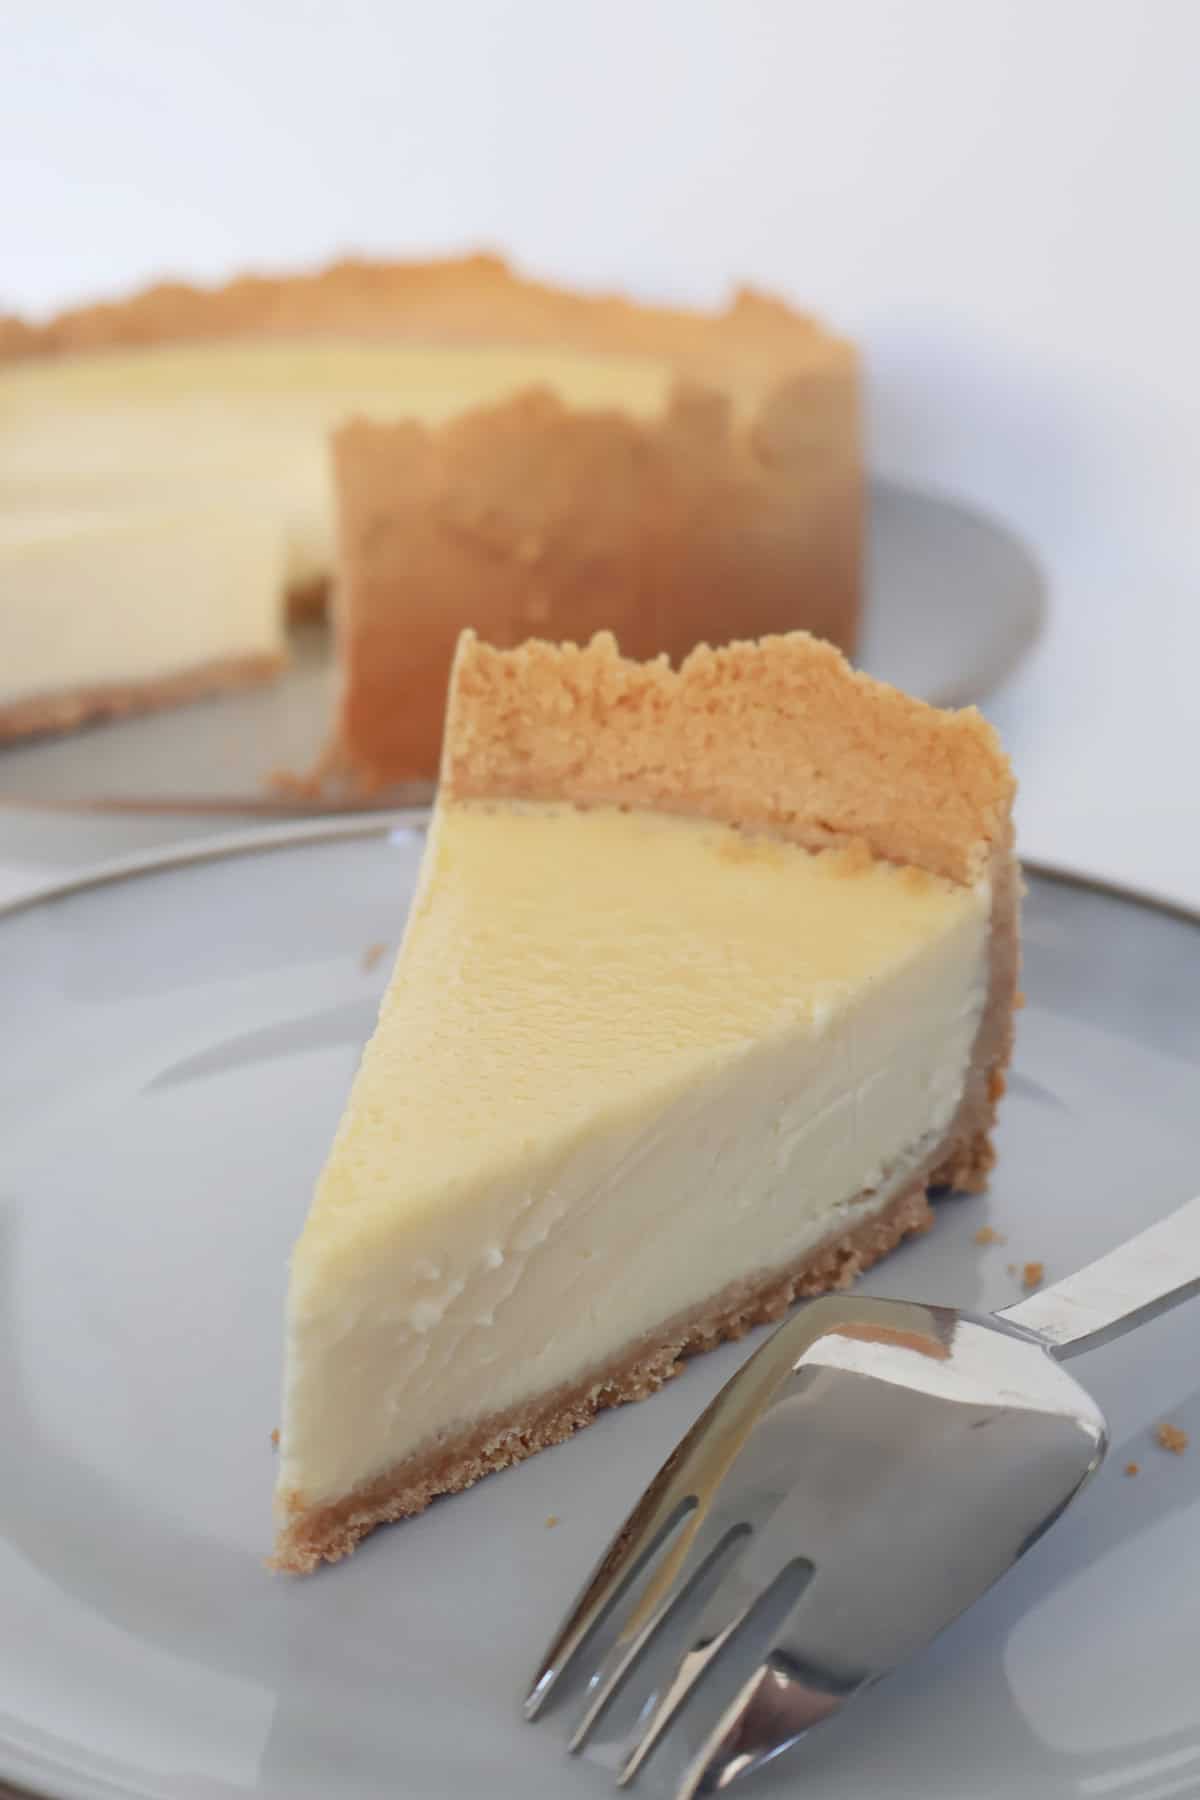
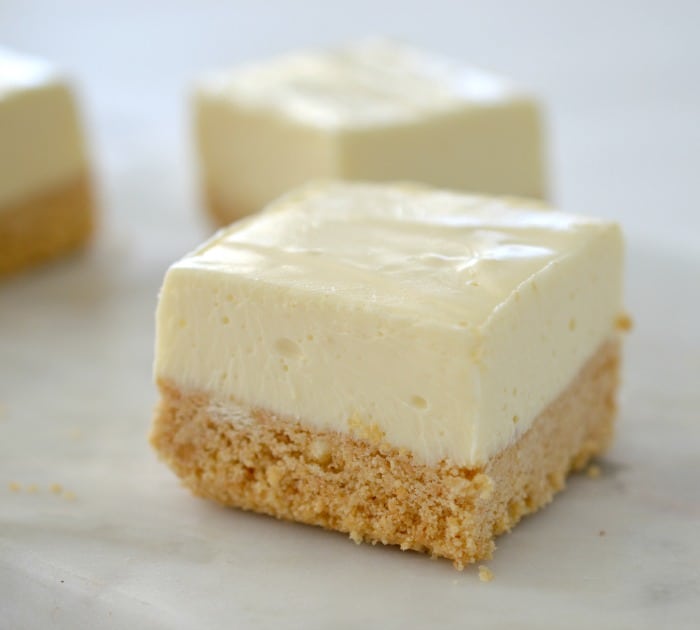
This Thermomix Baked Lemon Cheesecake recipe really is the ultimate dessert!
It is made with simple ingredients and requires very little prep time to put together. The trickiest thing about this cheesecake recipe is waiting for it to chill in the fridge! Both regular and Thermomix instructions included.
It’s no secret that I LOVE all things lemon, just take a look at my Lemon and Coconut Balls, Lemon Blondies, Lemon Butter Cake or this Lemon Cheesecake Slice – however this Baked Lemon Cheesecake may just top them all.
You will love that this Baked Lemon Cheesecake can be made up to two days in advance and it requires very little prep time to put together.
Ingredients
To make this Thermomix Baked Lemon Cheesecake you will need: cream cheese, lemon juice, lemon rind, caster sugar and eggs. For the cheesecake base you will need sweet biscuits (Marie Biscuits or similar) and melted butter.
How to make a Baked Lemon Cheesecake in a Thermomix
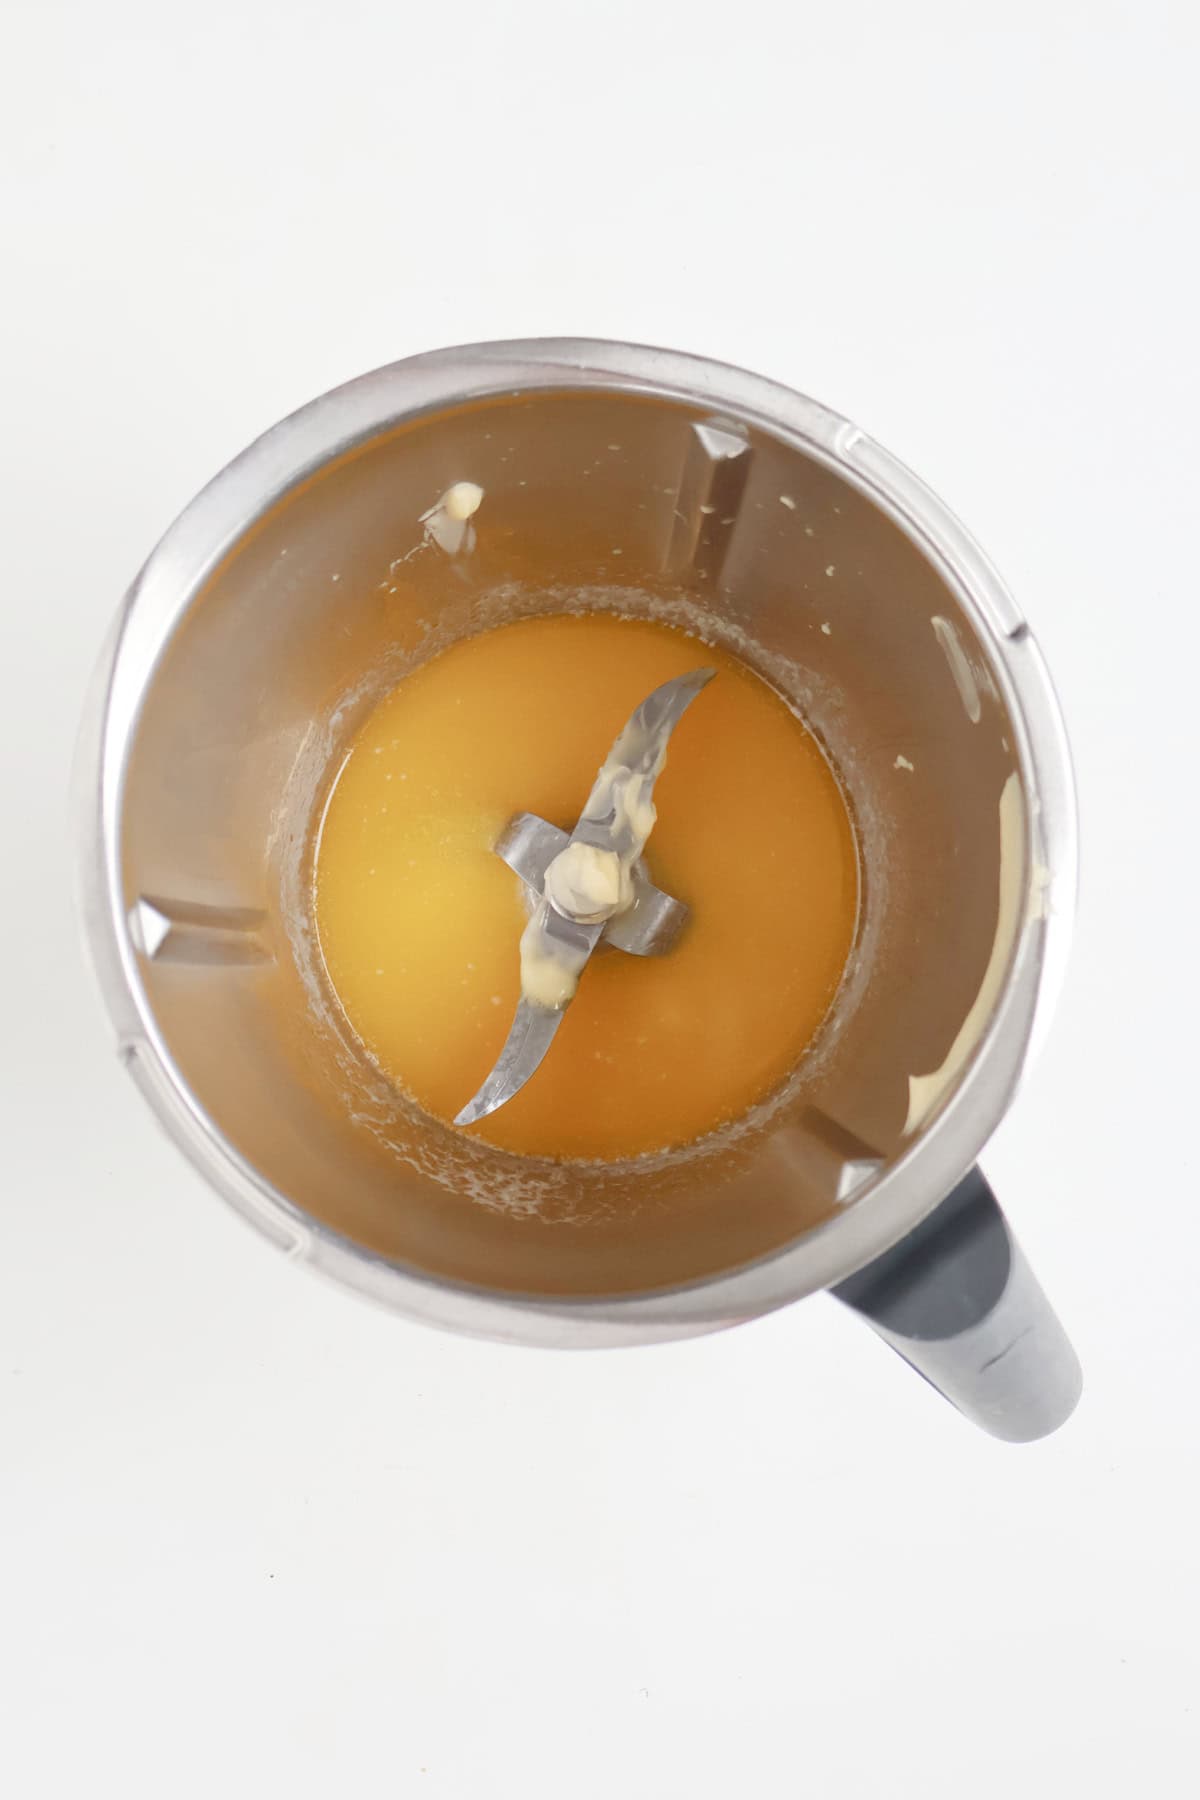
Step 1. Melt the butter.
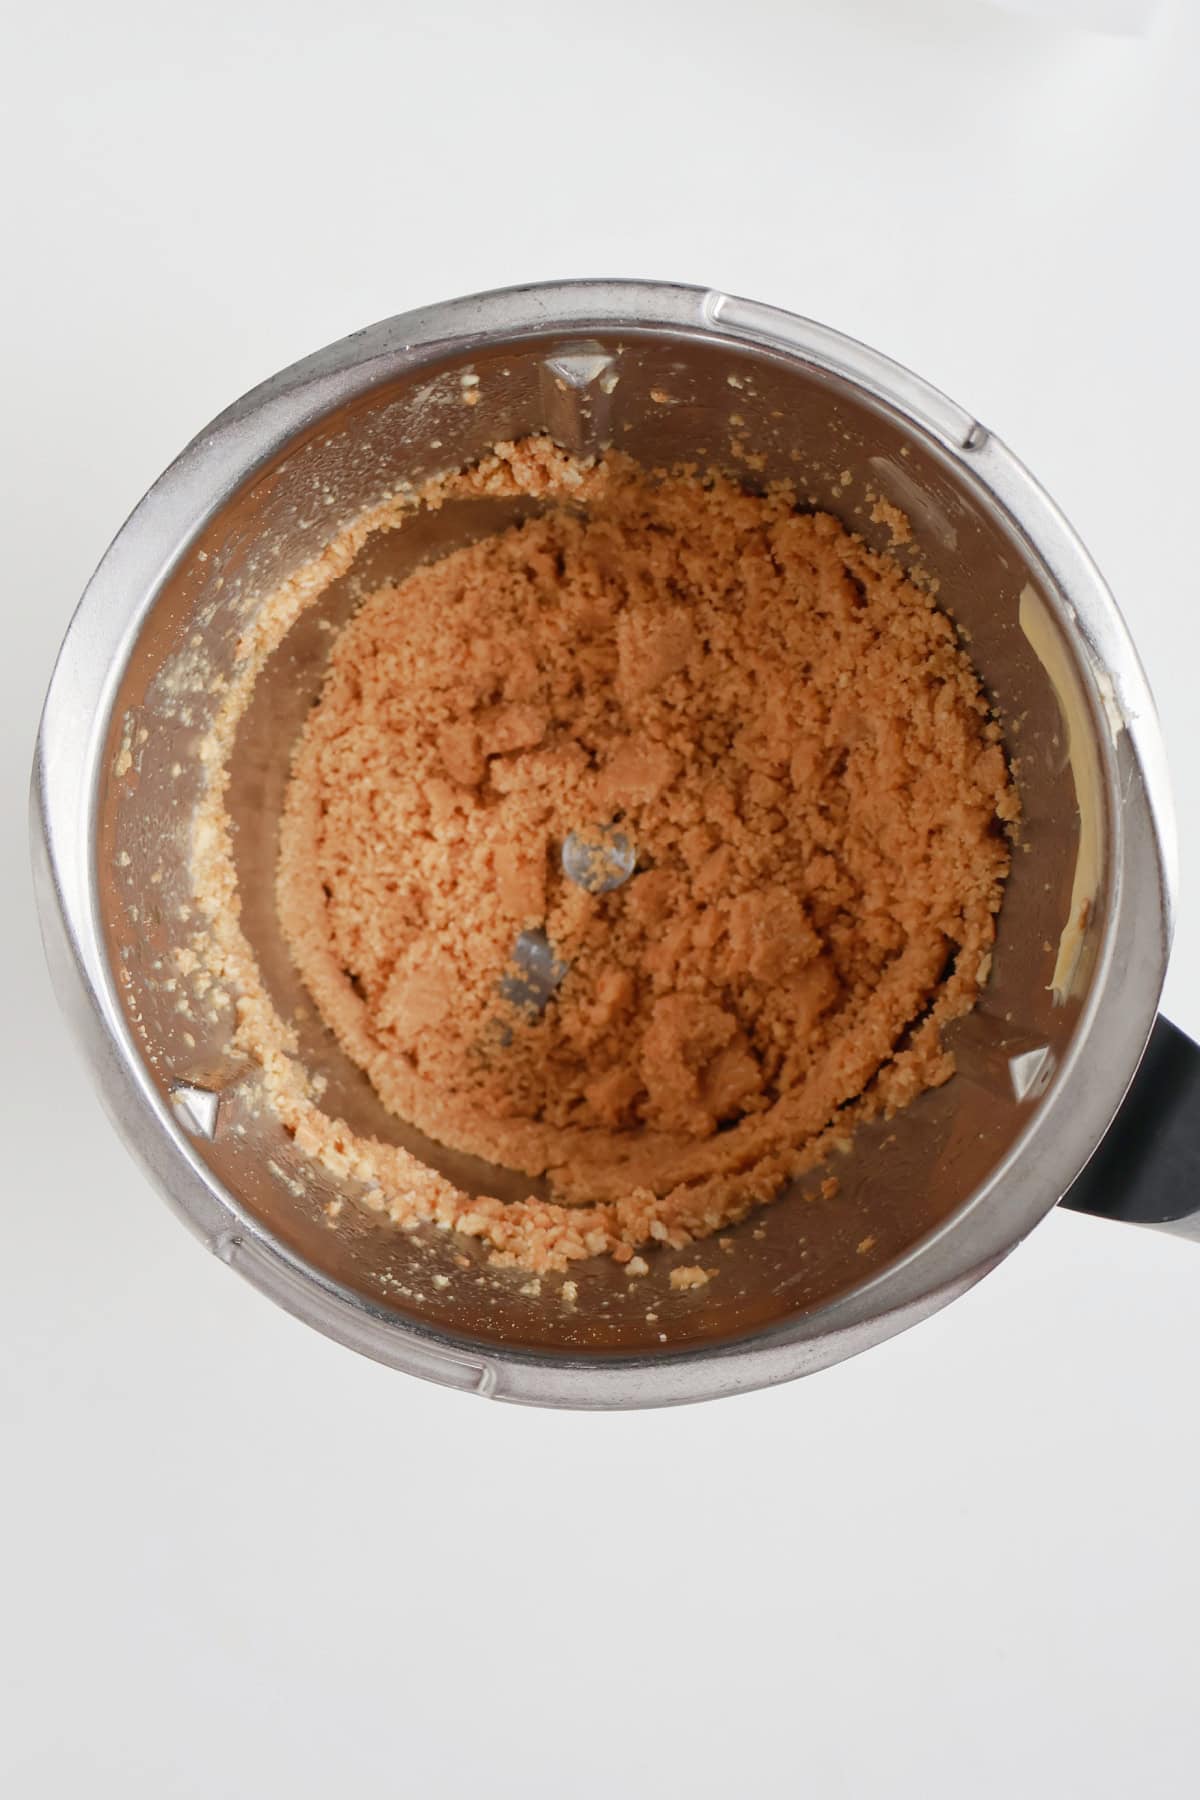
Step 2. Crush the biscuits and combine with the melted butter.
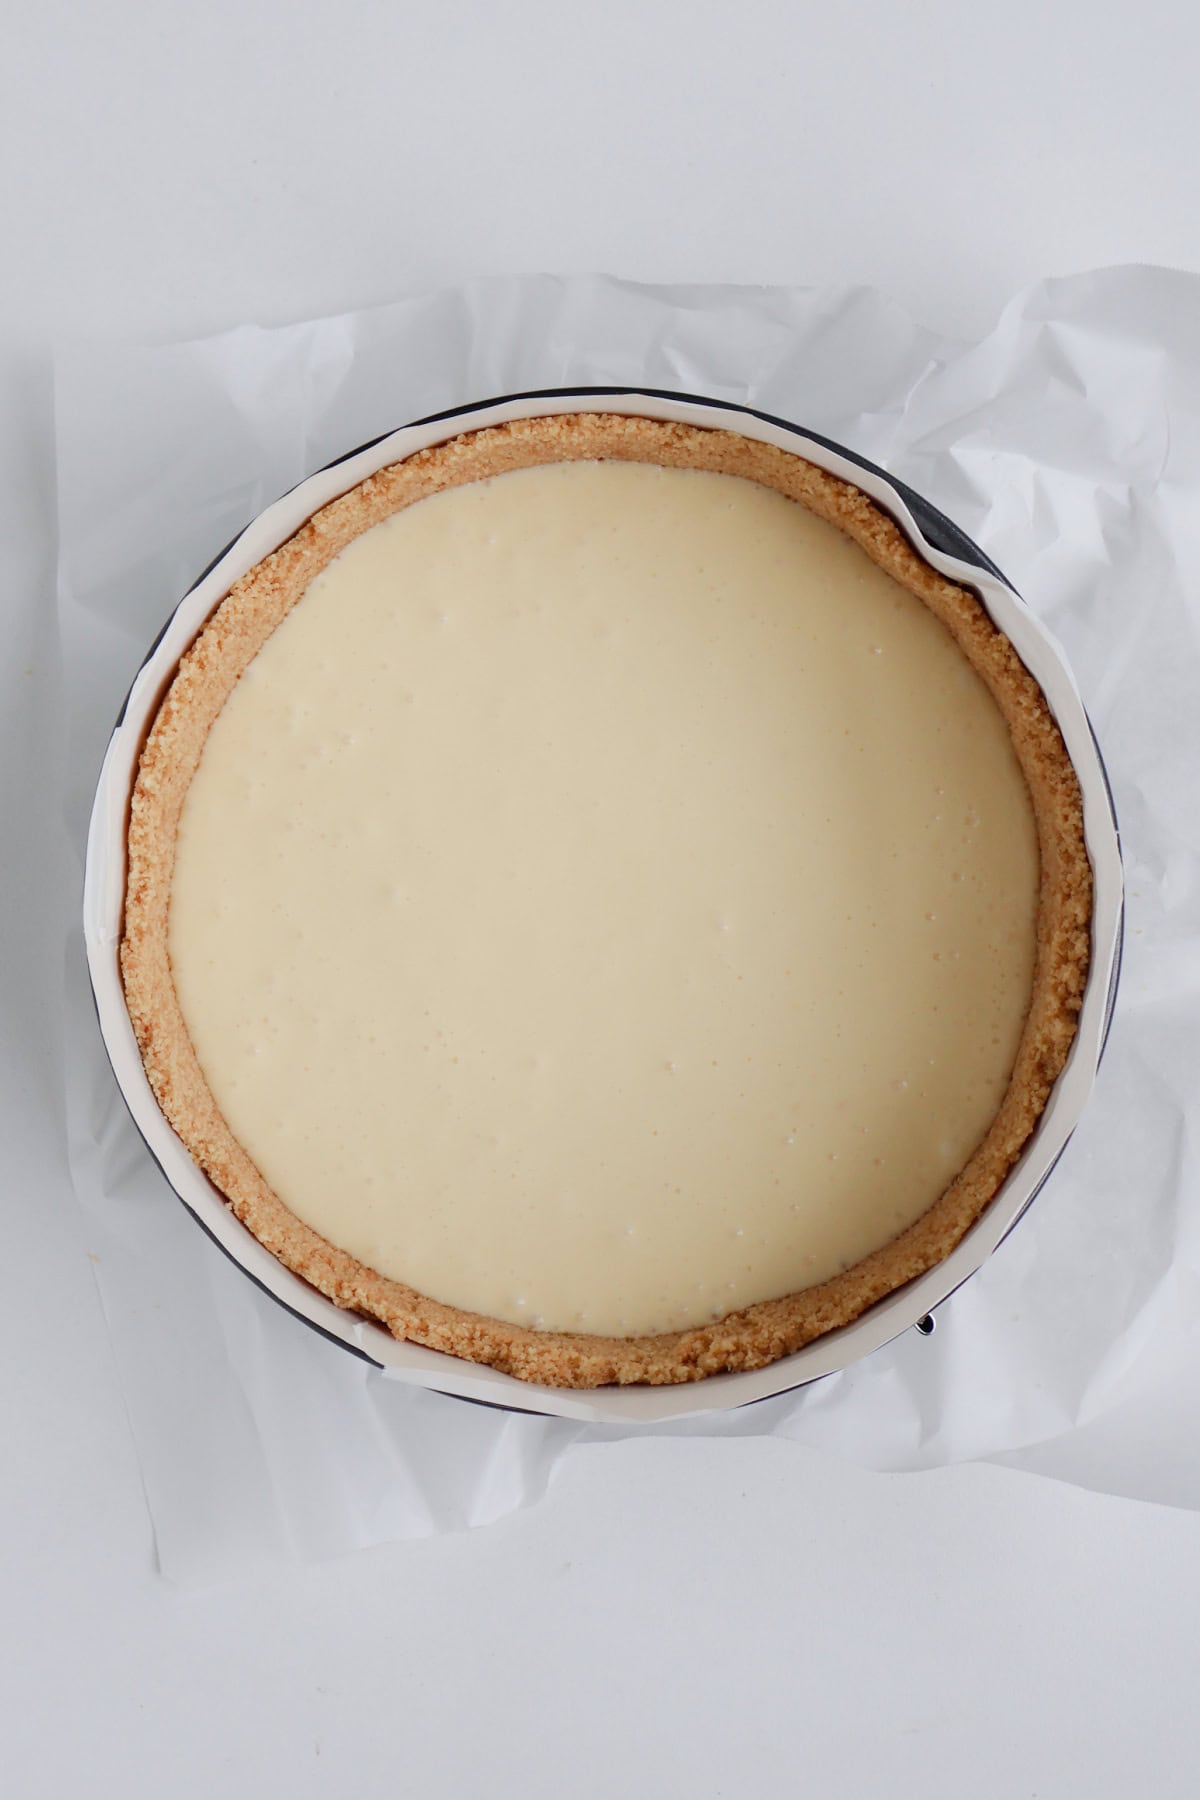
Step 3. Add the crushed biscuit mixture to the base and sides of a springform tin. Place into the fridge until needed.

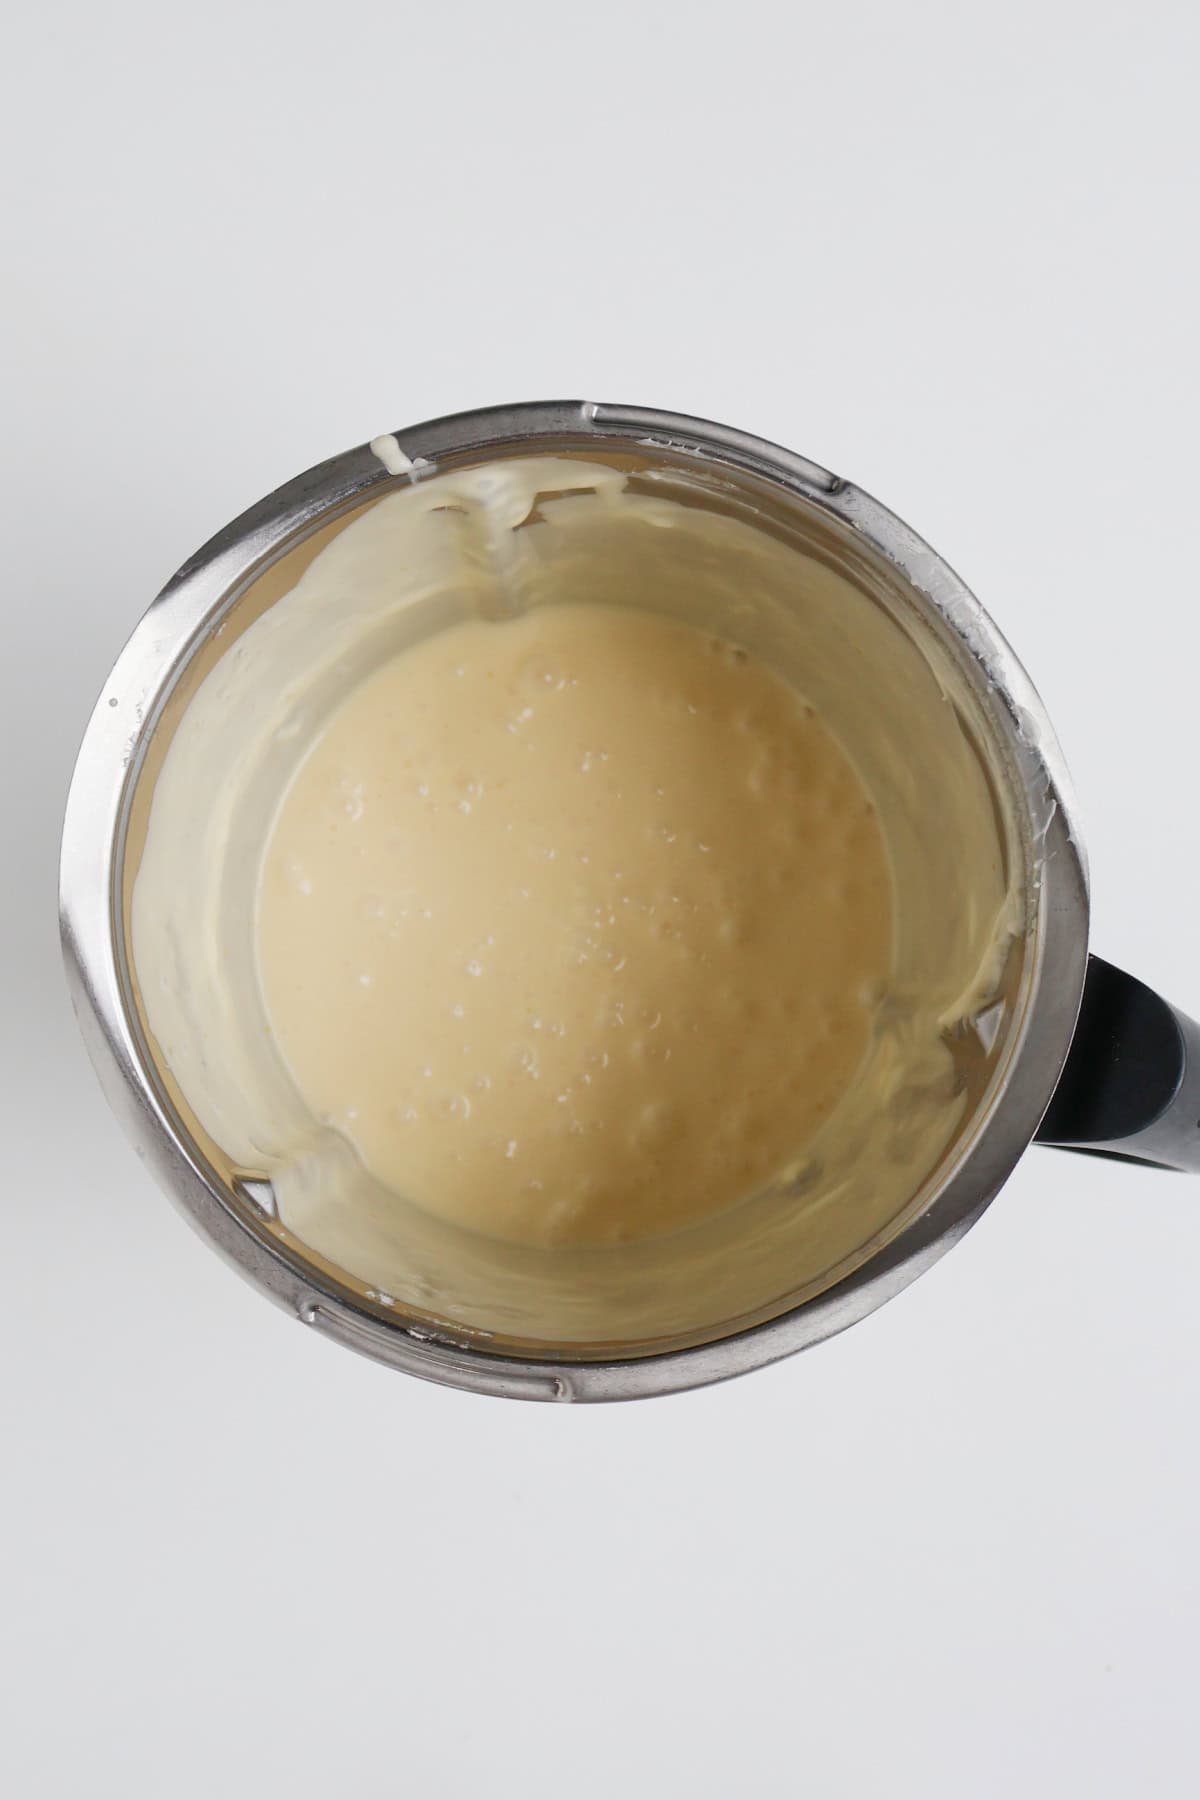
Step 4. In a clean bowl add the cream cheese and the caster sugar. Mix until smooth and well combined.
Step 5. Add the eggs, lemon juice and lemon rind and mix until well combined.
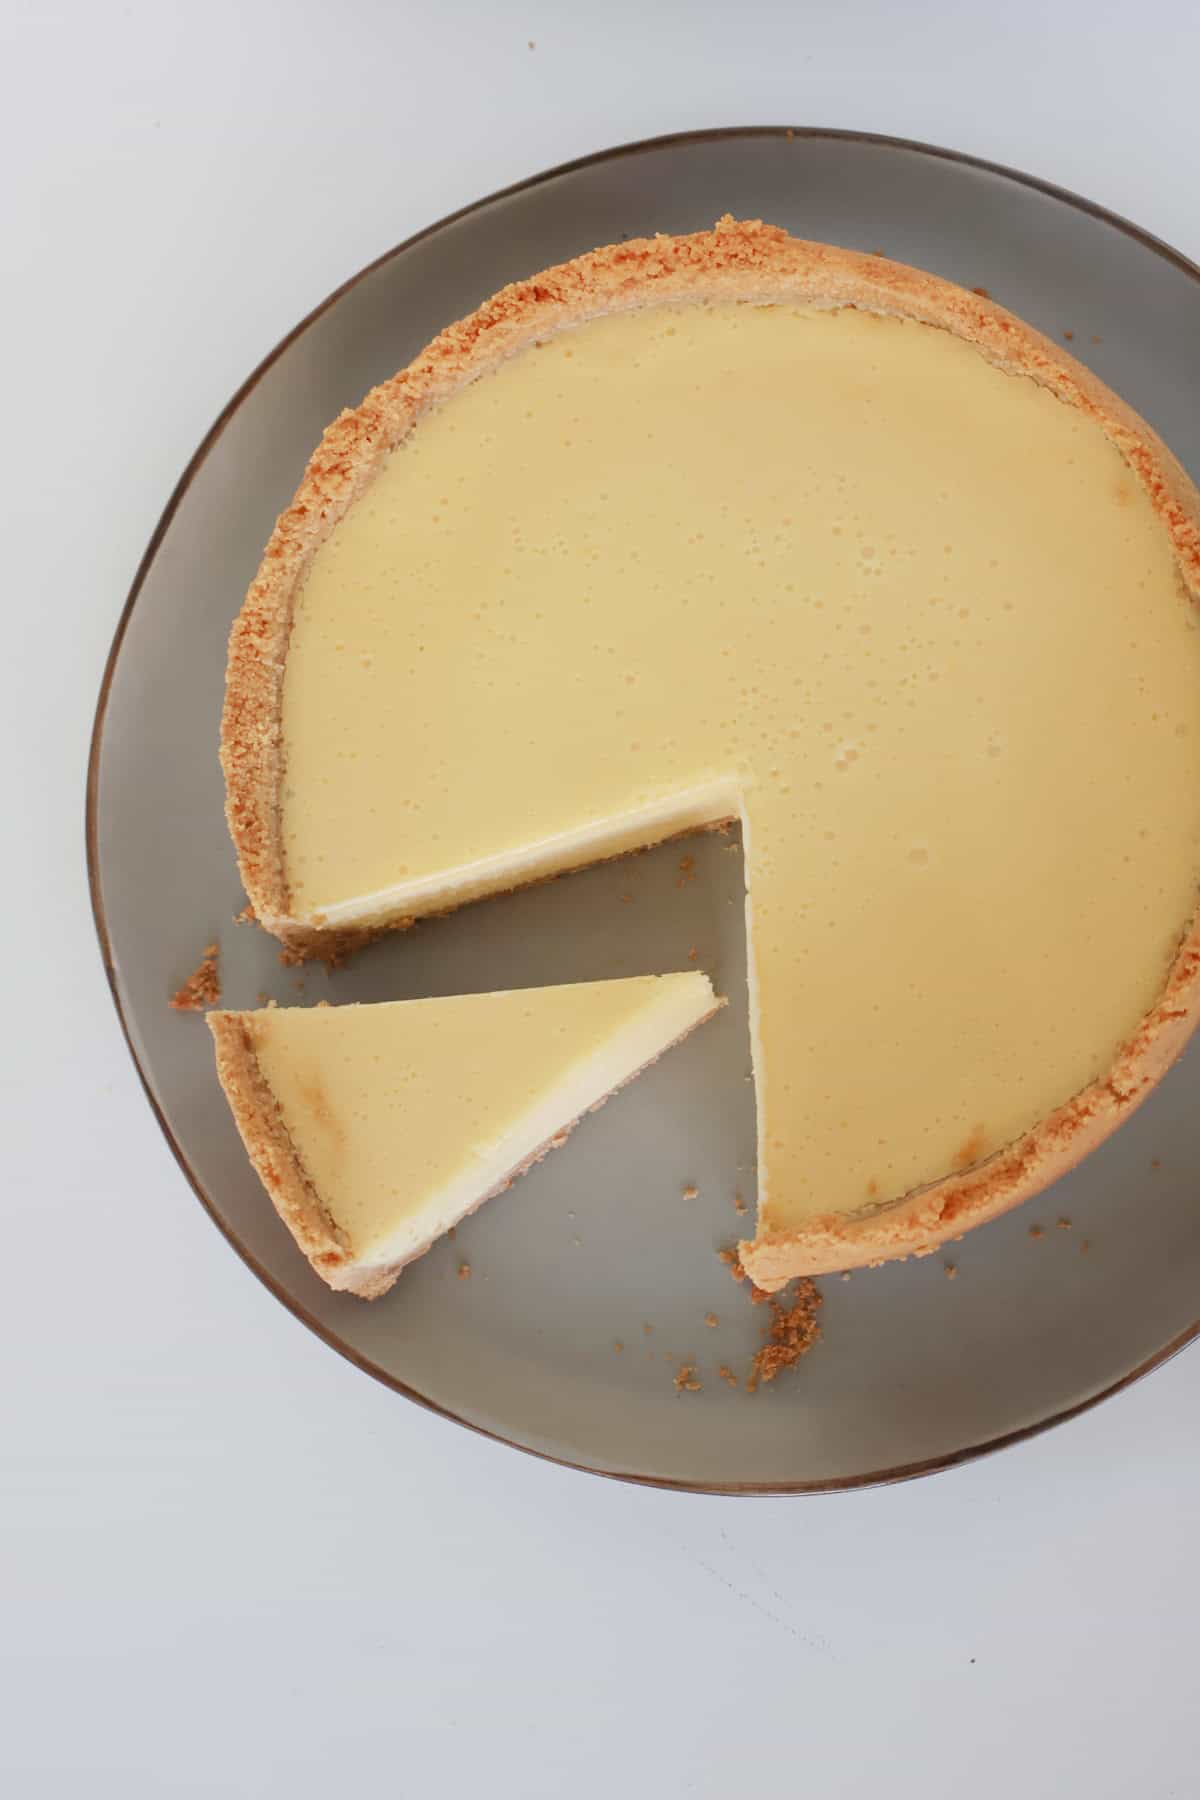
Step 6. Pour the cheesecake mixture over the biscuit base before placing into the oven.
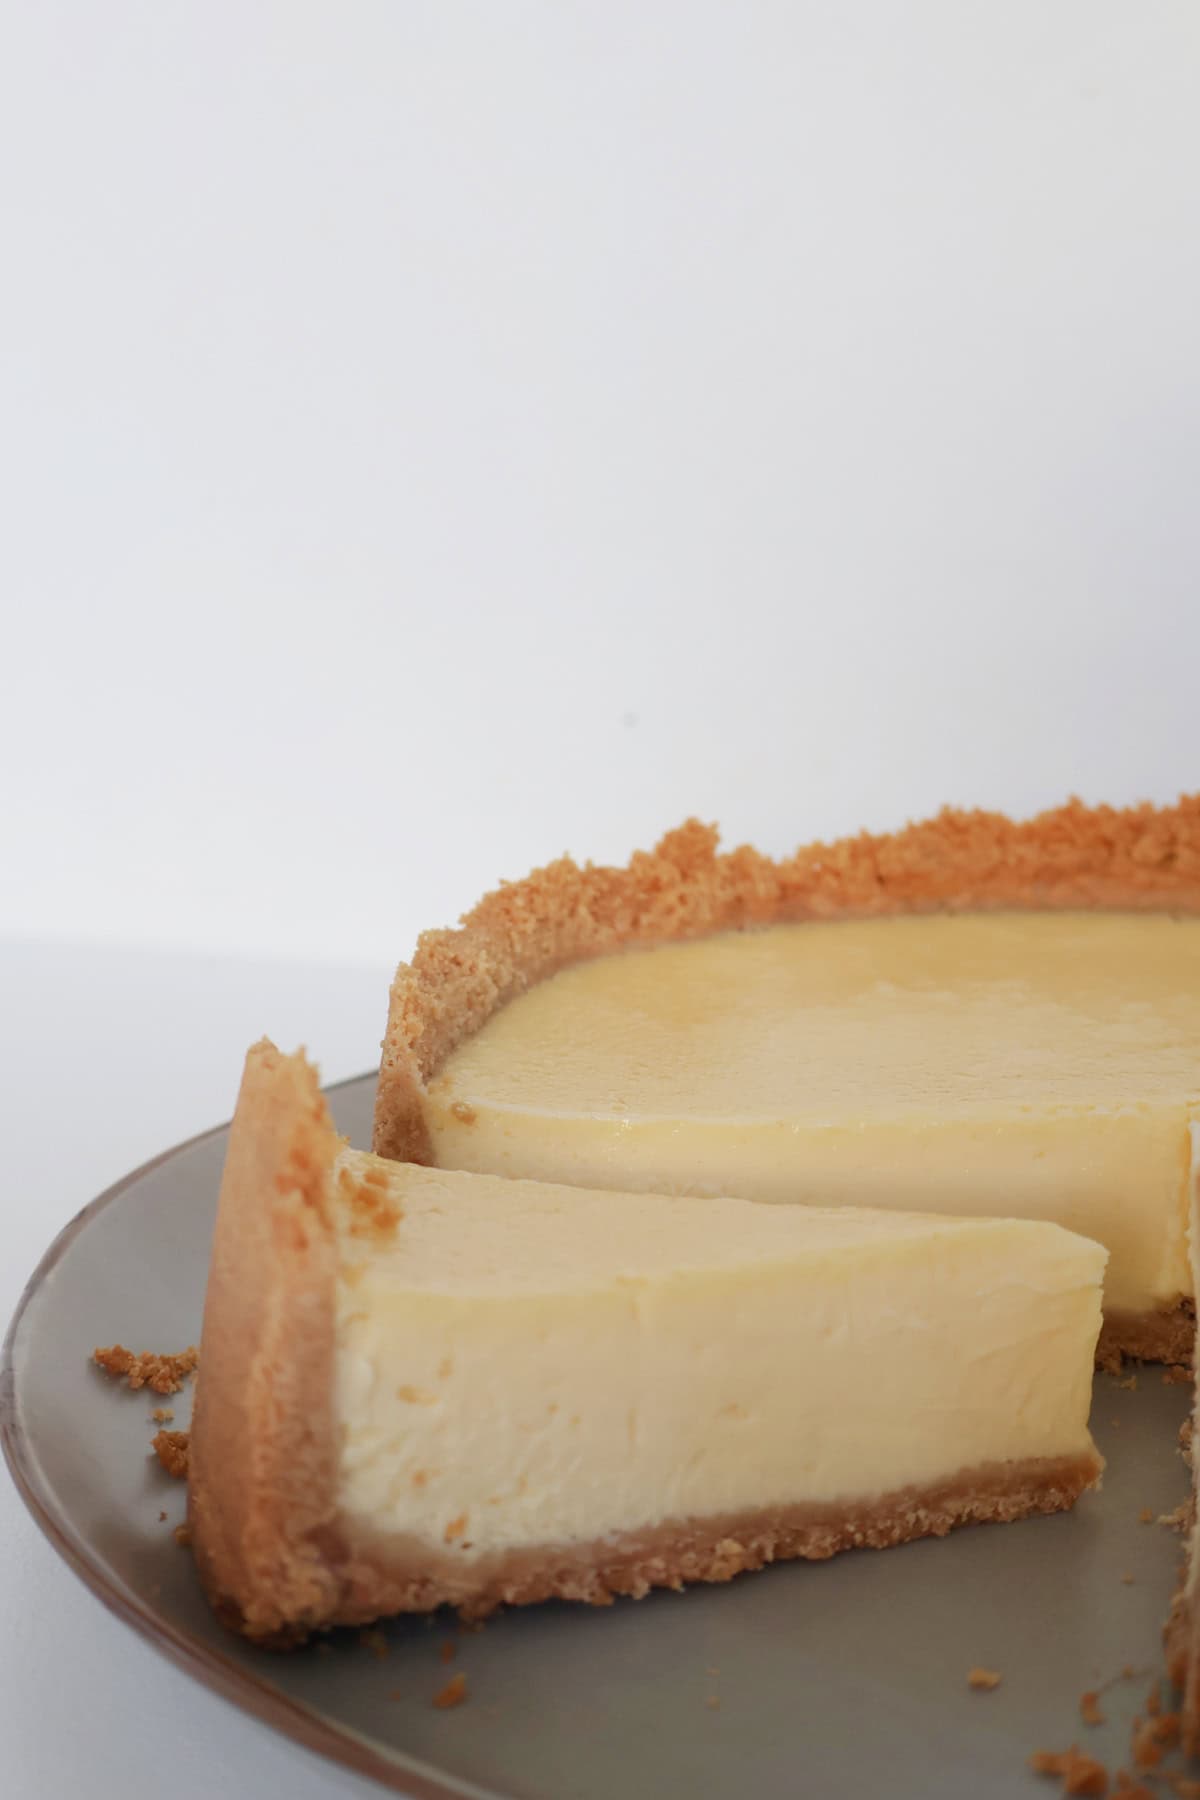
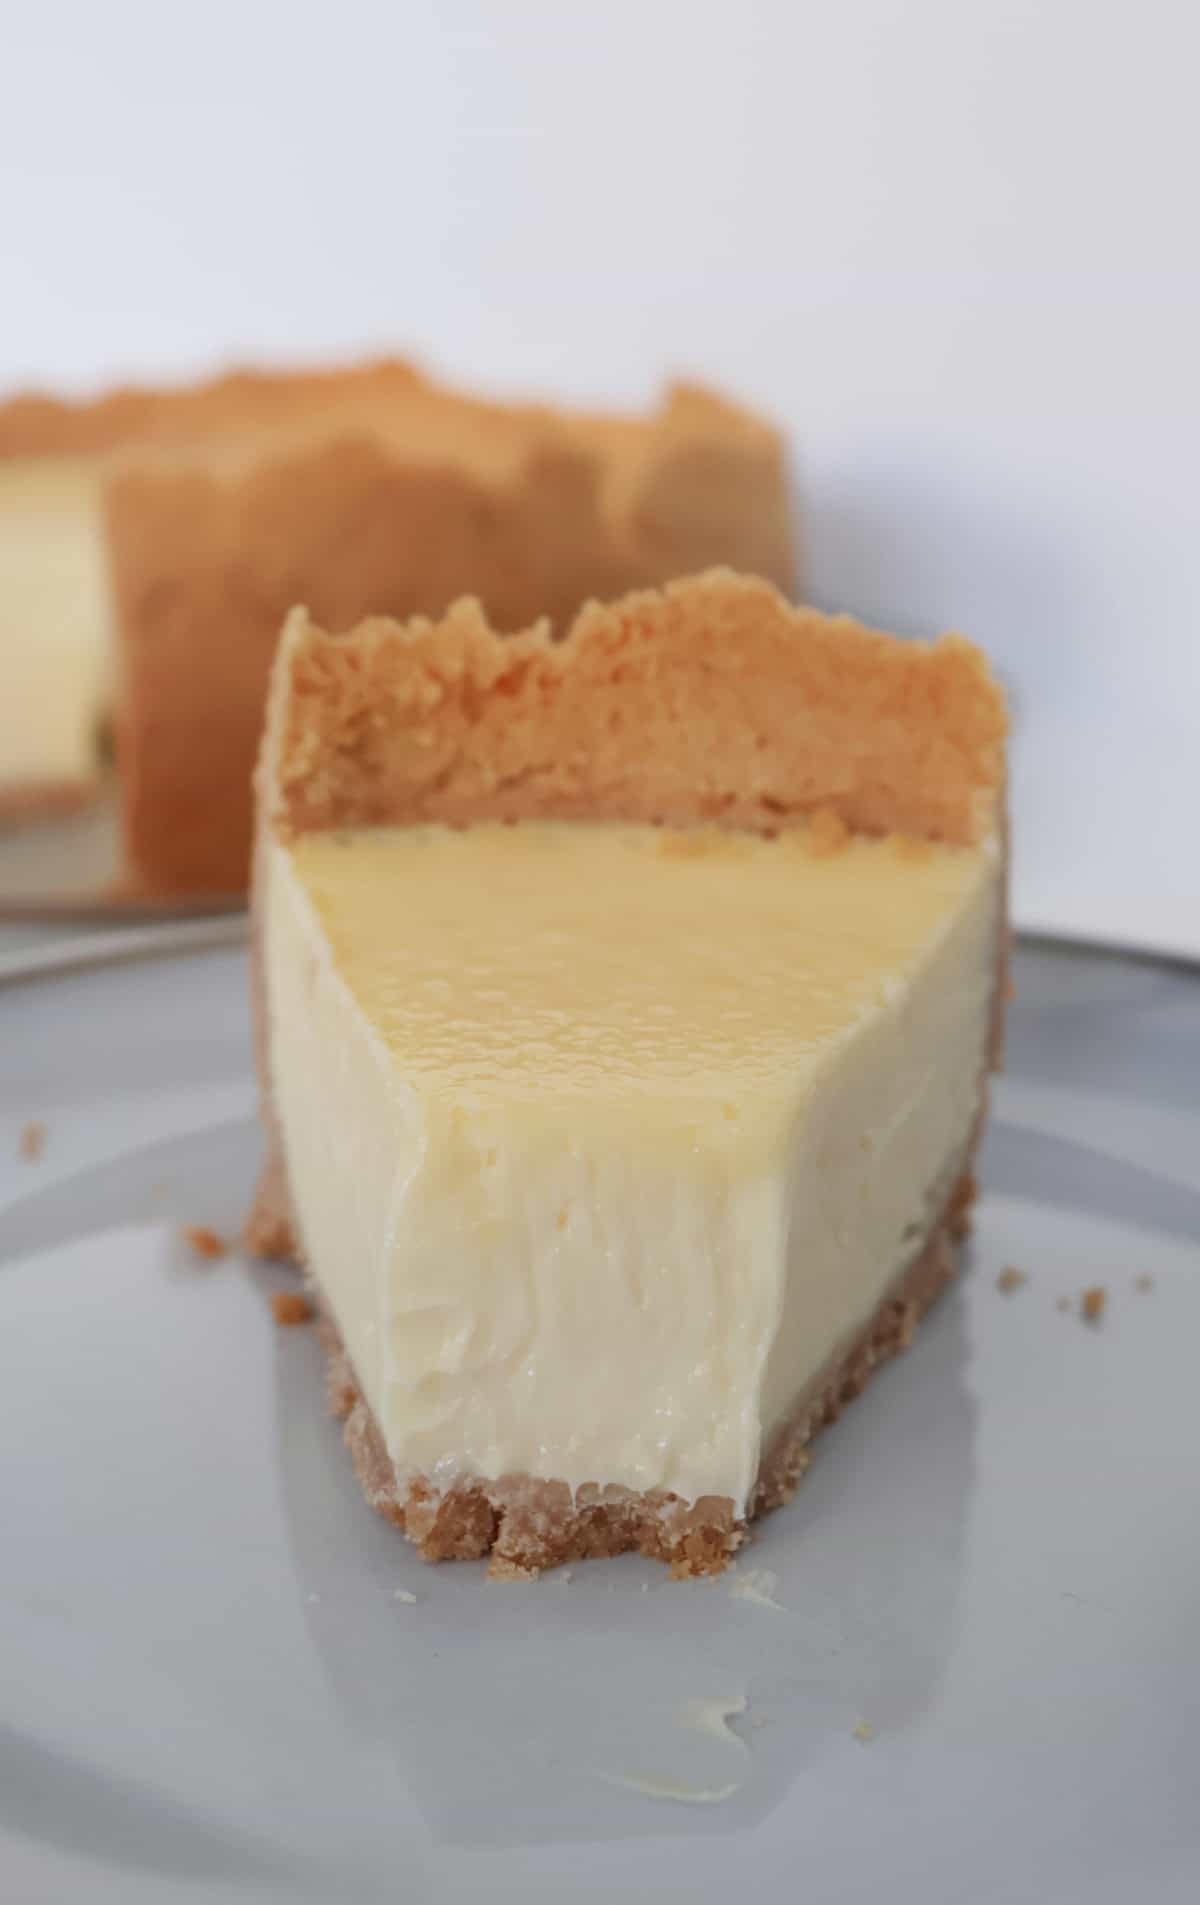
Step 7. Allow the cheesecake to completely cool in the oven (with the door slightly ajar) before placing into the oven to chill.
Recipe Hints and Tips
Use a flat bottomed glass to assist pushing the biscuit crumb up the sides of the springform tin.
Remove the cream cheese from the fridge 30 – 60 minutes before required to soften. This will allow the cream cheese to soften and incorporate better with the caster sugar.
It is important to allow the cheesecake to fully cool in the oven before transferring to the fridge to chill. This helps to prevent the cheesecake from cracking.
Once baked store in the fridge in an airtight container and consume within five days.
Frequently Asked Questions
While fresh lemon juice is best, you can also use store bought or bottled lemon juice.
You can freeze some types of cheesecake. This Thermomix Baked Lemon Cheesecake can be frozen for up to two months.
You may also enjoy
Although you will find the Thermomix instructions for this recipe below, you can check out this original Baked Lemon Cheesecake post for the regular instructions.
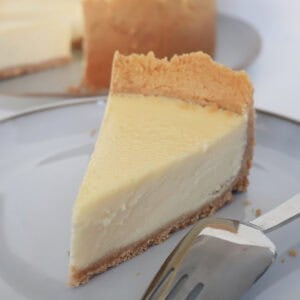
Thermomix Baked Lemon Cheesecake Recipe
Equipment
- 1 x 20cm springform tin
Ingredients
- 250 grans plain biscuits Marie or similar
- 150 grams butter Melted
- 500 grams cream cheese softened
- 155 grams caster sugar
- 3 teaspoons lemon rind finely grated
- 3 eggs
- ¼ cup lemon juice
Instructions
- Preheat your oven to 160 degrees celsius – fan forced.
- Line the base and sides of a 20cm round springform tin with baking paper.
- Place the butter (cut into cubes) into your Thermomix bowl and melt for 3 mins, 60 degrees, Speed 2.
- Add the biscuits and mix for 10 seconds, speed 5 to crush. If they haven’t quite crushed, mix for a further 5 seconds on speed 5.
- Press the mixture over the base and sides of the prepared springform tin using the back of a metal spoon. Pop into the fridge to chill for 15 minutes.
- In a clean Thermomix bowl, softened cream cheese, caster sugar and lemon rind and mix for 40 seconds, speed 4.
- Scrape down the sides of the bowl and mix for a further 30 seconds, speed 5 or until the mixture is smooth.
- Turn the Thermomix onto speed 3 and remove the measuring cup from the Thermomix lid. Add the eggs one at a time through the hole, letting each egg mix through for around 10 seconds before adding the next one.
- Replace the measuring cup and add the lemon juice and mix for 20 seconds on speed 4. By this stage your lemon cheesecake mixture will be beautiful and creamy.
- Pour the mixture into the springform tin and bake in the oven for approximately 50 minutes or until the filing has just set – don’t worry if it’s still a little wobbly in the centre, it will firm.
- Cool your cheesecake in the oven with the door slightly ajar, before transferring to the fridge for a minimum of 6 hours (preferably overnight) to chill completely,
Notes
Nutrition
Looking for more?
For more easy and delicious cheesecake recipes, check out our Thermomix Cakes and Cheesecakes ebook (regular version available here) along with our entire range of recipe ebooks here.

Rena
Hi, how long can I keep this in the fridge for? Thank you!
Lauren Matheson
Hi Rena, you can keep this in the fridge for up to five days.
Amy
Could I freeze this after making it I I don’t eat it all?
Lauren Matheson
Yes you sure can 🙂
Leanne
I usually make a stock standard lemon cheesecake with condensed milk, and I didn’t have any condensed milk. Last time, my boss mentioned she likes “and makes and awesome” baked cheesecake.
So, while I was happy to see this recipe didn’t have condensed milk, I was concerned about making a baked cheesecake for ‘the awesome cheesecake maker’…..
Thank you for this easy recipe. Thankfully I left enough time for the cooling and the refrigerating!!
She iiked it!!! Yay!!