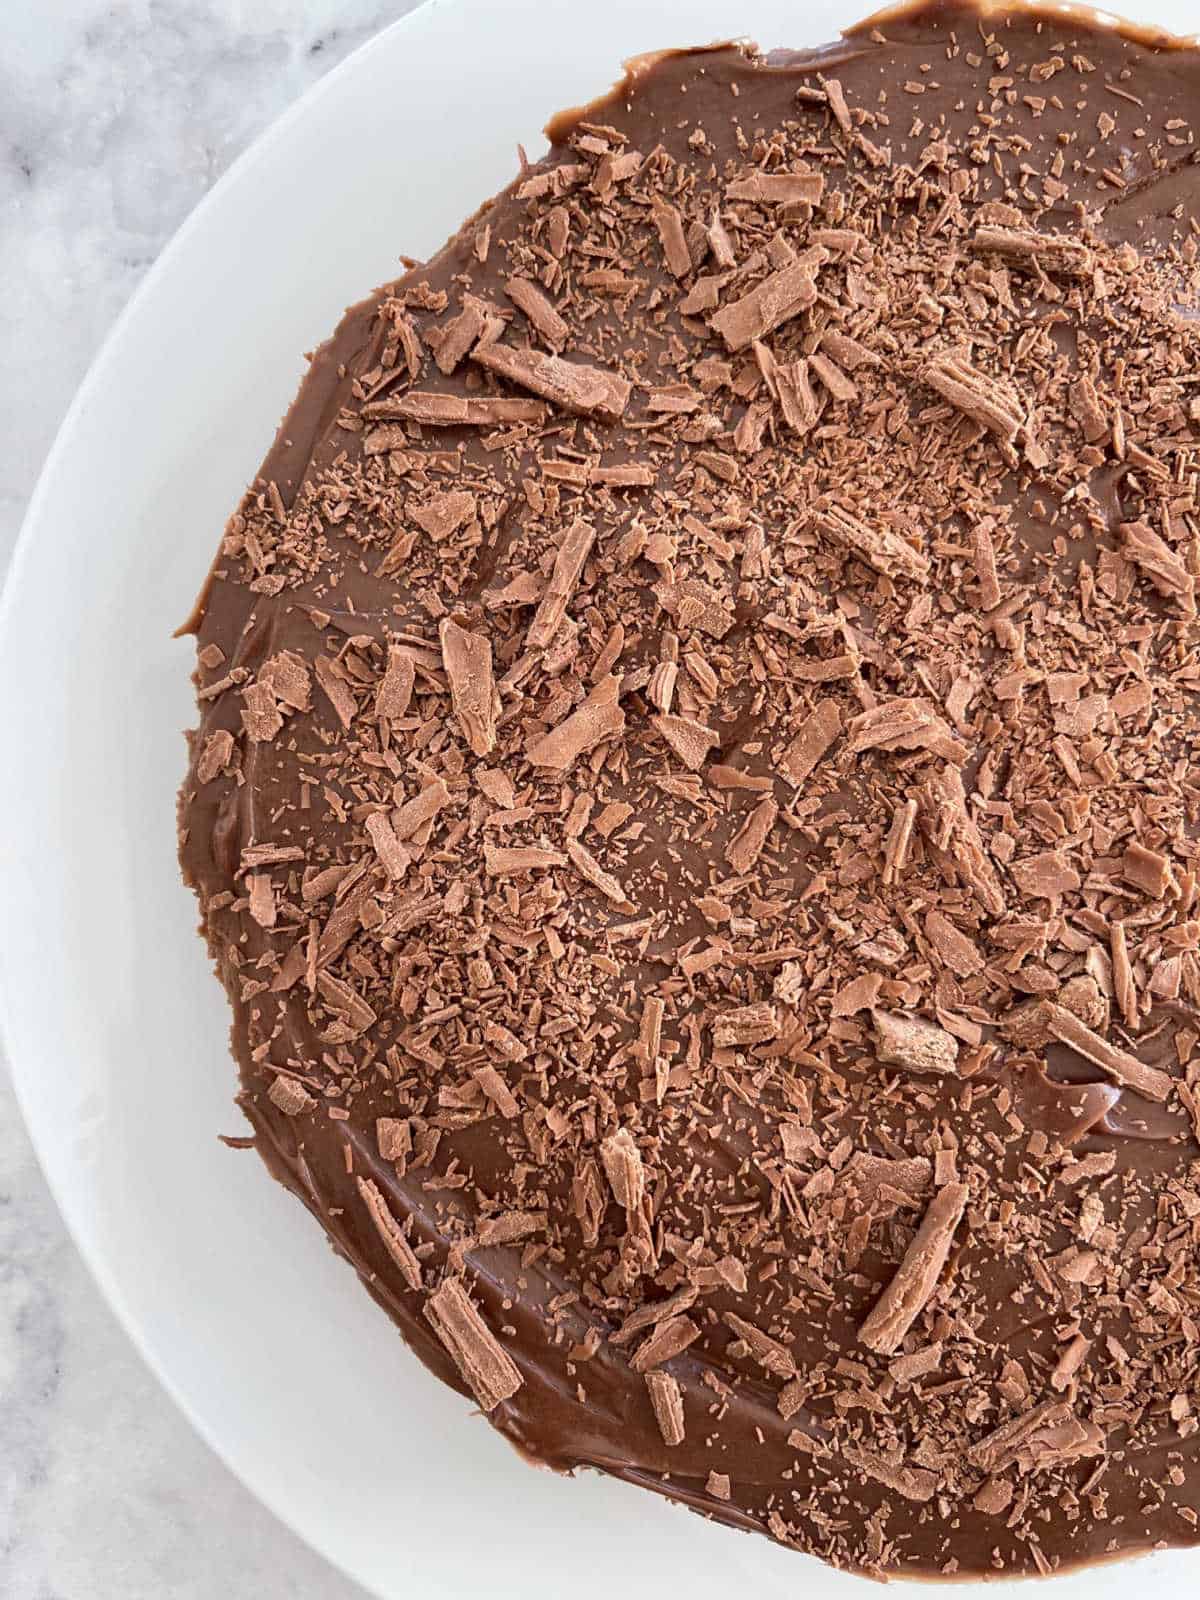
This easy no bake Nutella Cheesecake is made using just SIX ingredients! It is a perfect dessert for your next special occasion and best of all it can be made a day or two ahead of when you need to serve. You can decorate the top fo this cheesecake with roasted hazelnuts or sprinkle with chocolate flakes. Both regular and Thermomix instructions are included.
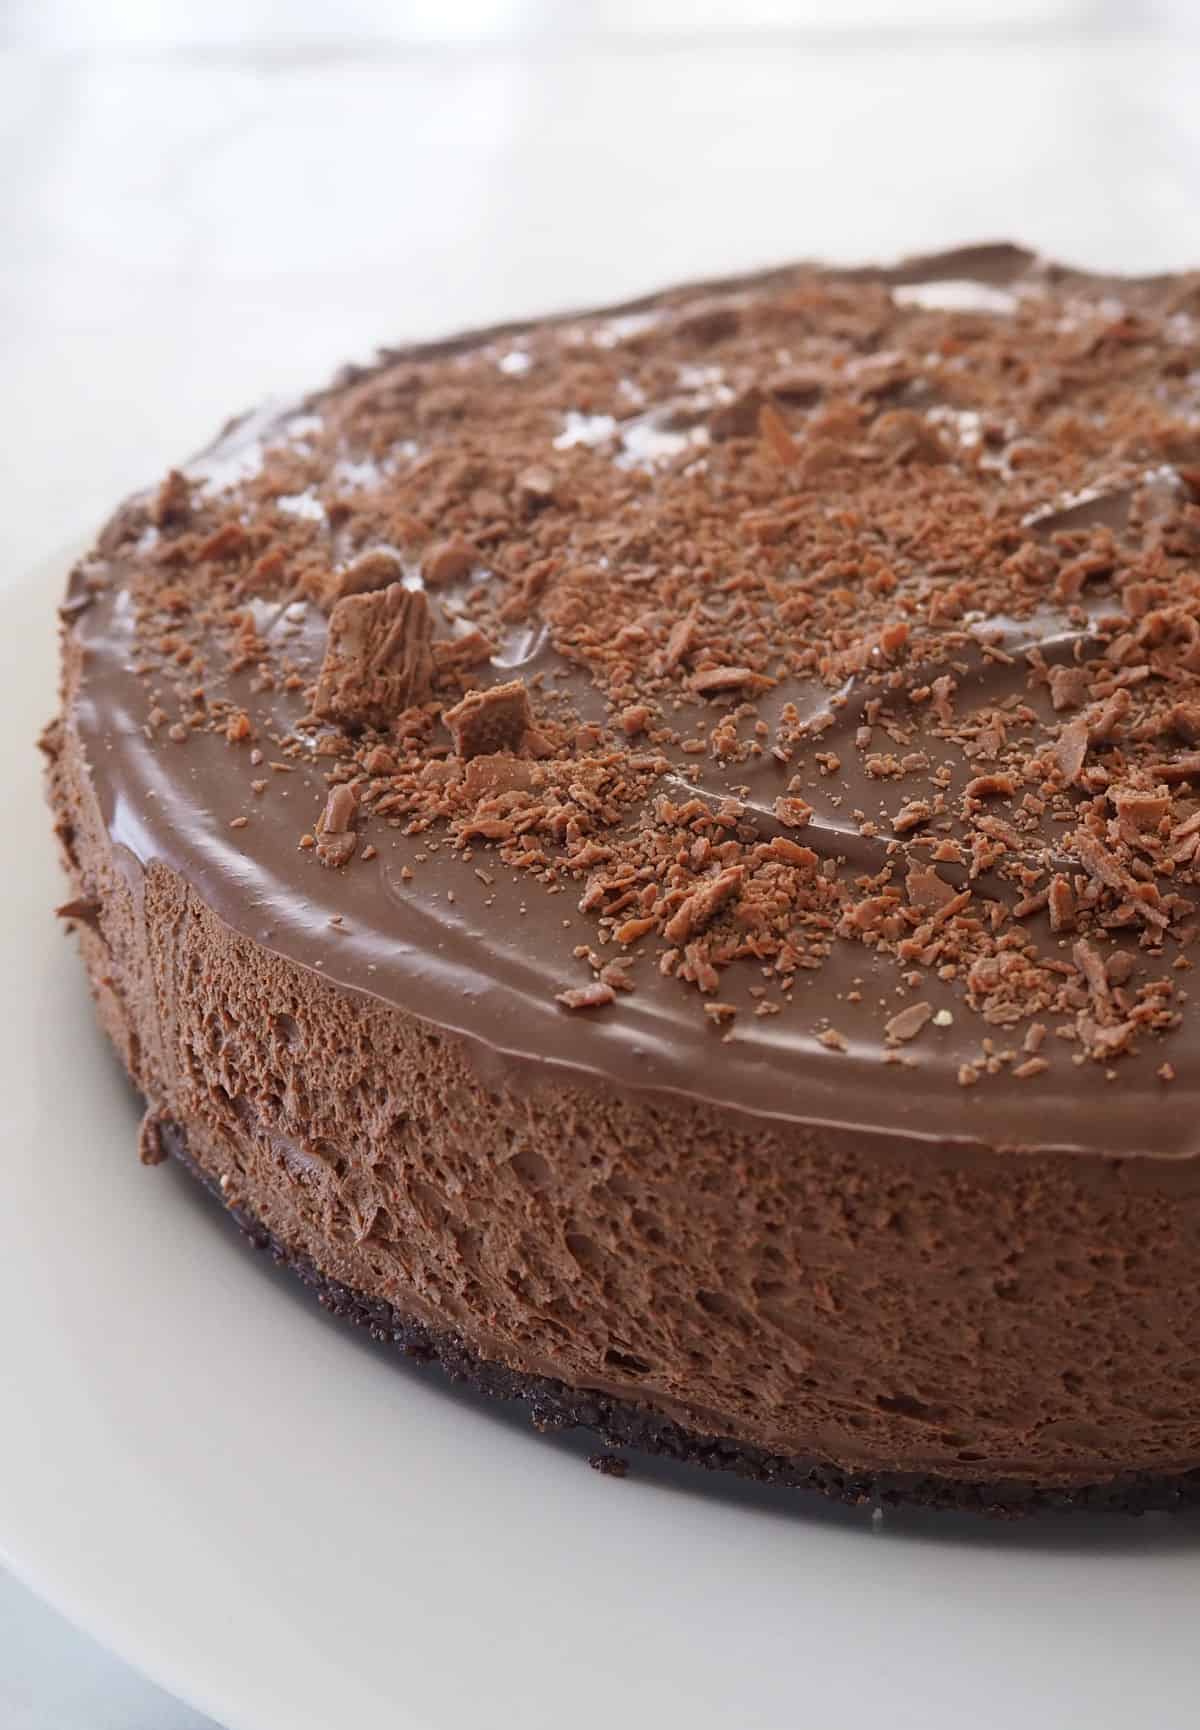
Why you will love this recipe:
- Creamy and packed with flavour – you won’t be able to resist this delicious dessert!
- No Bake – this recipe is made with no baking at all!
- Make ahead – you can make this cheesecake up to two days before you plan to serve it. Simply cover and store in the fridge until needed.
- Versatile – top your cheesecake with roasted hazelnuts or chocolate flakes.
- Serves a crowd – this cheesecake can serve up to ten people, perfect if you are entertaining.
- Six Ingredients – it doesn’t get better than that!
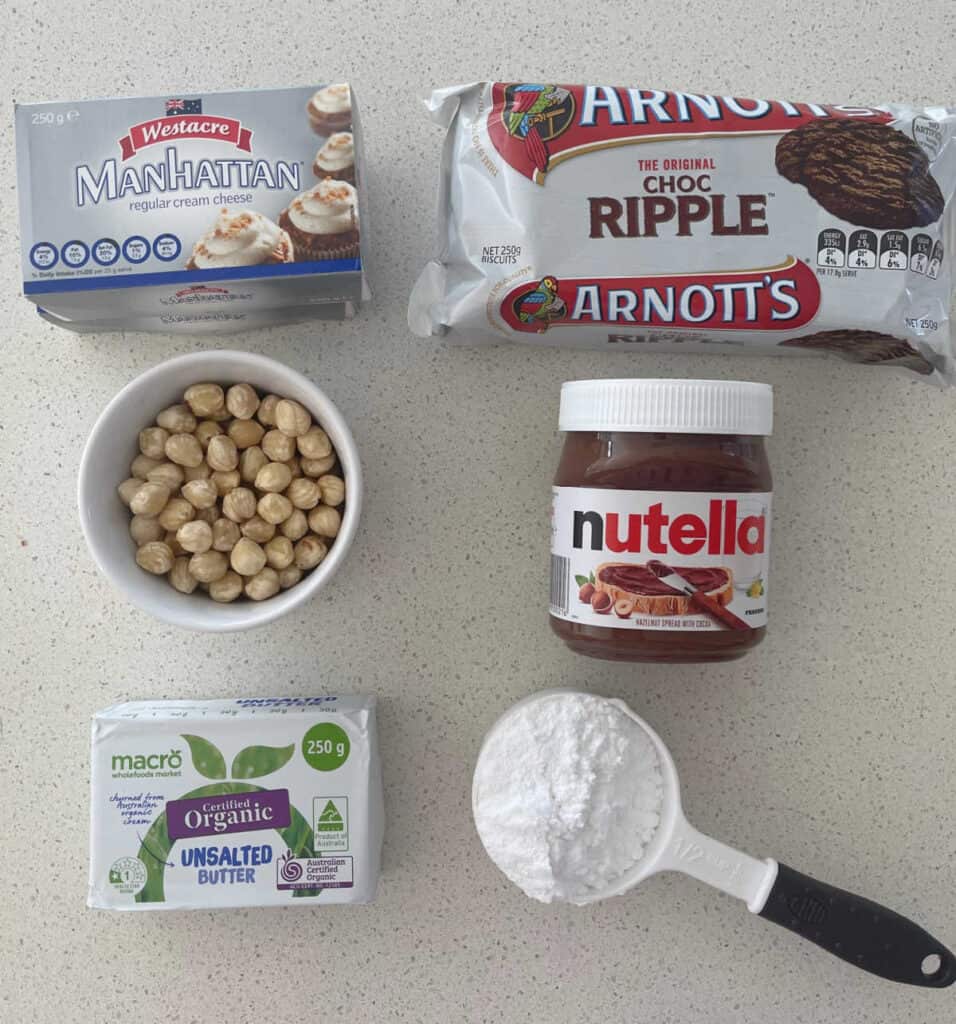
Nutella Cheesecake Ingredients:
Please note you will find the full ingredient list and method in the recipe card below:
- Butter – I use unsalted butter.
- Cream Cheese – you will need two x 250 gram blocks of cream cheese to make this recipe.
- Chocolate Biscuits – you can use any type of chocolate sweet biscuit for this recipe, I use Arnott’s Chocolate Ripple Biscuits which are pictured below.
- Hazelnuts – you can use hazelnut meal instead of crushing your own if you prefer.
- Icing Sugar – I recommend using Pure Icing Sugar.
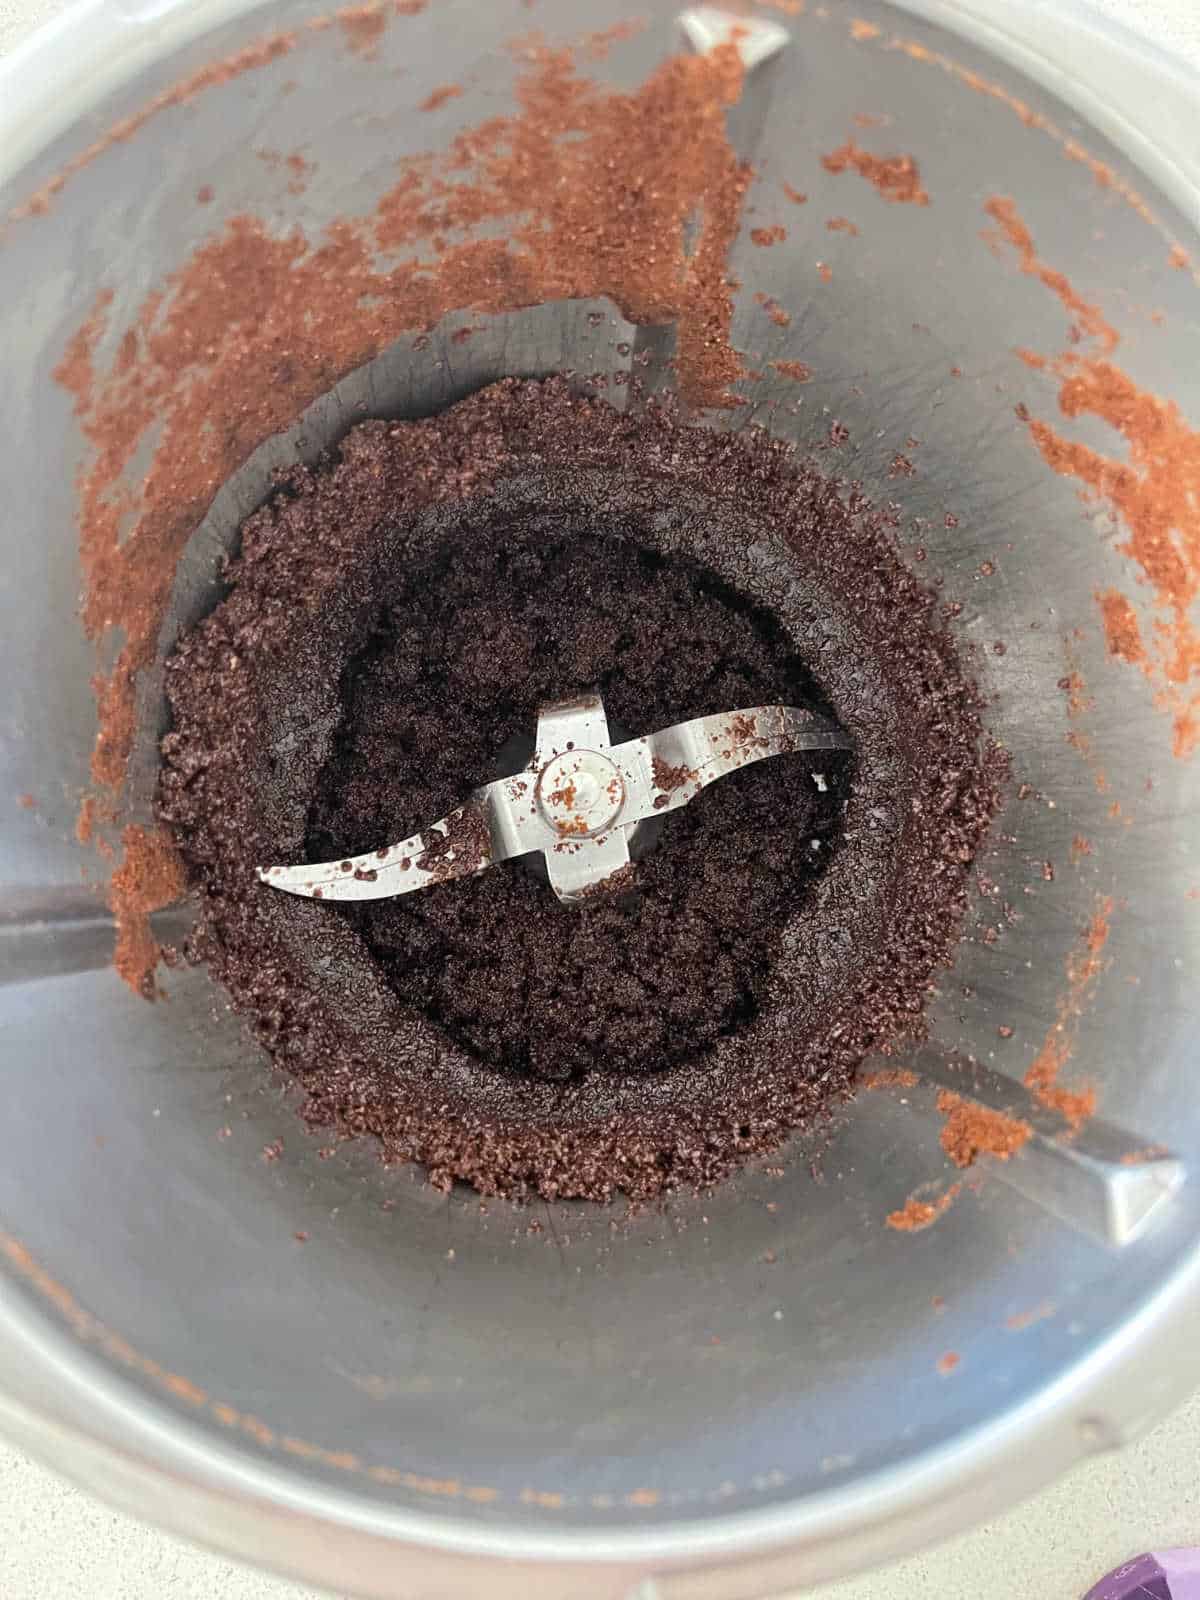
How to make a Nutella Cheesecake
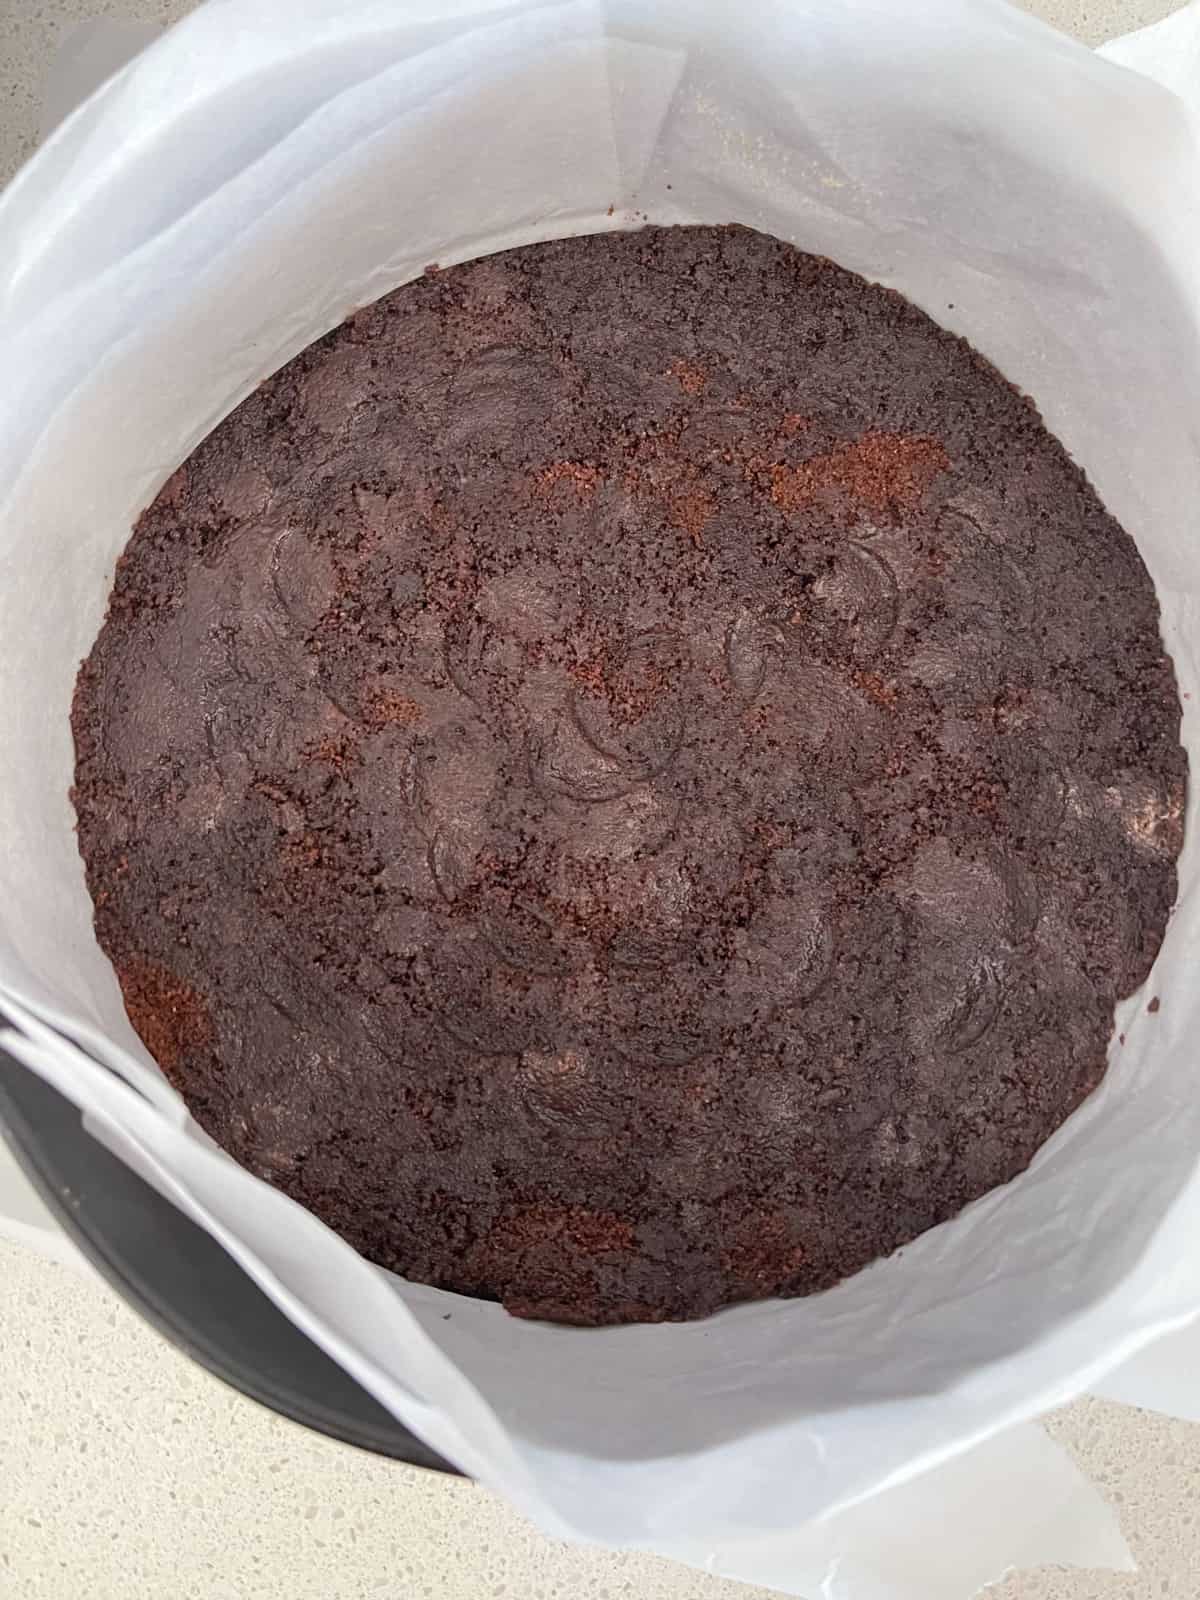
- Combine the biscuits and crushed hazelnuts/hazelnut meal.
- Add the melted butter and mix well until combined.
- Transfer the biscuit crust to your prepared spring tin and use the back of a spoon to press into the tin and flatten the surface. Place into the fridge until needed.
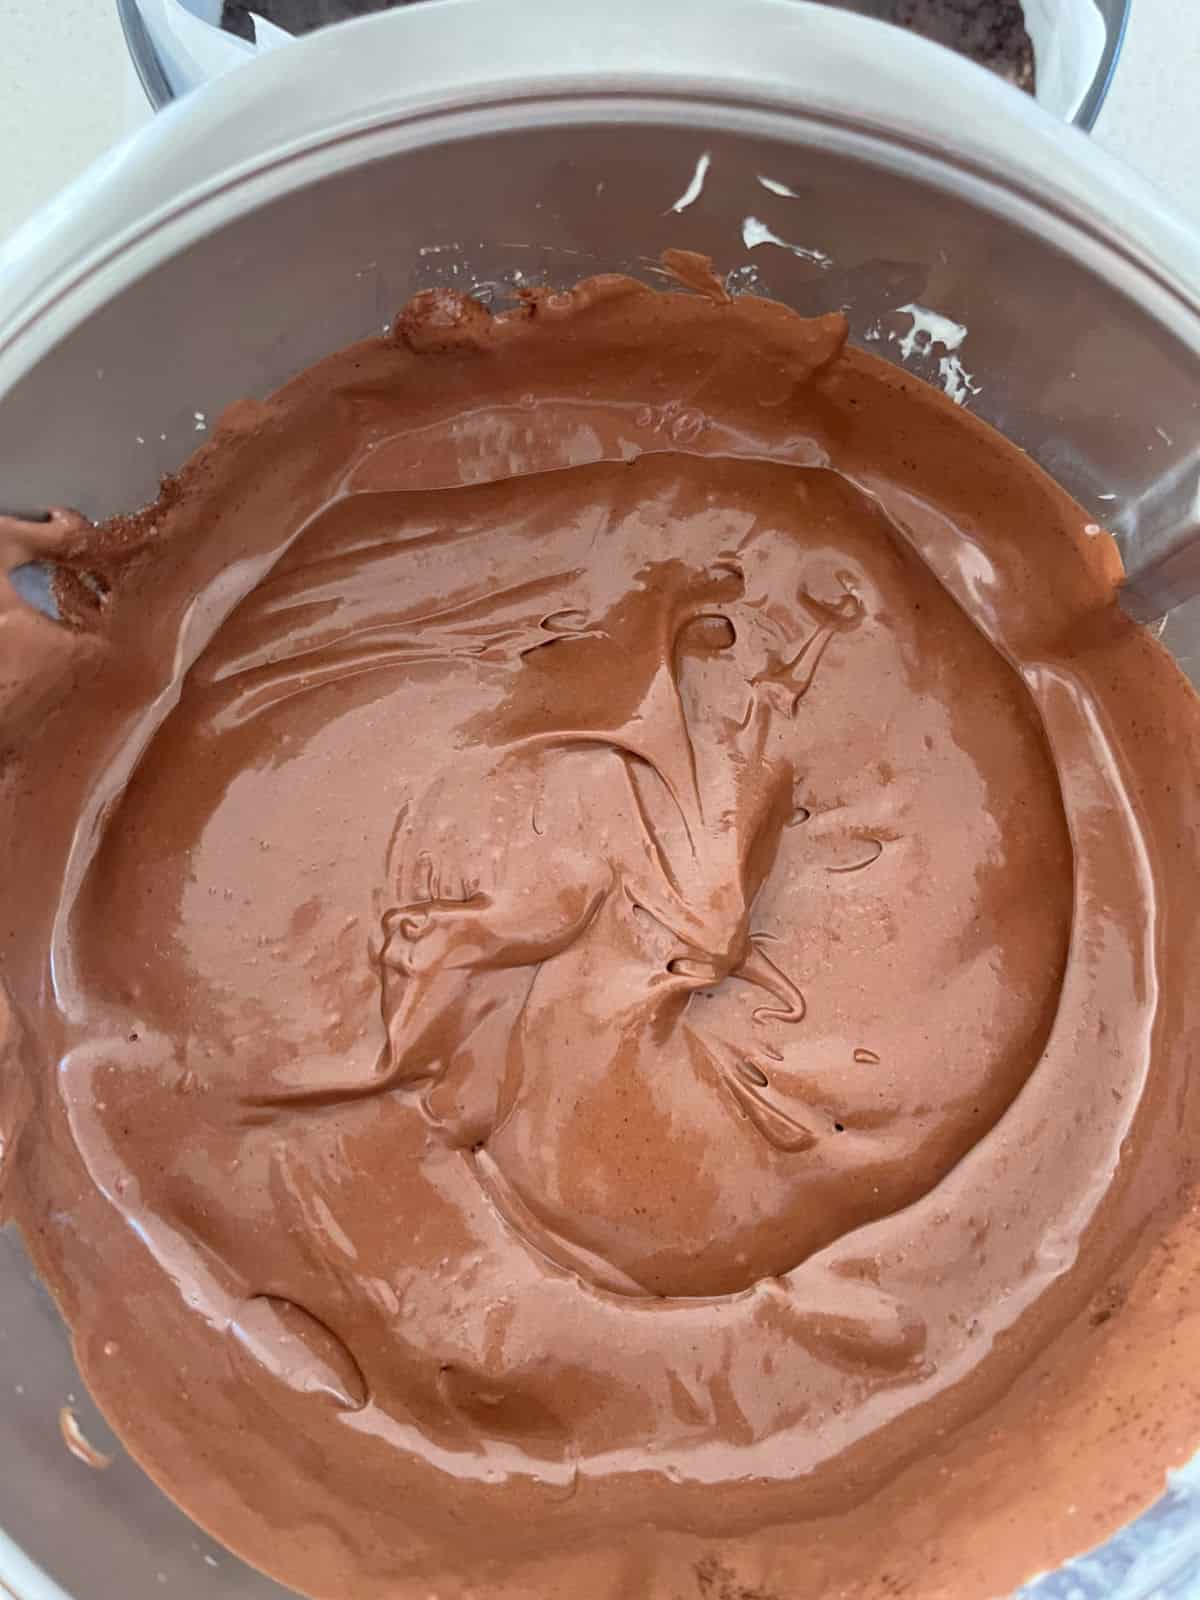
3. In the bowl of an electric mixer or Thermomix, add the ingredients for the cheesecake filling and mix until smooth and creamy.
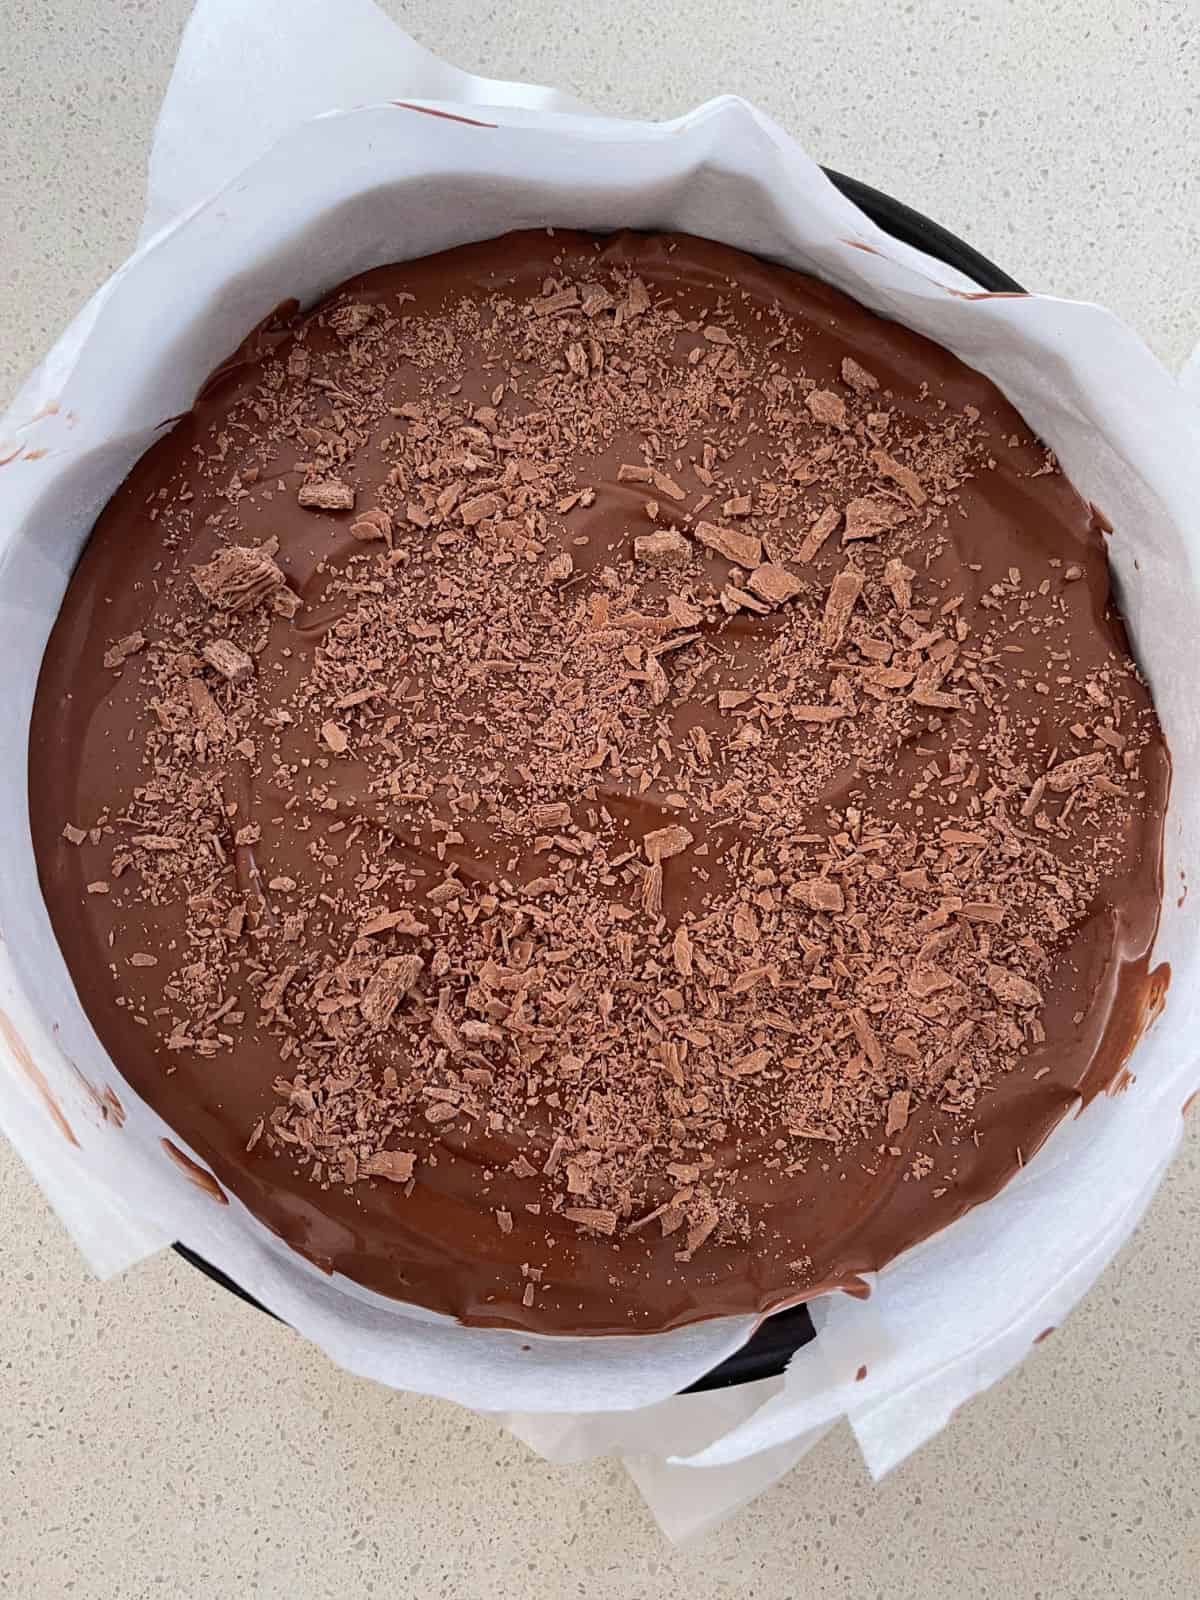
4. Transfer the mixture to the springform tin and gently smooth the surface. Sprinkle with grated chocolate (of Flake bar) if desired.
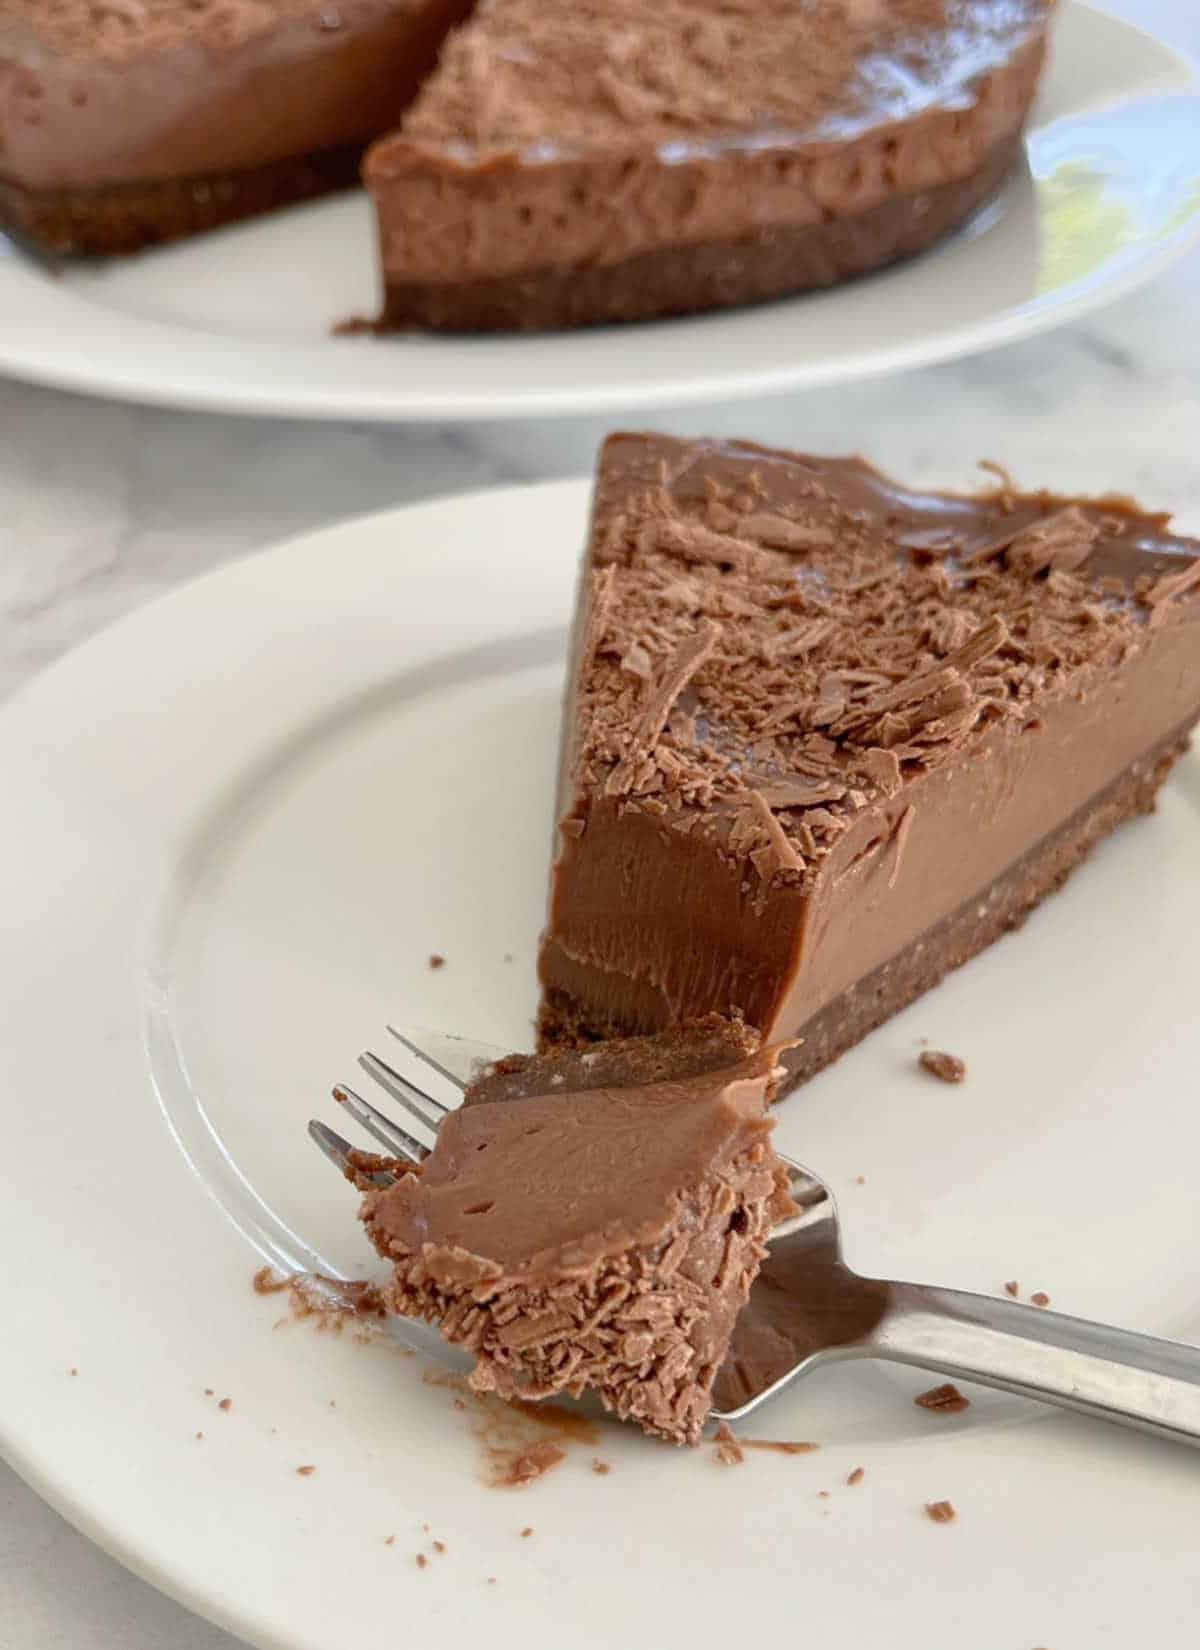
5. Place into the fridge for a minimum of 6 hours (preferable overnight) to set.
Recipe Hints and Tips:
- A 22cm round springform cake tin was used to make the cheesecake pictured. You can use smaller/larger tins, however the thickness of the cheesecake crust and the depth of the filling with differ to what is pictured.
- It is important to allow the cream cheese to soften slightly. If it is still firm when you try to combine it with the other filling ingredients, it will take longer to combine and there may be lumps.
- Any type of sweet chocolate biscuits can be used for this recipe, I use Arnott’s Chocolate Ripple Biscuits.
- To save time, use hazelnut meal instead of crushing your own.
- To test if the cheesecake has set, poke a skewer through the middle of the cheesecake. If the mixture is fluid, it has not yet set. For best results, allow this cheesecake to cool in the fridge overnight.
- Once set, store in the fridge and consume within 7 days. This cheesecake can be frozen for up to two months.
You might also enjoy:
- Toblerone Cheesecake
- 3 Ingredient Nutella Brownies
- Mars Bar Cheesecake Balls
- No Bake Mango Cheesecake
- Chocolate Ripple Cake
- Tim Tam and Baileys Cheesecake
- Choc Mint Brownies
- Chocolate Kahlua Cheesecake
- Easy Pavlova Recipe
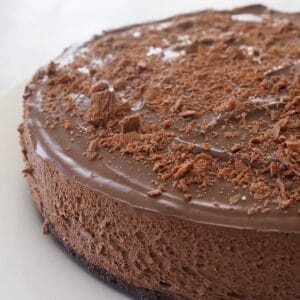
Nutella Cheesecake Recipe
Equipment
- 22cm springform tin
Ingredients
- 250 grams Chocolate Ripple Biscuits 1 pack
- 80 grams butter – softened
- ¾ cup toasted hazelnuts 80 grams
- 450 grams Nutella
- 500 grams cream cheese softened
- ½ cup icing sugar 80 grams
Instructions
- Line the base of a 22cm springform tin with baking paper.
- Lightly toast the hazelnuts under a grill until the skins begin to crack. Use a clean tea towel to rub the skin off the hazelnuts and set aside until needed.
- Crush the chocolate ripple biscuits and ½ cup of the toasted hazelnuts in a food processor or with the end of a rolling pin until they resemble breadcrumbs. Add the softened butter and process until combined.
- Pour the biscuit mixture into your prepared tin and use a large metal spoon to cover the base with the mixture and flatten the surface.
- In the bowl of an electric mixer, add the softened cream cheese, nutella and sift over the icing sugar. Mix on a medium to high speed or until the mixture is thick, creamy and smooth.
- Remove the mixer bowl from the stand and pour the cheesecake mixture over the biscuit base and top with the remaining toasted hazelnuts OR sprinkle with grated chocolate/flake.
- Place in the fridge to set. Ideally you want to leave this overnight.
- Remove the set cheesecake from the fridge and serve immediately.
Thermomix Instructions
- Line the base of a 22cm springform tin with baking paper
- Lightly toast the hazelnuts under a grill until the skins begin to crack. Use a clean tea towel to rub the skin off the hazelnuts and set aside until needed. Please see the recipe notes re: using hazelnut meal.
- In a Thermomix bowl, add the softened butter, chocolate ripple biscuits and ½ cup of the toasted hazelnuts. Mix for 10 seconds on speed 9. Use your spatula to scrape down the sides and mix again for another 10 seconds on speed 7.
- Pour the biscuit mixture into your prepared tin. Using a large spoon (I prefer metal) spread the mixture over the base and flatten with the back of the spoon.
- In a clean Thermomix bowl, add the cream cheese, icing sugar and Nutella. Mix for 30 seconds on speed 5. Scrape down the sides of the bowl and mix for 30 seconds on speed 5 or until the cheesecake mixture is smooth and creamy.
- Pour the filling over the biscuit base and top with the remaining toasted hazelnuts OR sprinkle with grated chocolate/flake.
- Place in the fridge to set. Ideally you want to leave this overnight.
- Remove the set cheesecake from the fridge and serve immediately.
Notes
- A 22cm round springform cake tin was used to make the cheesecake pictured. You can use smaller/larger tins, however the thickness of the cheesecake crust and the depth of the filling with differ to what is pictured.
- It is important to allow the cream cheese to soften slightly. If it is still firm when you try to combine it with the other filling ingredients, it will take longer to combine and there may be lumps.
- Any type of sweet chocolate biscuits can be used for this recipe, I use Arnott’s Chocolate Ripple Biscuits.
- To save time, use hazelnut meal instead of crushing your own.
- To test if the cheesecake has set, poke a skewer through the middle of the cheesecake. If the mixture is fluid, it has not yet set. For best results, allow this cheesecake to cool in the fridge overnight.
- Once set, store in the fridge and consume within 7 days. This cheesecake can be frozen for up to two months.
Nutrition
Looking for more?
You can find the full collection of books and eBooks here.







Natalia
Can you please suggest what biscuit I can use for the base? I think I never I never get it right
Thanks
Lauren Matheson
Hi Natalia, I use Arnott’s Chocolate Ripple Biscuits for this recipe 🙂