


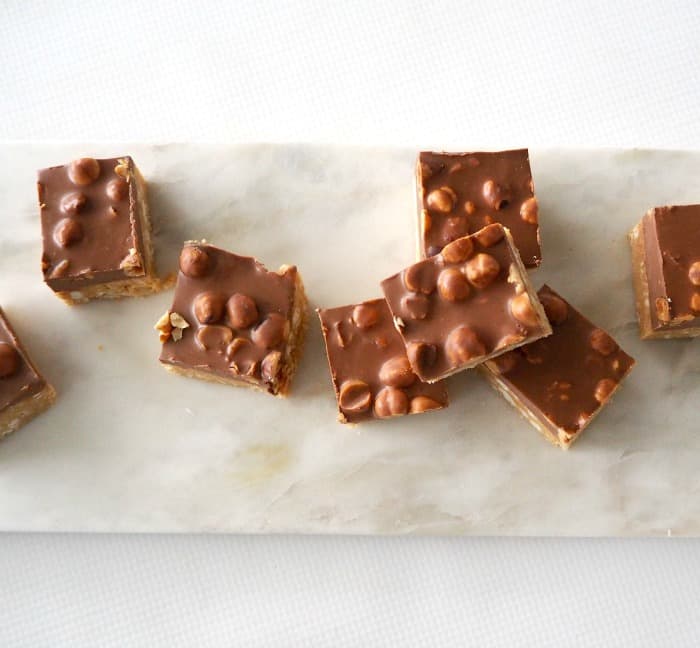
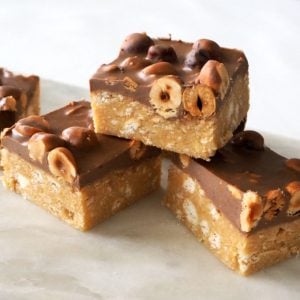
If you are looking for an easy no bake slice, this Milk Chocolate and Hazelnut Slice is for you!
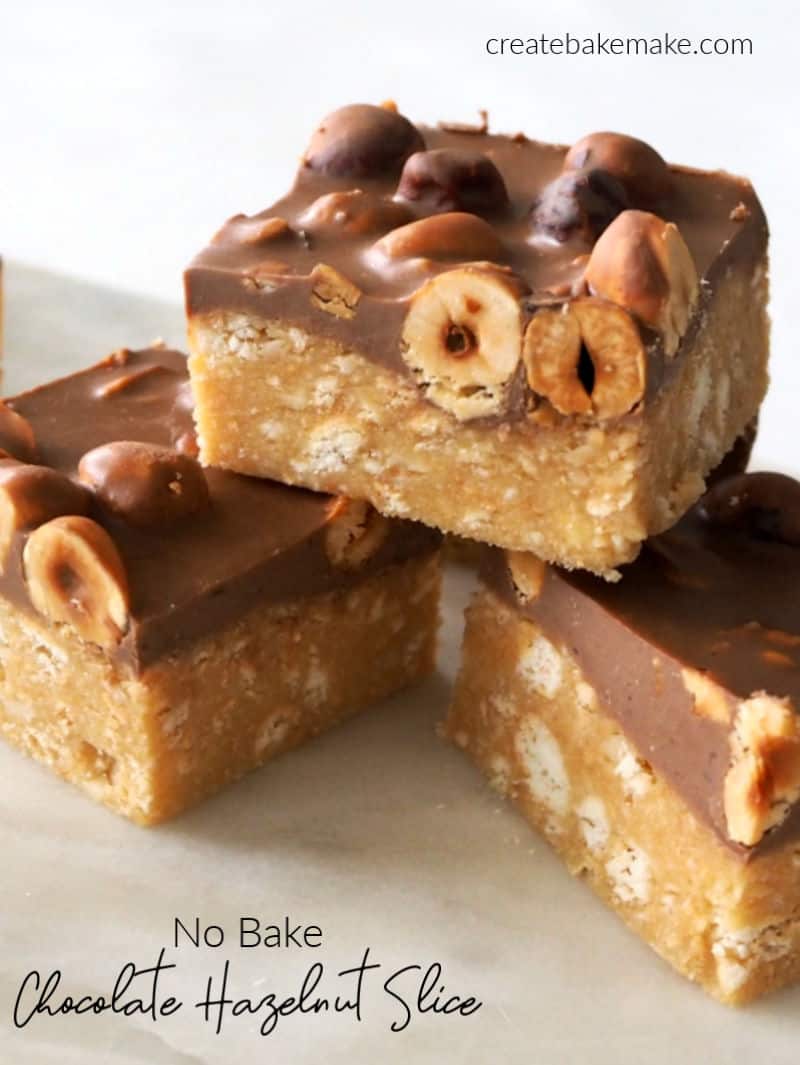
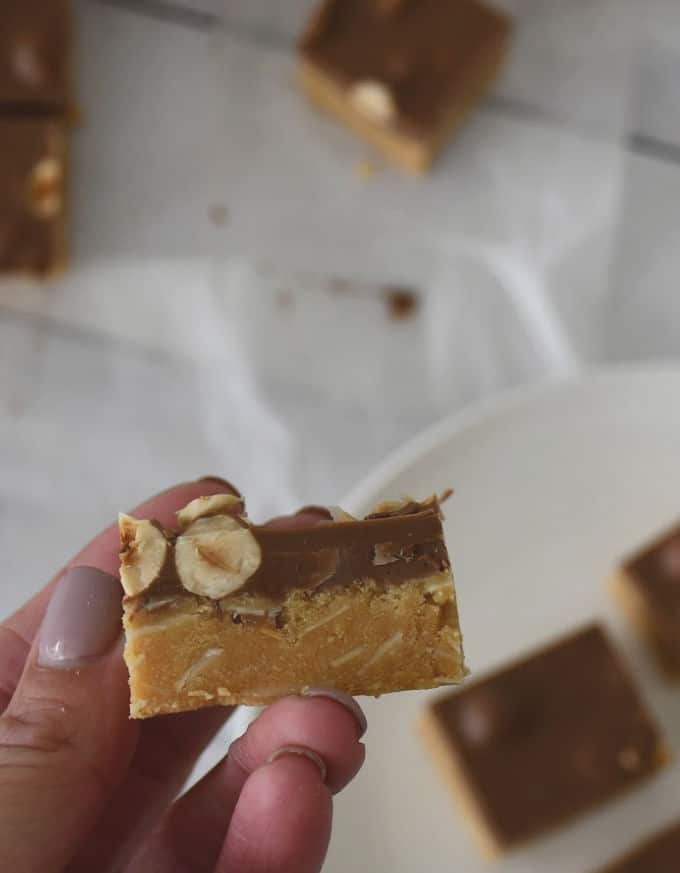
What makes this slice really special (in my opinion!) is the toasted flaked almonds in the base and the almost caramel like flavour of the other ingredients. When I first started making this slice I was just using one block of Hazelnut Chocolate, however it really is worth using two blocks, I promise you won’t regret it!
If you are making this Chocolate and Hazelnut Slice for a special occasion, you can make it a few days in advance and simply store it in an airtight container in your fridge. We find it keeps well up to around one week, however good luck making it last that long!
Tips for Making my Milk Chocolate and Hazelnut Slice Recipe:
- This slice is best kept in an airtight container in your fridge.
- You will need to carefully watch the flaked almonds while they are under the grill as they can burn easily.
- You will need 2 blocks of chocolate for this recipe.
- If you don’t have coconut oil, you can use copha instead. Adding either of these helps to make the chocolate layer of the slice easier to cut through.
- You can use any type of plain biscuit for this recipe, I have used both Arnott’s Marie and Arrowroot Biscuits with great results.
- If you don’t want any leftovers, you can use a full tin of condensed milk for this recipe however the base of your slice will be a little sticky.
You can also watch how easy it is to make this Milk Chocolate Hazelnut Slice Below:
Looking for more no bake slice recipes? You might want to check out this collection of easy No Bake Slice Recipes.
Milk Chocolate and Hazelnut Slice
Equipment
- 28 x 18cm slice tray
Ingredients
- 1 pack plain biscuits you can use either Marie or Arrowroot
- 125 grams butter
- ¾ cup sweetened condensed milk 230 grams
- 2 tablespoons golden syrup
- 100 grams flaked almonds
- 360 grams Cadbury Hazelnut Chocolate you will need two blocks of chocolate for this recipe
- 30 grams coconut oil
Instructions
- Line a slice tray with baking paper, ensuring there is plenty of overhang.
- Crush biscuits into small pieces and set aside.
- Over a low heat in a medium saucepan, melt the butter, condensed milk and golden syrup, stirring until combined. Remove from heat once melted.
- Under a low heat grill, lightly toast the almonds. Make sure you keep an eye on them as they can burn quickly.
- Add the crushed biscuits and flaked almonds to the melted mixture and combine.
- Spoon mixture into slice tray and press down with the back of a spoon until mixture is firm.
- Melt chocolate and coconut oil together in a small saucepan over a low heat or in your microwave. Pour melted chocolate over the base and place into the fridge to set.
- Once set, cut into pieces and enjoy!
Thermomix Instructions
- Line a slice tray with baking paper, ensuring there is plenty of overhang.
- Place the biscuits into your Thermomix bowl and mix for 7 seconds, speed 7 to crush. You may need to use your spatula to push the biscuits down into the blades.
- Transfer the crushed biscuits to a separate bowl and set aside until needed.
- Without washing the bowl, add the butter, sweetened condensed milk and golden syrup to your Thermomix bowl. Cook for 3 minutes, 60 degrees, speed 2 to melt and combine.
- In the meantime, under a low heat grill, lightly toast the almonds. Make sure you keep an eye on them as they can burn quickly. Set aside.
- Add the crushed biscuits to your Thermomix bowl and mix for 10 seconds, speed 5 on reverse to combine.
- Add the toasted almond flakes and mix for 5 seconds, speed 5 on reverse to combine.
- Spoon mixture into slice tray and press down with the back of a spoon until mixture is firm.
- Melt chocolate and coconut oil together in a small saucepan over a low heat or in your microwave. Pour melted chocolate over the base and place into the fridge to set.
- Once set, cut into pieces and enjoy!
Notes
Nutrition
Enjoy!
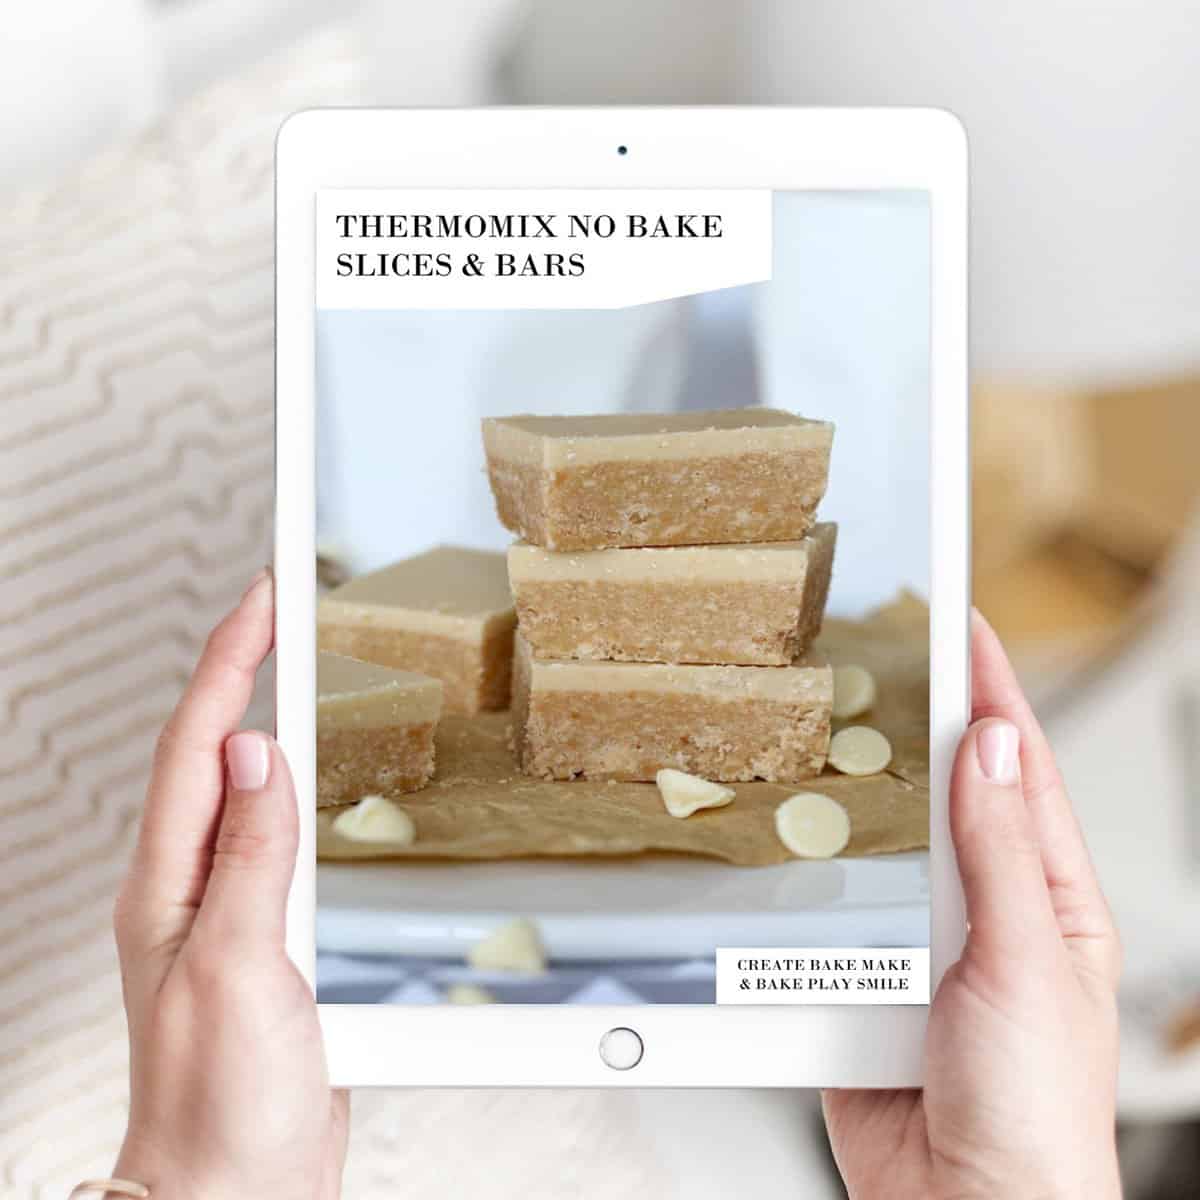
You can find more simple no bake slices in our ‘No Bake Slices and Bars‘ eBook – also available in a Thermomix edition.
To browse the full range of books, eBooks and products, visit my online store here.
Emily Collins
Instead of copha could I use coconut oil ?
Lauren Matheson
Yes you sure can x
Marianne Parsons
Being a huge hazelnut fan, this looks amazing! Two questions: we don’t have Arrowroot biscuits here (USA); can I use Graham crackers’? Secondly, what’s copha? Thanks!!
Lauren @ createbakemake
Hi Marianne, Thank you!! I’ve attached a link to the Arnott’s website (company who makes Arrowroot biscuits) so you can see what they look like. I think as long as you use a sweet plain biscuit you will be fine! Copha is just vegetable shortening, it helps the chocolate layer spread over the slice. You could substitute it for a tablespoon of vegetable oil if you prefer. Thanks for visiting and I hope you have a great day 🙂
TheMultitaskingMummy
Delicious! I’ll have to add these ingredients to my next shopping list.
Lauren @ createbakemake
Enjoy Eva!
Kira Greenwell
Every time I see your blog recipes I have an internal struggle…..to make and eat these glorious looking treats or to resist and just admire. Thankfully hubby takes half of whatever I do make to work for morning teas so they’ll be happy that I’m going to give this one a go! Looks great!
Lauren @ createbakemake
Thanks Kira! I struggle too. I figure I do have to try at least one piece/slice, especially if I haven’t made it before. My husband takes it all to work too, or if he is really lucky I will even deliver morning tea to his work. I really enjoy the baking process and could easily spend all day making lots of yummy things.
Emily @ Have A Laugh On Me
I’ve put on 5kg in the past month because I just can’t stop eating – must figure out what’s going on. Must be an emotional thing, so I will admire from afar! x
Lauren @ createbakemake
I will try and post some healthy recipes for you Em. I’m an emotional eater too, I hope you are ok xx
Lisa Berriman
Oooh you are tempting me too much with all your lovely recipes. Anything no bake is very appealing. I am going to cook everything on your blog when I finish with Michelle Bridges 🙂
Lauren @ createbakemake
I’m sorry Lisa! You are doing such an amazing job with your 12 week challenge, you will really enjoy a few treats when you have finished though!