


If you love custard, this Vanilla Magic Custard Cake recipe really is for you!

I’m calling it, this Magic Custard Cake really is magic. There were more than a few occasions I almost gave up and tipped the mixture into the bin while I was making this. After looking at all the gorgeous photos of this three layered gooey custard cake online, when I looked at the dodgy cake mixture in front of me, I had no confidence at all that it would actually work out.
The mixture just didn’t look right to me, yet I continued with the thought I’d come this far already, I at least had to see what happened when I popped this disaster into the oven
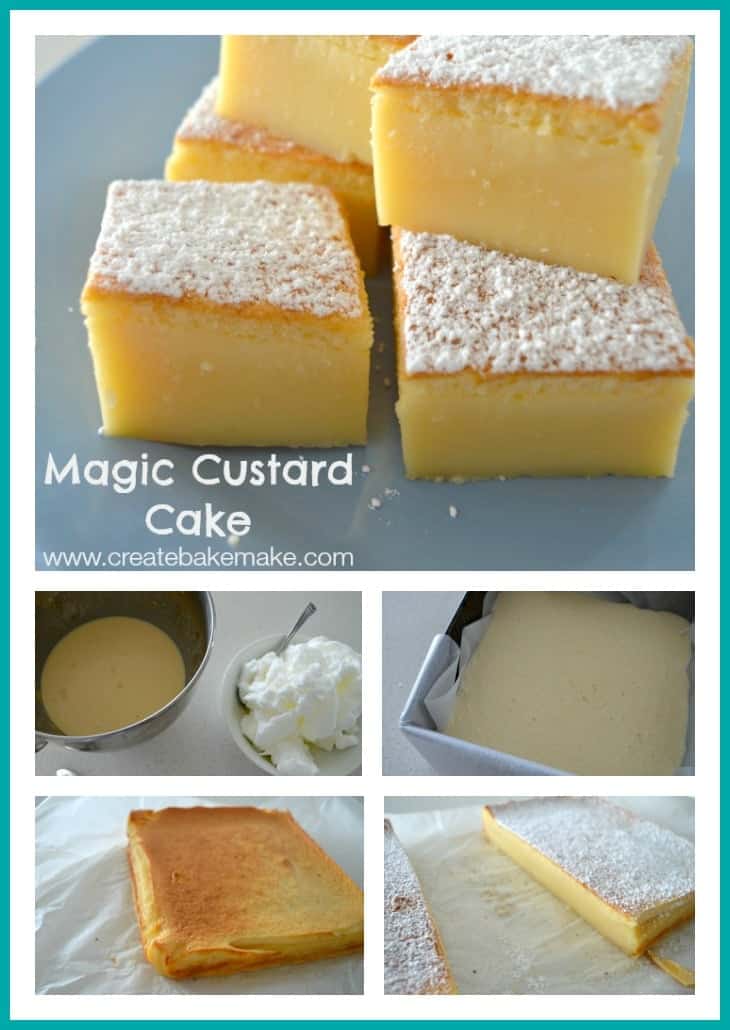
My few sneaky peeks into the oven thankfully gave me some assurance that cake may just work. After 35 minutes it had developed a lovely golden crust on top and when tested with a skewer it was still a little wobbly in the middle – perfect
Ingredients:
You will need:
- Eggs,
- Milk,
- Flour,
- Vanilla Extract
- Caster Sugar
- Butter
- Icing Sugar to Dust
Tips for Making this Custard Cake:
- Your baking time WILL vary depending on the temperature of your ingredients. Some people may find they need to cook their cakes for up to an hour.
- I cook this cake in a 20cm square baking tin, you can use a different size tin but the cooking time will vary.
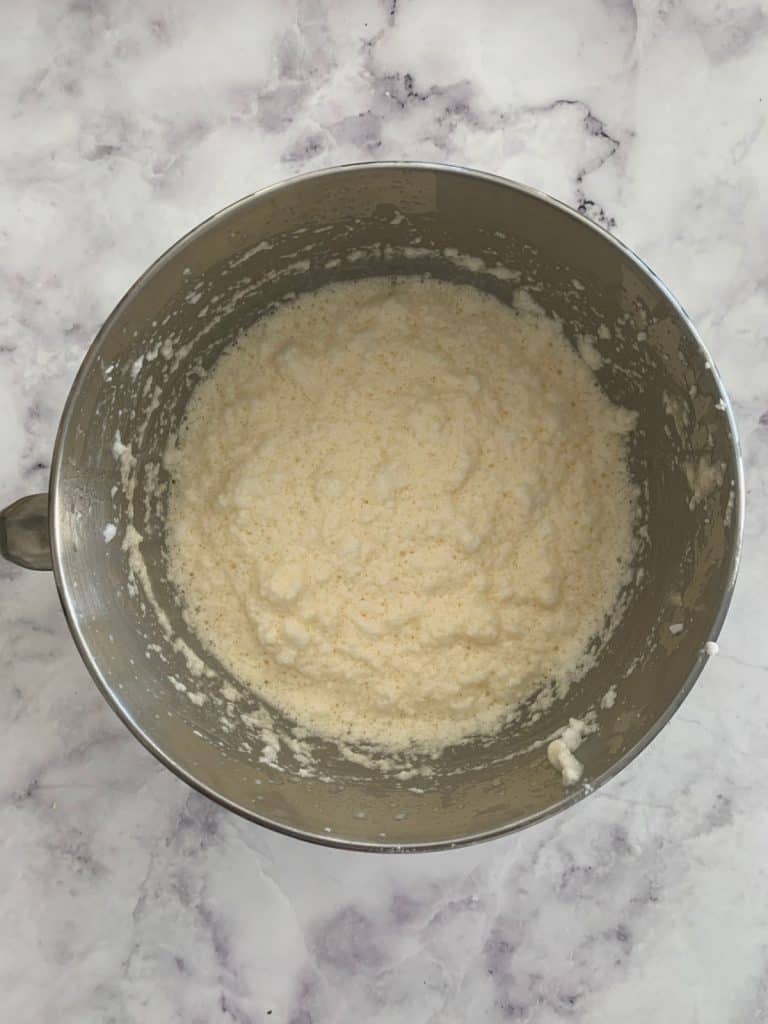
- The mixture will look lumpy and you may be convinced that it won’t work out – keep going as the end result is worth it!
- When testing to see if your cake is ready, you do want there to be some ‘jiggle’ in the middle still.
- I try to put my eggs out the night before I’m planning to make this cake to ensure that they are at room temperature.
- I also heat the milk in a microwave safe jug until it’s just warm.
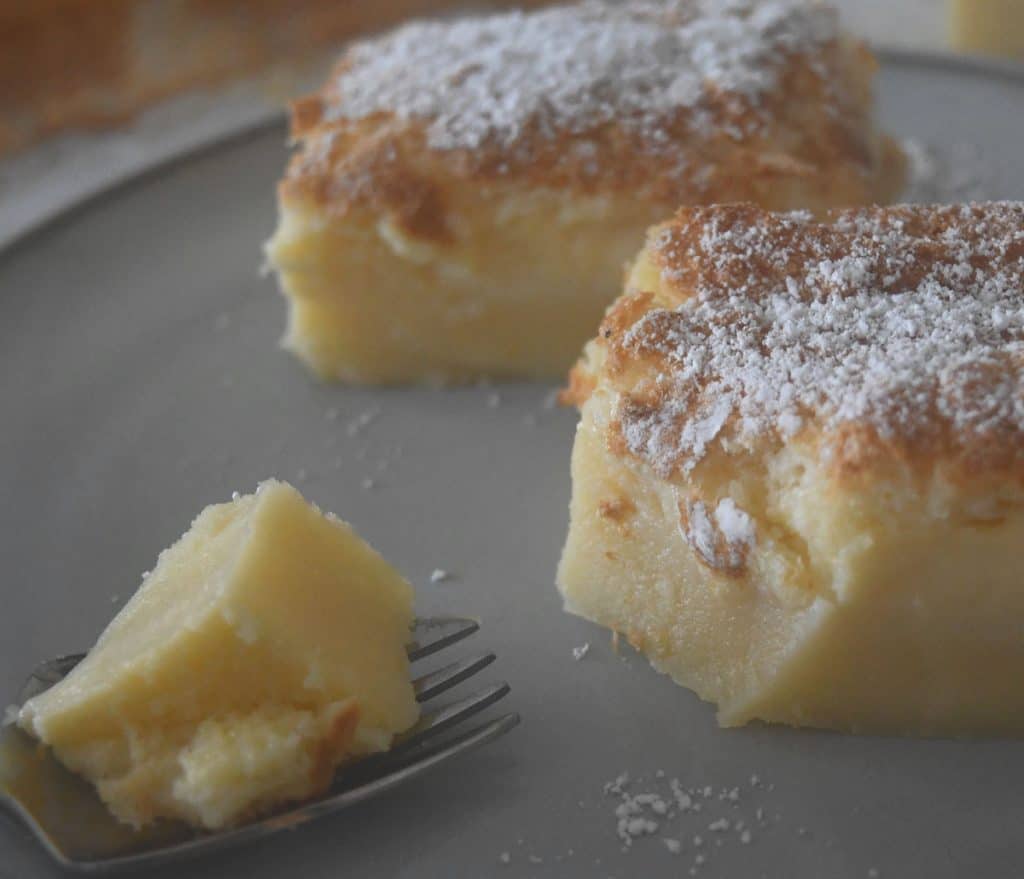
- To serve, I prefer to let this cake cool completely in the tin (you can also pop it in the fridge when cool enough to do so) and then dust with icing sugar and cut into pieces.
- This cake is best stored in an airtight container in your fridge and enjoyed within 3 – 4 days.
You can watch how to make this Cake below:
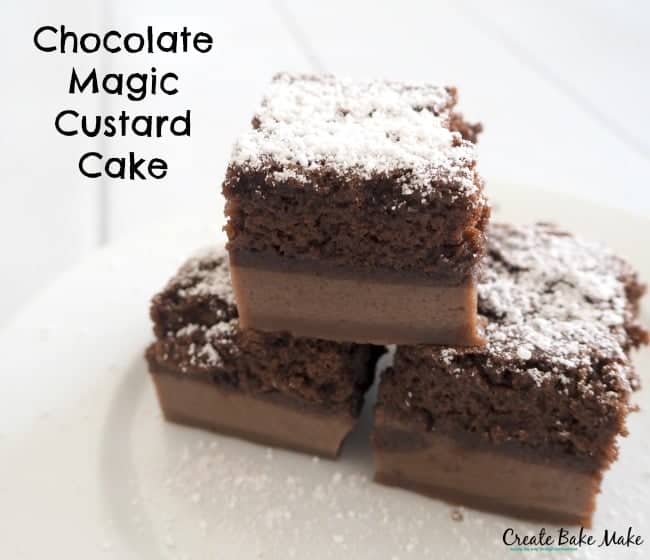
Once you’ve made this vanilla version, make sure you try my Chocolate Magic Custard Cake or this Salted Caramel Magic Cake – you can find the recipe here.
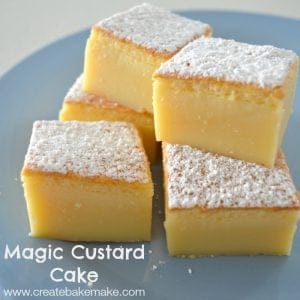
Magic Custard Cake
Equipment
- 1 x 20cm square baking dish
Ingredients
- 4 eggs – room temperature
- ¾ cup caster sugar
- 125 grams butter melted
- 1 teaspoon vanilla extract
- ¾ cup plain flour – sifted – sifted
- 2 cups milk lukewarm (500 mls)
- ¼ cup icing sugar to decorate
Instructions
- Preheat your oven to 170 degrees celsius (fan-forced) and line a 20cm square cake tin with baking paper, making sure to leave plenty of paper hanging over the sides.
- Separate your eggs and place the egg whites into a CLEAN and DRY bowl – this is very important and beat using an electric mixer until stiff peaks form. Set the egg whites aside until needed.
- Place the egg yolks and caster sugar together in a large bowl and use an electric mixer to beat until they have combined and are light and frothy.
- With the electric mixer still going on a low speed, gradually add the melted butter and vanilla extract before adding the sifted flour a few spoonfuls at a time.
- Gradually add the lukewarm milk and continue to beat on a low- medium speed to combine all of the ingredients.
- Add the egg whites to the bowl and gently fold together the mixture.
- Pour the batter into your prepared cake tin and place into your preheated oven and cook for 35 minutes or until a golden crust has formed on top of your cake.
Notes
- Your baking time WILL vary depending on the temperature of your ingredients. Some people may find they need to cook their cakes for up to an hour.
- I cook this cake in a 20cm square baking tin, you can use a different size tin but the cooking time will vary.
- The mixture will look lumpy and you may be convinced that it won’t work out – keep going as the end result is worth it!
Nutrition
Enjoy!
For more simple and delicious cake recipes, check out our Cakes and Cheesecakes for all Occasions eBook – also available in a Thermomix version. You can view all of our ebooks here.
marlene
thank you for a great recipe
janet
how do u line the baking dish with wax paper. do u line just the bottom or the bottom and all of the sides?
Ronni
Do you grease the pan and the parchment paper? A d is it 170 degrees or celcius?
Lauren Matheson
Hi Ronni, I just use baking paper (don’t grease it) and it is 170 degrees celsius. Thanks
Julia
I made a thinner version of this, and it tasted better than the full size one. It had the height of a slice of bread
Danielle
I made, taste great, but doesn’t have the height that yours has in your picture. Any tips?
Zenith
Been eyeing this recipe for a while. Finally tried it this evening and it was such a hit! Thank you.
Helen
Made today. Followed all the steps. Turned out well. Yum!!
Maggie D.
What is caster sugar? Can I use regular granulated sugar?
Can I bake this in a normal oven? (not fan forced – mine is gas)
Lauren Matheson
Hi Maggie, caster sugar is similar to superfine sugar. You can also bake in a regular oven, you will need to increase the temperature by 20 degrees celsius.
Janie
I’ve made this several times over the past year or so, and only just thought now to rate the recipe.
It’s become a firm favourite in our house, though I am yet to try the chocolate version.
I did look at the batter and think “woah! That’s not going to work” just like the recipe said, however I continued. It’s delicious. We like to sprinkle a little desiccated coconut on top for an extra touch. Easy to make and loved by everyone who tries it.
Chidimma
Hi. Please Is the butter salted or unsalted ?
Lauren Matheson
You can use either 🙂
Krystal
Hi is 170 degrees oven temperature is that fan or normal oven please?
Lauren Matheson
Hi, it’s 170 degrees celsius fan forced 🙂
gal
For a fan forced oven versus normal oven, you need to increase the oven temperature to at least 15 degrees higher, I typically use 190 when it shows 170 because my electric oven has a couple of cold spots.