


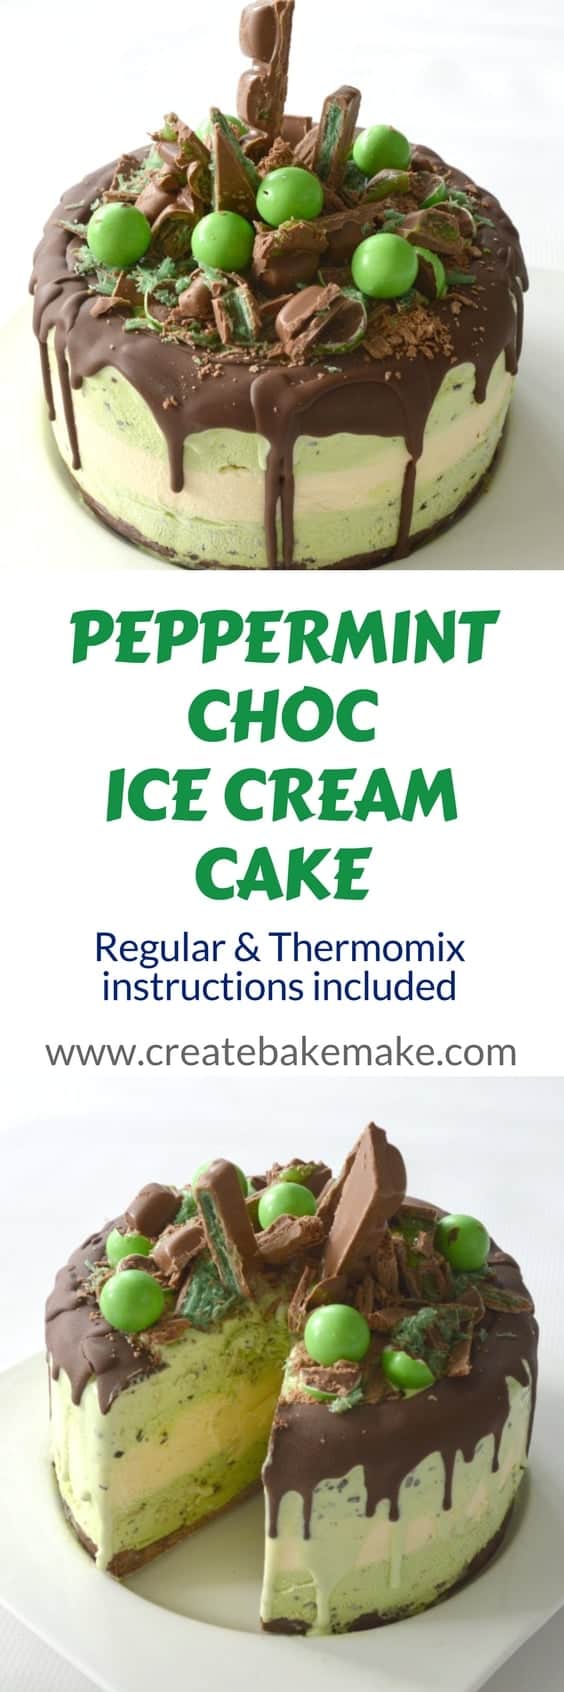
This easy Peppermint Choc Chip Ice-Cream Cake is going to become your new favourite dessert!
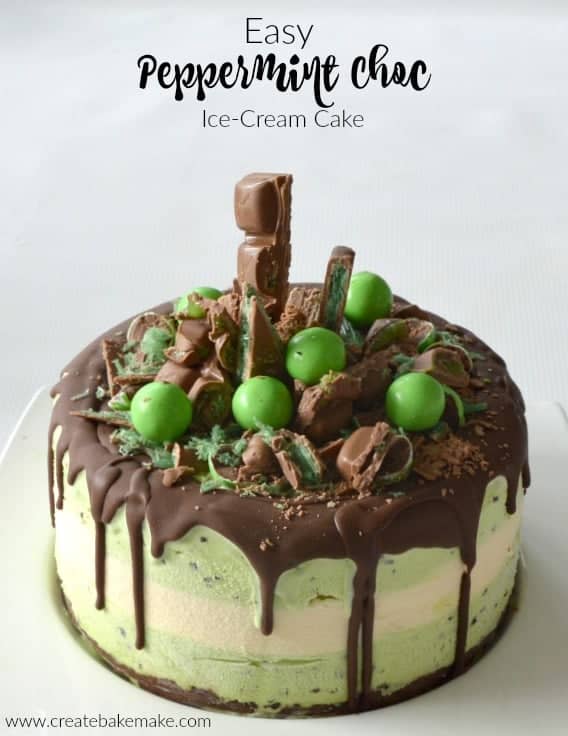
This easy Peppermint Choc Chip Ice-cream Cake is another one of my husband’s (aka wannabe food blogger!) creations and the only credit I can take for it, is arranging the decorations on top! Like his Easy Ice-Cream Cake recipe, this Peppermint Choc Chip Ice-Cream Cake is incredibly simple to put together, even though it looks so impressive.
We really went to town when it came to decorating this ice-cream cake and bought at least one bar of EVERY SINGLE peppermint chocolate we could find at our local supermarket. You can use similar decorations to what we have when making this cake, however feel free to simply use your favourite mint chocolates.

This easy Peppermint Choc Chip Ice-Cream Cake really is the ultimate dessert for mint lovers and would look just perfect on your next party table or even as a Christmas Dessert. If you can’t find peppermint choc chip ice-cream (we used Bulla) then you can easily make your own by adding 200g of chocolate chips to 2 litres of softened peppermint ice-cream and stir them through.
Even though you really can only use your Thermomix to make the base of this ice-cream cake, I’ve still included the Thermomix instructions at the bottom of this post.

Easy Peppermint Choc Chip Ice-Cream Cake
Ingredients
- 2 litres of peppermint chocolate chip ice-cream
- 1 litre of vanilla ice-cream
- 200 g of chocolate ripple biscuits - or similar
- 90 g of butter
- Choc Mint Ice-Magic
- 100 g of Peppermint Chocolate
- 2 x Peppermint Crisp Bars
- 1 mint Flake
- 4 x Peppermint Balls
- 2 x Mint Aero Bars
Instructions
- Line the base and sides of a 20cm round springform tin with baking paper.
- Remove the peppermint choc chip ice-cream from the freezer and allow it to soften until it's soft enough to work with, just don't let it completely melt!
- In the meantime, cut the butter into small cubes and place in a microwave safe bowl. Cook for 30 second spurts until it has just melted.
- Crush the chocolate ripple biscuits until they resemble fine crumbs and place them into a large bowl. Add the melted butter and stir to combine.
- Pour the biscuit mixture over the bottom of your prepared tin and push down with the back of a spoon to flatten.
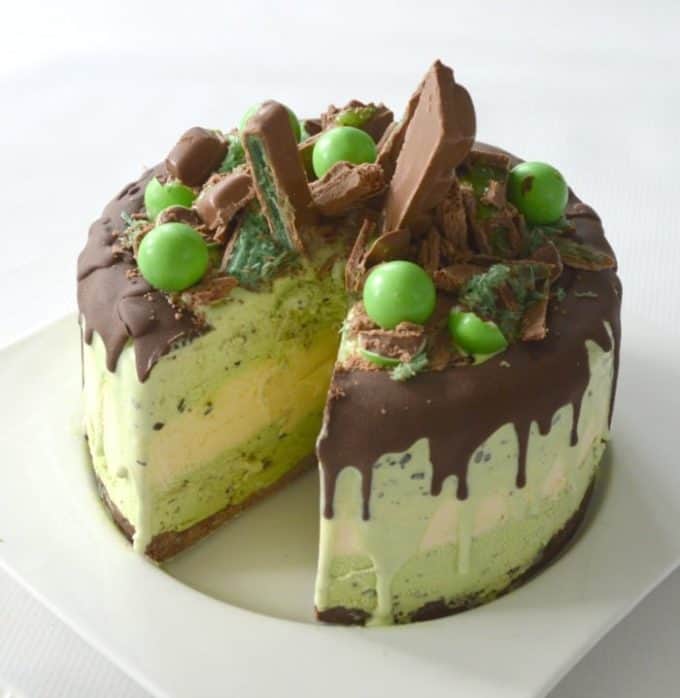
- Scoop out approximately ½ the peppermint choc chip ice cream from the tub (putting the container back into the freezer) and spoon it on top of the biscuit base in your tin. Smooth the ice-cream layer with the back of a spoon and pop the tin back into the freezer for around 30 minutes or until the ice-cream is firm.
- Remove the vanilla ice-cream from the freezer and allow it to soften (not melt) before adding the softened vanilla ice-cream on top of the peppermint choc chip layer. Smooth to flatten the surface and place back into the freezer to firm.
- Repeat the above process to add the final peppermint choc chip layer to your ice-cream cake before placing it back into the freezer for for 6 hours (or preferably overnight) to completely set.
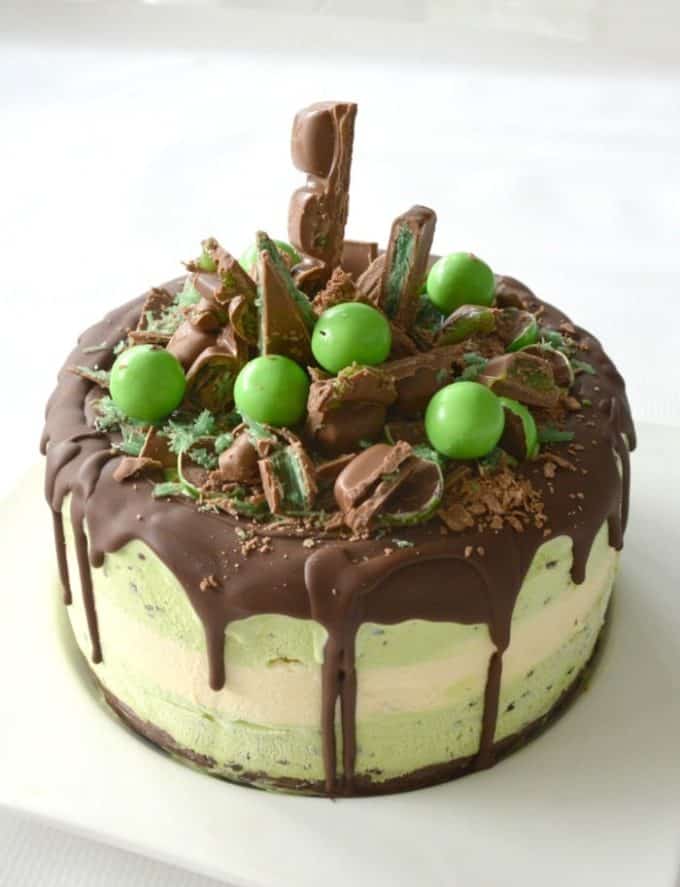
- Once the ice-cream cake has completely set, carefully remove it from the tin and place onto your serving plate. Add the Choc Mint Ice Magic to the edges of the cake and allow it to drip down the sides. Break the peppermint chocolate bars into pieces and decorate as desired. Serve immediately or carefully cover with cling wrap and place back into the freezer until needed.
Notes
Nutrition
Thermomix Peppermint Choc Chip Ice-Cream Cake Instructions
- Line the base and sides of a 20cm round springform tin with baking paper.
- Remove the peppermint choc chip ice-cream from the freezer and allow it to soften until it’s soft enough to work with, just don’t let it completely melt!
- In the meantime, place the butter (which has been cubed) into your Theromomix bowl and cook for 3 minutes, 60 degrees, speed 2 to soften.
- Add the chocolate ripple biscuits and blitz for 10 seconds, speed 5 or until they resemble breadcrumbs and the mixture has combined.
- Pour the biscuit mixture over the bottom of your prepared tin and push down with the back of a spoon to flatten.
- Scoop out approximately ½ the peppermint choc chip ice cream from the tub (putting the container back into the freezer) and spoon it on top of the biscuit base in your tin. Smooth the ice-cream layer with the back of a spoon and pop the tin back into the freezer for around 30 minutes or until the ice-cream is firm.
- Remove the vanilla ice-cream from the freezer and allow it to soften (not melt) before adding the softened vanilla ice-cream on top of the peppermint choc chip layer. Smooth to flatten the surface and place back into the freezer to firm.
- Repeat the above process to add the final peppermint choc chip layer to your ice-cream cake before placing it back into the freezer for for 6 hours (or preferably overnight) to completely set.
- Once the ice-cream cake has completely set, carefully remove it from the tin and place onto your serving plate. Add the Choc Mint Ice Magic to the edges of the cake and allow it to drip down the sides. Break the peppermint chocolate bars into pieces and decorate as desired. Serve immediately or carefully cover with cling wrap and place back into the freezer until needed.
For more simple dessert recipes, check our our ‘Cakes and Cheesecakes‘ eBook (Thermomix version also available) in our eBook store. We’ve also got a great range of Christmas and No Bake recipe eBooks available too.
Dani
Very easy to make and such a huge hit at my sons 5th birthday party that I’m doing it again for his 7th party
Rach
Just writing to say thanks for this recipe , I made it last year for my son and he’s asked for it again this year. He loves it , it’s a joy to make as his birthday is early February and it’s always so hot here. It feeds a crowd too. It’s a winner all round.
Cheers
Kat
Thank you so much! It has to be one of the easiest cakes I’ve ever made and it looked great. Turned out so much cheaper than buying an ice cream cake for my husband.
Lauren Matheson
Oh yay!!I’m so glad you enjoyed it xx
Chamanicecream
Oh my god, that looks soooooo delicious! I imagine it as an awesome summer dessert….hmmmmm! Chamanicecream