


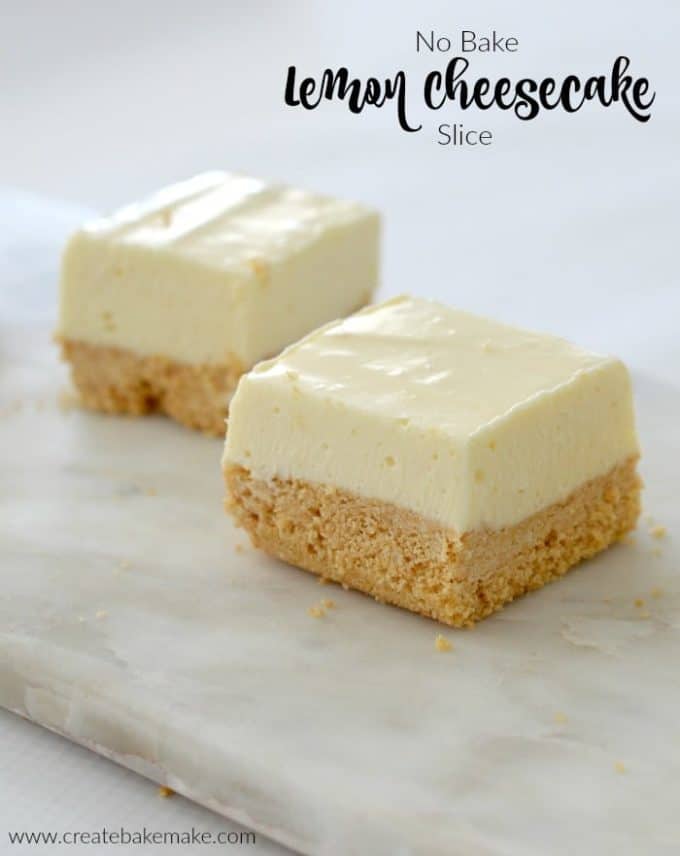
This No Bake Lemon Cheesecake Slice combines two of my favourite things AND it can also be made using a Thermomix!
I have a bit of a love affair with all things lemon (especially when cheesecake is also involved!) and although I’ve been making this no bake Lemon Cheesecake Slice for years, it had been a really long time since I last made it as I just have no self control! Because it’s cut into small pieces, it means I don’t have much (ok, NONE!) hesitation in grabbing a piece or two from the fridge to enjoy for BOTH morning and afternoon tea – see no willpower at all!
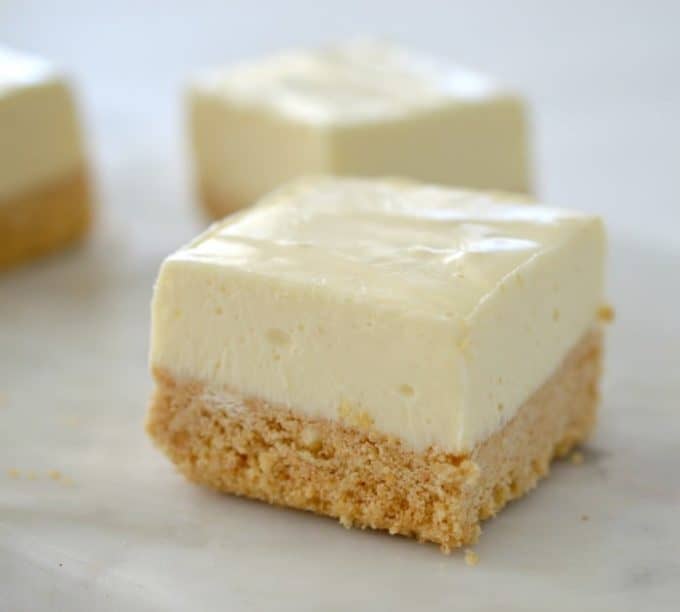
This is a deliciously creamy cheesecake with just the right amount of lemon (you can even add a little extra juice or zest if you want to) which makes it the perfect dessert for your next party, special occasion or you can simply make it because you feel like eating something indulgent – no judgement here!
Although this slice will be set after around six hours in the fridge, if possible it’s best to make it the day before you need it and let it chill and set overnight. I know it will be hard to resist, but it’s worth it I promise! While you are waiting for this slice to set, you could make yourself these no bake Lemon and Coconut Balls instead as a reward for your patience!
No Bake Lemon Cheesecake Slice
Ingredients
- 250 g plain biscuits
- 130 g melted butter
- 395 g tin sweetened condensed milk
- 500 g cream cheese - softened
- 3 teaspoon gelatine
- ¼ cup boiling water
- ¼ cup lemon juice
- Finely grated rind of two lemons
Instructions
- Line a 28x18cm slice tin with baking paper, making sure you leave paper hanging over the sides to help you remove the Lemon Cheesecake Slice once it has set.
- Crush the plain biscuits until they resemble fine crumbs either using a food processor or placing them into a zip lock bag and crushing with a rolling pin.
- Place the crushed biscuits and the melted butter into a large bowl and stir until they are well combined. Transfer the mixture to your prepared tin and press down with the back of a spoon to flatten. Place the slice tray into the fridge until required.
- Place the softened cream cheese into the bowl of an electric mixer and beat on a medium speed for approximately 4 minutes, or until smooth. The time it takes to beat the cream cheese will depend on it’s temperature.
- Dissolve the gelatine into the boiling water and add the mixture along with the condensed milk to the bowl with the cream cheese, and mix on a medium to high speed for 3 minutes or until the cheesecake mixture is smooth and creamy.
- Add the lemon juice and the lemon rind and mix on a medium speed for a further 1 minute to combine.
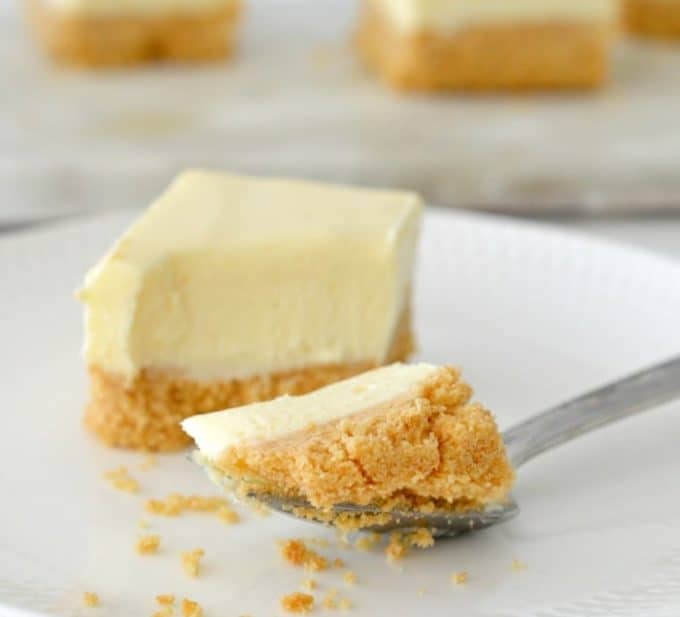
- Transfer the cheesecake mixture to the slice tin and gently smooth the surface. Place the Lemon Cheesecake Slice into the fridge for a minimum of six hours (preferably overnight) to set before cutting into pieces to serve.
Notes
If you can, leave the slice overnight in the fridge to ensure it’s completely set.
If your lemons are small, add the rind of an extra lemon to your cheesecake mixture.
Nutrition

Thermomix No Bake Lemon Cheesecake Slice Recipe
- Line a 28x18cm slice tin with baking paper, making sure you leave paper hanging over the sides to help you remove the slice once it has set.
- Place the butter into your Thermomix bowl and cook of 2 minutes, 60 degrees, speed 2 to melt.
- Add the biscuits and blitz for 5 seconds on speed 5 to crush and combine. Scrape down the sides of the Thermomix bowl and blitz for a further 4 seconds, speed 5 or until the biscuits have completed crushed and have combined with the melted butter.
- Transfer the biscuit mixture to your prepared slice tin and push down with the back of a spoon to flatten the surface. Place the slice tin in the fridge until needed.
- In a clean bowl, add the softened cream cheese and mix for 20 seconds, speed 3. Scrape down the sides of the bowl and mix for a further 15 seconds, speed 4 or until it’s smooth.
- Dissolve the gelatine into the boiling water and then add it to your Thermomix bowl along with the condensed milk and mix for 15 seconds, speed 4.
- Scrape down the sides of the bowl and add the lemon juice and the lemon rind and mix for 10 seconds on speed 4 to combine before scraping down the sides of the bowl and mixing for a on speed 5 for a further 15 seconds or until the mixture is completely smooth – the time it takes will vary depending on the temperature of your ingredients.
- Transfer the cheesecake mixture to the slice tin and gently smooth the surface. Place the Lemon Cheesecake Slice into the fridge for a minimum of six hours (preferably overnight) to set before cutting into pieces to serve.
For more simple cheesecake and slice recipe, grab your copy of our Cakes and Cheesecakes eBook plus our No Bake Slices and Bars eBooks (both regular and Thermomix versions available) from our eBook store.
Lareina
Hi! Can I make this in a glass baking dish like Pyrex?
Tracy Edwards
Made this for a guy at work for his birthday. Cut it into squares so he could share it if he liked. Lots of compliments from all the guys. Don’t normally make cheesecakes as I tend to not have much luck but this will be a regular now. Thank you.
Kym Little
Hiya…can I make this in cupcake papers and freeze…I have a bnb and cupcake papers look prettier….cheers kym
Lauren Matheson
Hi Kym, I haven’t tried making these in cupcake papers. It should be ok though. you may need to lightly grease the paper cases so they don’t stick though.
Amanda Hobbs
Hi, can you add blueberries or strawberries to the mix before refrigerating ?
Lauren Matheson
I don’t see why you couldn’t – yum!
Amanda Brown
Could I make this without the lemon juice? Would I need to add other liquid?
Chaitrali
Hi Lauren,
Thank you for this amazing yet simple recipe! I just have one question for you. Most traditional no-bake cheesecake recipes use thickened cream. Your recipe does not require cream to be added. Will this make any difference?
Thanks.
Ruth
I like the amount of gelatin that you use in this. Firms it up nicely for a slice. I drain a tin of cherries well, stir them through at the end. Then turn the juice into a firm jelly, and pour over the top when slice is set. Will always make it with the gelatin now, so much easier to handle. Thanks