


If you liked my Cauliflower Cheese and Bacon Fritters, you are going to LOVE these Cheese and Cauliflower Fritters which are filled with THREE types of cheese!
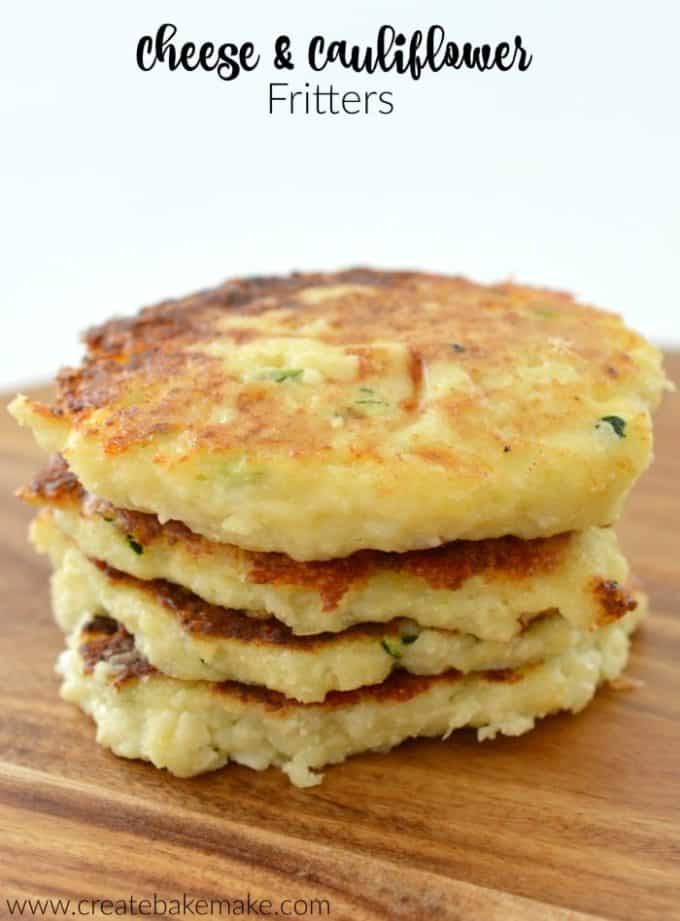
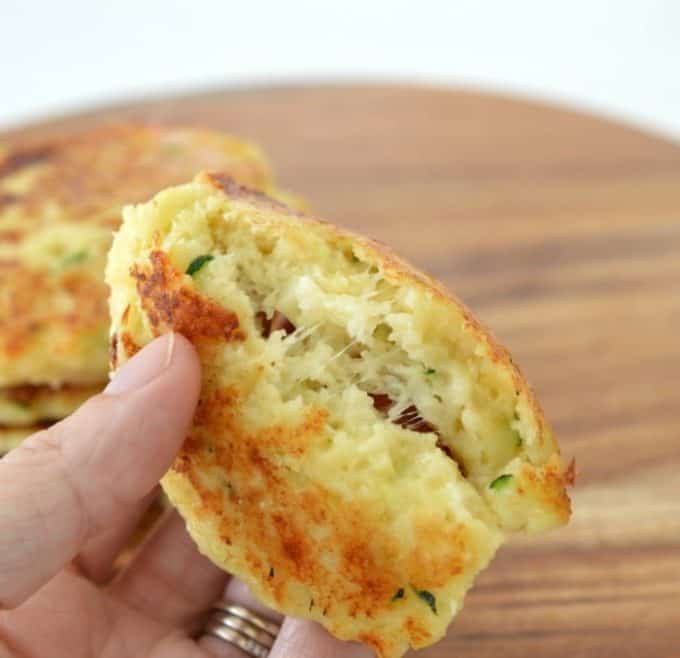
It’s no secret that I’m a HUGE fan of all things cheese and these Cheese and Cauliflower Fritters are certainly a celebration of that! Unlike my original Cauliflower, Bacon and Cheese Fritters, these delicious fritters contain three types of cheese, parmesan, mozzarella and feta giving them a deliciously cheesy taste and texture.
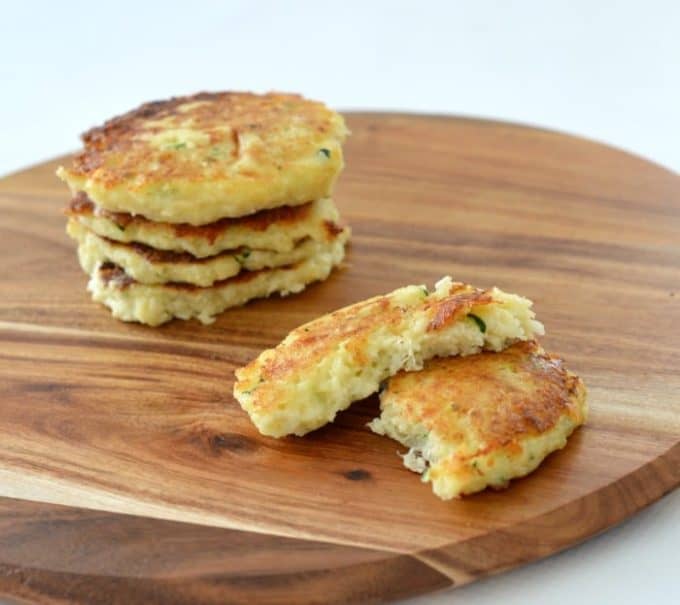
These cheesy bites really are the perfect easy lunch, dinner or snack and they can also be frozen to enjoy later. To reheat, simply thaw your Cheese and Cauliflower Fritters in the fridge and then reheat for 10 minutes at 190 degrees.
Although these fritters are all about the cheese, I like to still add some grated zucchini to the mixture to help up our veggie intake, however you can easily leave this out if you would prefer. Both of our boys LOVE these Cheese and Cauliflower Fritters and think they are ‘crunchy potato cakes’ and I can assure you I’m in no hurry to correct them!
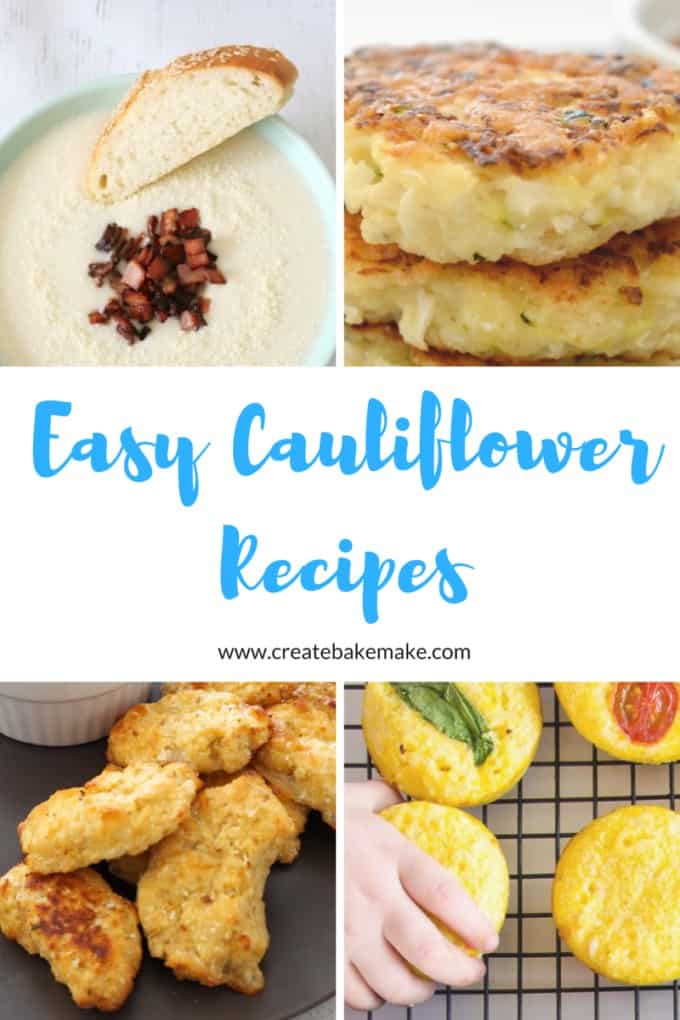
For more Cauliflower recipes, check out this collection of my favourite Cauliflower recipes.

Cheese and Cauliflower Fritters
Ingredients
- 600 g of cauliflower leaves removed and cut into small florets.
- 1 medium zucchini approximately 120g- grated
- 2 cups 150g of self raising flour
- 1 cup of parmesan cheese - finely grated
- ½ cup of mozzarella cheese - grated
- 60 g of feta cheese crumbled
- 1 garlic clove - crushed
- 1 teaspoon of onion flakes
- 2 eggs - lightly beaten
- ¾ cup of water
- pinch of salt
- pinch of pepper
- olive oil to shallow fry
Instructions
- Place the cauliflower florets into a food processor and blitz until they turn into small pieces. Transfer to a large bowl.
- Add the crushed garlic, onion flakes, grated zucchini, chopped bacon, parmesan, mozzarella and feta cheese to the bowl with the cauliflower and add the self raising flour before stirring well to combine.
- Beat the eggs in a small bowl lightly with a fork and add salt and pepper to taste. Add the eggs along with ¼ cup of water to the bowl with the cauliflower mixture and stir. Gradually add the extra water and stir until you have a thick batter - please note you may not need all of the water depending on the size of the cauliflower and zucchini that you used.
- Heat a tablespoon of olive oil in a large frying pan over a medium to high heat and use a ¼ measuring cup to scoop up the batter and place the fritter mixture into your pan. Use a spoon to gently spread the mixture into a circle between ½cm - 1cm thick. You should be able to fit approximately six fritters (or even more depending on the size of your pan) into your frying pan.
- Cook the Cauliflower and Cheese Fritters for 5 minutes on each side until they are crisp and golden brown before transferring to a plate and covering them with foil so they stay warm while you cook the next batch. Repeat until all the Cheese and Cauliflower Fritters have been cooked.
Nutrition
Thermomix Cheese and Cauliflower Fritters Recipe
- Place the parmesan and mozzarella cheese which has been cut into 3cm chunks into your Thermomix bowl and mix for 7 seconds on speed 9 to grate. Transfer to a separate bowl until needed.
- Without washing the bowl, add the Zucchini (which has been cut into 3cm pieces) into your thermomix bowl and mix for 4 seconds on speed 6. If you would like it cut into smaller pieces, mix for a further 2 seconds. Transfer to the bowl with the grated cheese.
- Without washing the bowl, add the cauliflower florets, garlic clove and onion flakes to your Thermomix bowl and mix for 7 seconds on speed 8 or until they resemble rice. If there are still large pieces in your Thermomix bowl, scrape the sides and blitz for a further 3 seconds on speed 6.
- Add the grated cheeses, crumbed feta cheese, zucchini, along with 2 eggs, 300g of self raising flour, and HALF a cup of water to your Thermomix bowl in that order – please note you may not need all of the water depending on the size of the cauliflower and zucchini that you used. Mix for 15 seconds on speed 4 REVERSE to combine the ingredients. Scrape down the sides of the bowl and if your mixture is still a little dry, add the remaining ¼ cup of water and mix for a further 15 seconds on speed 4 REVERSE or until combined.
- Heat a tablespoon of olive oil in a large frying pan over a medium to high heat and use a ¼ measuring cup to scoop up the batter and place the fritter mixture into your pan. Use a spoon to gently spread the mixture into a circle between ½cm – 1cm thick. You should be able to fit approximately six fritters (or even more depending on the size of your pan) into your frying pan.
- Cook the Cauliflower and CheeseFritters for 5 minutes on each side until they are crisp and golden brown before transferring to a plate and covering them with foil so they stay warm while you cook the next batch. Repeat until all of the Cauliflower and Cheese Fritters have been cooked.
What’s your favourite fritter recipe?
Brooke
Hi Lauren I just made this and the flavour is definitely there and my daughter who can be fussy at times enjoyed them. It was my first time making fritters and was wondering what kind of texture should I expect inside? Dense? Fluffy? Gooey?
Thank you
Lauren
Hi Brooke, I’m glad your daughter enjoyed them 🙂 I would compare the texture to that of a hash brown, it’s a little fluffy but still with a bit of bite if that makes sense? Often when I reheat the fritters for lunches I might give them an extra five minutes or so to make the outside really crunchy and the inside is them much more dense.
Michelle
Lauren, would these be OK to freeze .?! I imagine if so you would freeze the uncooked batter just in an airtight container.?!
Lauren
Hi Michelle, you can definitely freeze these, I’ve got a stash of them in my freezer! I haven’t tried freezing the uncooked batter, I cook them and then pop them into freezer bags/containers so I can grab a couple at a time. They take around 15 – 18 mins to reheat on 190 from frozen.
Vicki @ Boiled Eggs & Soldiers
I can’t wait to try these Lauren, all sorts of yum right in one fritter. Thanks for sharing it with YWF too.
Lauren
Thanks Vicki, thanks so much for hosting x
Shari from GoodFoodWeek
Yum – saving this page so that I can whip these up at some stage for lunch this week.
Lauren
Enjoy!
Medeja
Great snack! Looks so yummy!
Lauren
Thanks so much 🙂