


If you love custard, this Vanilla Magic Custard Cake recipe really is for you!

I’m calling it, this Magic Custard Cake really is magic. There were more than a few occasions I almost gave up and tipped the mixture into the bin while I was making this. After looking at all the gorgeous photos of this three layered gooey custard cake online, when I looked at the dodgy cake mixture in front of me, I had no confidence at all that it would actually work out.
The mixture just didn’t look right to me, yet I continued with the thought I’d come this far already, I at least had to see what happened when I popped this disaster into the oven
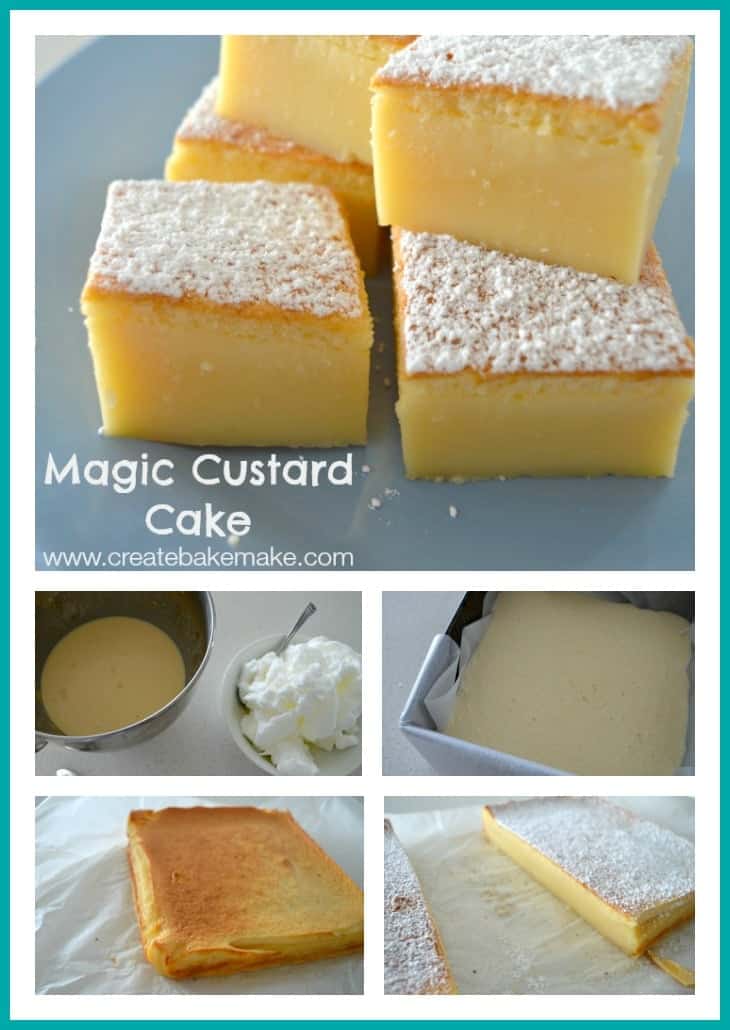
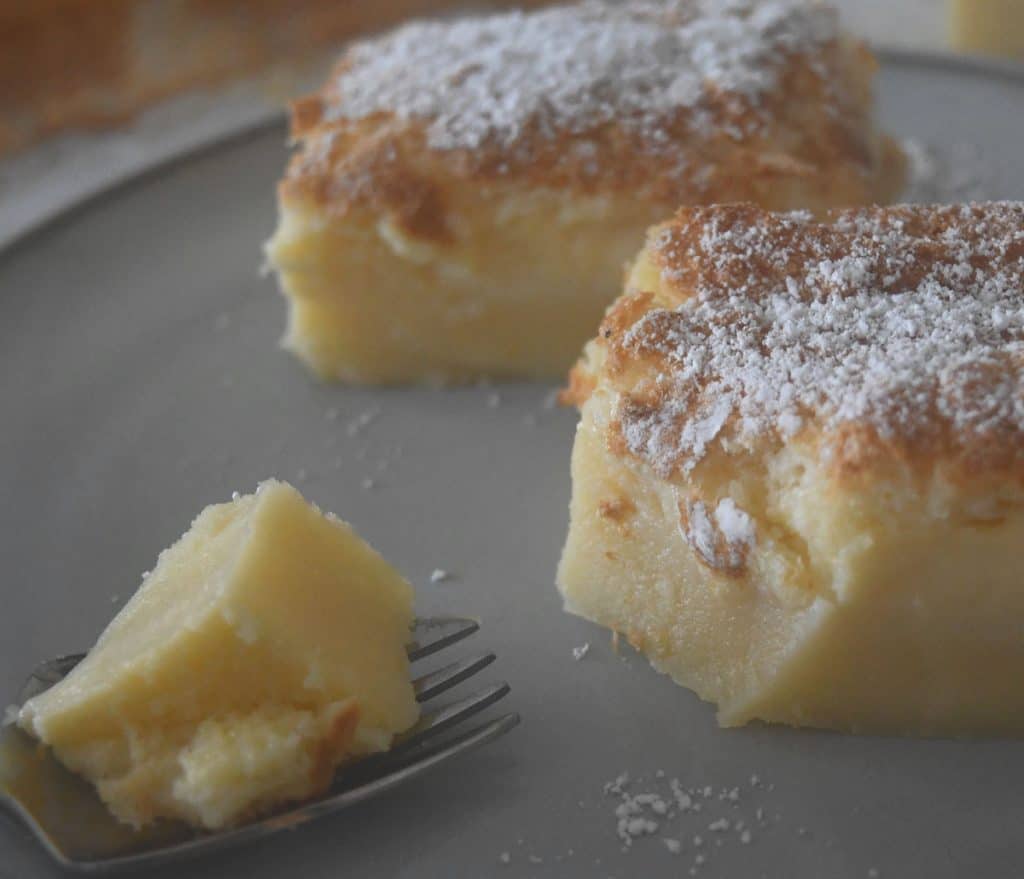
My few sneaky peeks into the oven thankfully gave me some assurance that cake may just work. After 35 minutes it had developed a lovely golden crust on top and when tested with a skewer it was still a little wobbly in the middle – perfect
Ingredients:
You will need:
- Eggs,
- Milk,
- Flour,
- Vanilla Extract
- Caster Sugar
- Butter
- Icing Sugar to Dust
Tips for Making this Custard Cake:
- Your baking time WILL vary depending on the temperature of your ingredients. Some people may find they need to cook their cakes for up to an hour.
- I cook this cake in a 20cm square baking tin, you can use a different size tin but the cooking time will vary.
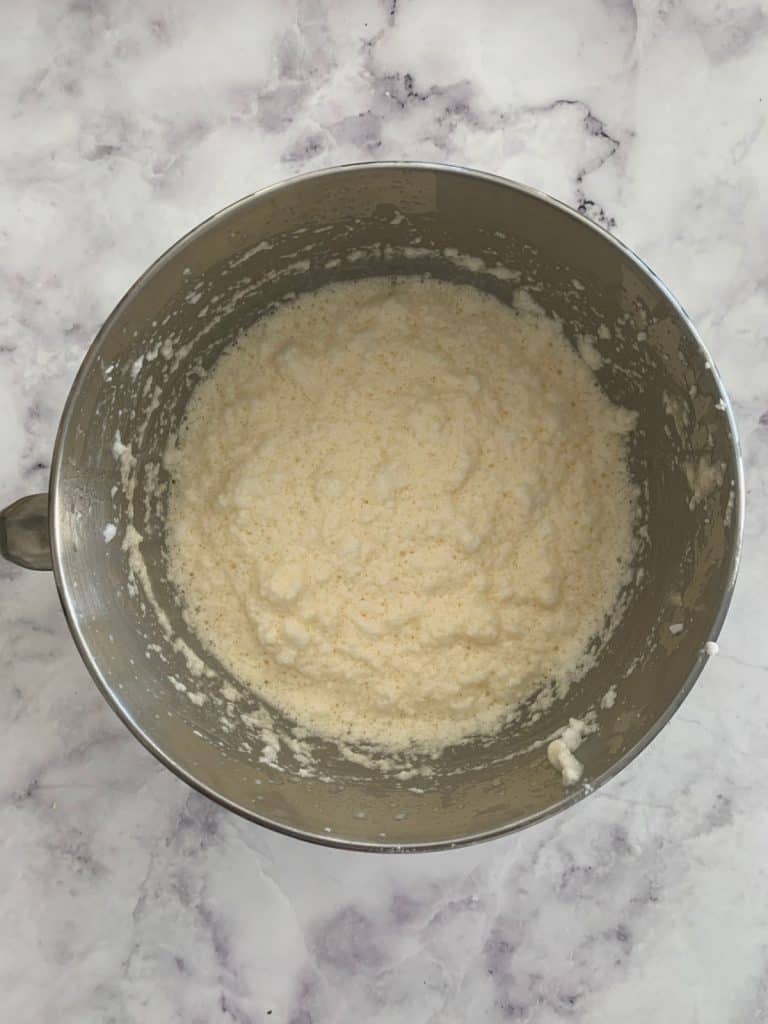
- The mixture will look lumpy and you may be convinced that it won’t work out – keep going as the end result is worth it!
- When testing to see if your cake is ready, you do want there to be some ‘jiggle’ in the middle still.
- I try to put my eggs out the night before I’m planning to make this cake to ensure that they are at room temperature.
- I also heat the milk in a microwave safe jug until it’s just warm.
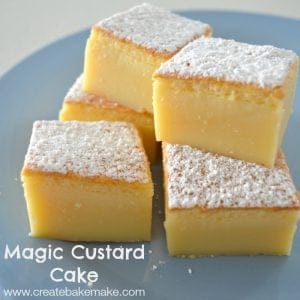
- To serve, I prefer to let this cake cool completely in the tin (you can also pop it in the fridge when cool enough to do so) and then dust with icing sugar and cut into pieces.
- This cake is best stored in an airtight container in your fridge and enjoyed within 3 – 4 days.
You can watch how to make this Cake below:
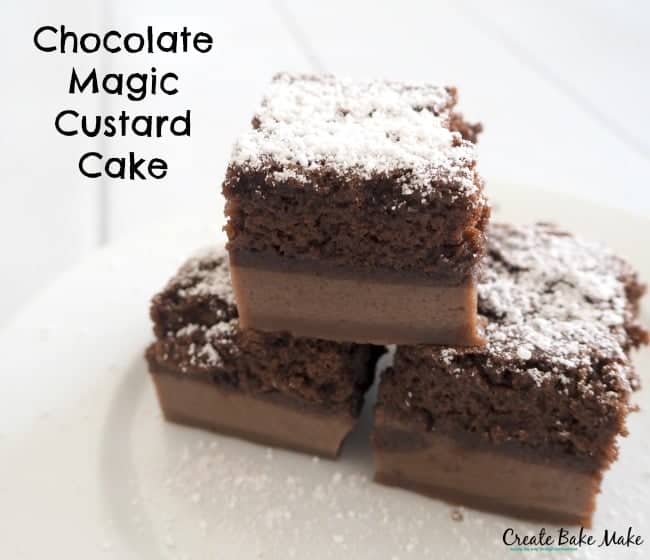
Once you’ve made this vanilla version, make sure you try my Chocolate Magic Custard Cake or this Salted Caramel Magic Cake – you can find the recipe here.
Magic Custard Cake
Equipment
- 1 x 20cm square baking dish
Ingredients
- 4 eggs – room temperature
- ¾ cup caster sugar
- 125 grams butter melted
- 1 teaspoon vanilla extract
- ¾ cup plain flour – sifted – sifted
- 2 cups milk lukewarm (500 mls)
- ¼ cup icing sugar to decorate
Instructions
- Preheat your oven to 170 degrees celsius (fan-forced) and line a 20cm square cake tin with baking paper, making sure to leave plenty of paper hanging over the sides.
- Separate your eggs and place the egg whites into a CLEAN and DRY bowl – this is very important and beat using an electric mixer until stiff peaks form. Set the egg whites aside until needed.
- Place the egg yolks and caster sugar together in a large bowl and use an electric mixer to beat until they have combined and are light and frothy.
- With the electric mixer still going on a low speed, gradually add the melted butter and vanilla extract before adding the sifted flour a few spoonfuls at a time.
- Gradually add the lukewarm milk and continue to beat on a low- medium speed to combine all of the ingredients.
- Add the egg whites to the bowl and gently fold together the mixture.
- Pour the batter into your prepared cake tin and place into your preheated oven and cook for 35 minutes or until a golden crust has formed on top of your cake.
Notes
- Your baking time WILL vary depending on the temperature of your ingredients. Some people may find they need to cook their cakes for up to an hour.
- I cook this cake in a 20cm square baking tin, you can use a different size tin but the cooking time will vary.
- The mixture will look lumpy and you may be convinced that it won’t work out – keep going as the end result is worth it!
Nutrition
Enjoy!
For more simple and delicious cake recipes, check out our Cakes and Cheesecakes for all Occasions eBook – also available in a Thermomix version. You can view all of our ebooks here.
Jack Bain
I was also as unsure as you were about this when I looked at the mix I was about to put in the oven, but it turned out perfect! Magic!!
Renee
Hi Lauren. I’m from Sydney. I’ve just made your custard cake. I followed it to the letter but my egg whites looked lumpy after folding them in. I did my best to incorporate as much as I could. It’s on the oven now Still lumpy on top and although the top is browned the middle is still very wobbly. What could have gone wrong
Nakita
I just gave this recipe a go here in Aus. It’s super yummy but somehow I ended up with almost meringue on the top and wondering if maybe I didn’t fold in the egg whites enough? I also over cooked a little as the sides of the cake were still a bit runny at first test but it only needed a couple extra mins and I gave it almost half hour haha.
Kadey
Love this recipe was super easy to follow unfortunately with an electric oven I somehow ended up with it being an amazing tasting sponge cake…oops. I’ll try again soon and take it out way earlier!
Darren Nolan
Hi Lauren
I’ve just taken this out of the oven but was wondering how you would recommend storing it. Should it be kept chilled ??
Many thanks.
Lauren Matheson
Hi, yes I do suggest keeping it in the fridge 🙂
Ana
This magic custard pie been around for more then fourth five years. My mom used to make this.
alice s
works great. never made this one before but follow the recipe and it will work.
Add ingredients slowly and incorporate gradually in increments.
notes for other questions/ comments
-I am pretty sure milk subs will work just fine because the eggs and flour set this.
-mix powdered milks as directed on packet and ensure it is not lumpy or strain but is going to be fine.
no need to boil milk, just warm it.
Brigitte
Can this recipe be made using almond or oat milk as I have an allergy to cow’s milk?
Lauren Matheson
Hi Brigitte, I’ve only ever made this recipe with cow’s milk I’m sorry.
Mrs E
I have made this several times with cow’s milk and just tried it with oat milk and dairy free spread (I’m in the UK and used vitalite)
It took a bit longer to cook but otherwise turned out exactly the same.
Faa
Hi this looks sooo good 🙂 should i boil the milk and let it cool down or i should heat it slightly ?
Marisa
Can you use powered milk instead? If so, how so.
Lauren Matheson
Hi Marissa, I haven’t tried this recipe with powdered milk I’m sorry x