


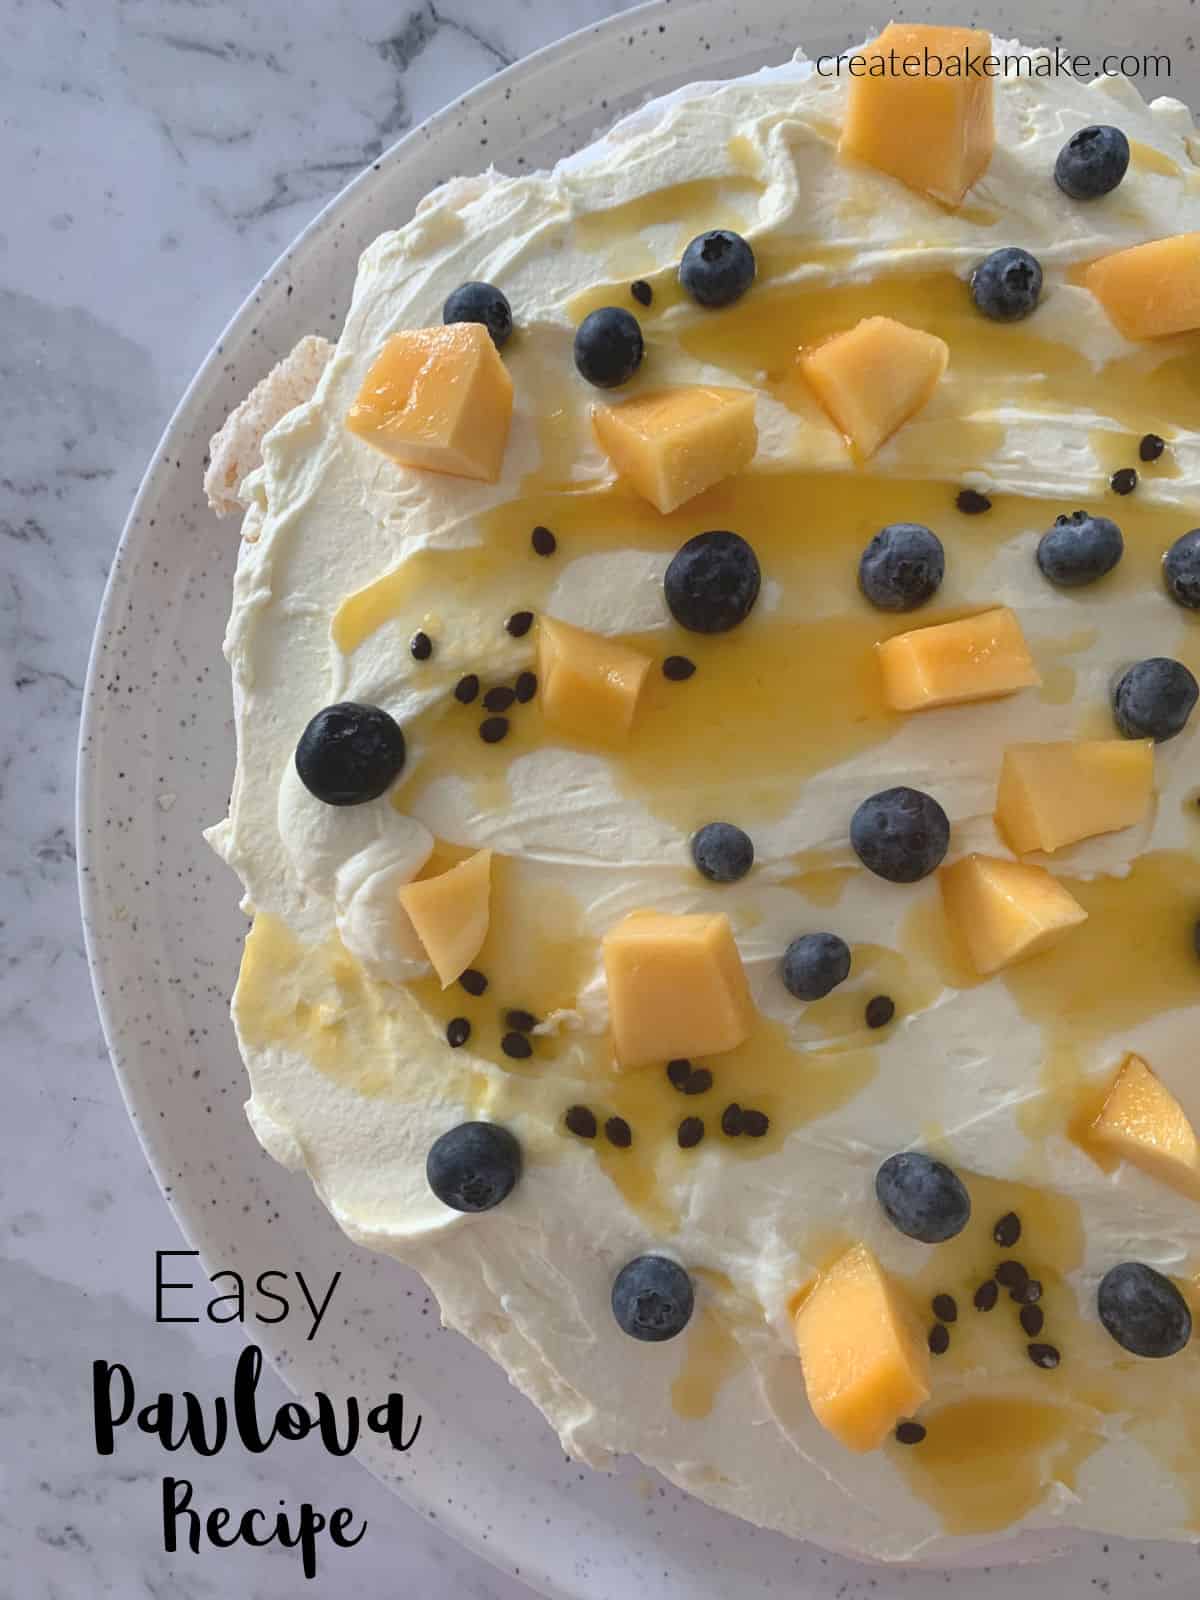
This easy Pavlova recipe really is the BEST! All you need to make this recipe is FIVE simple ingredients for the Pavlova itself and then you can add your favourite fruits and berries or chocolate to the top of to decorate. The Pavlova itself can be made a few days ahead of time (making it a great dessert to serve if you are entertaining) and once decorated it is best enjoyed with 3 – 4 days. Both regular and Thermomix instructions included.
Why you will love this Pavlova Recipe:
My Nan is a bit of a Pav Queen, and I have been making this recipe for almost twenty years now and it really is no fail. You will also love this recipe as:
- It can be doubled or halved depending on how many people you are serving.
- The perfect summer dessert and you can top it with your favourite summer fruits and berries.
- You can make this Pavlova a few days in advance
- Few ingredients, you just need five ingredients to put this Pavlova recipe together.

Ingredients:
To make the Pavlova itself, you will need:
- Egg Whites – it is REALLY important that you bring these to room temperature before starting the recipe.
- Caster Sugar (superfine sugar)
- Brown Vinegar
- Cream of Tartar
- Salt
How to make the BEST Pavlova Recipe:
Please note you will find the full recipe in the recipe card below.
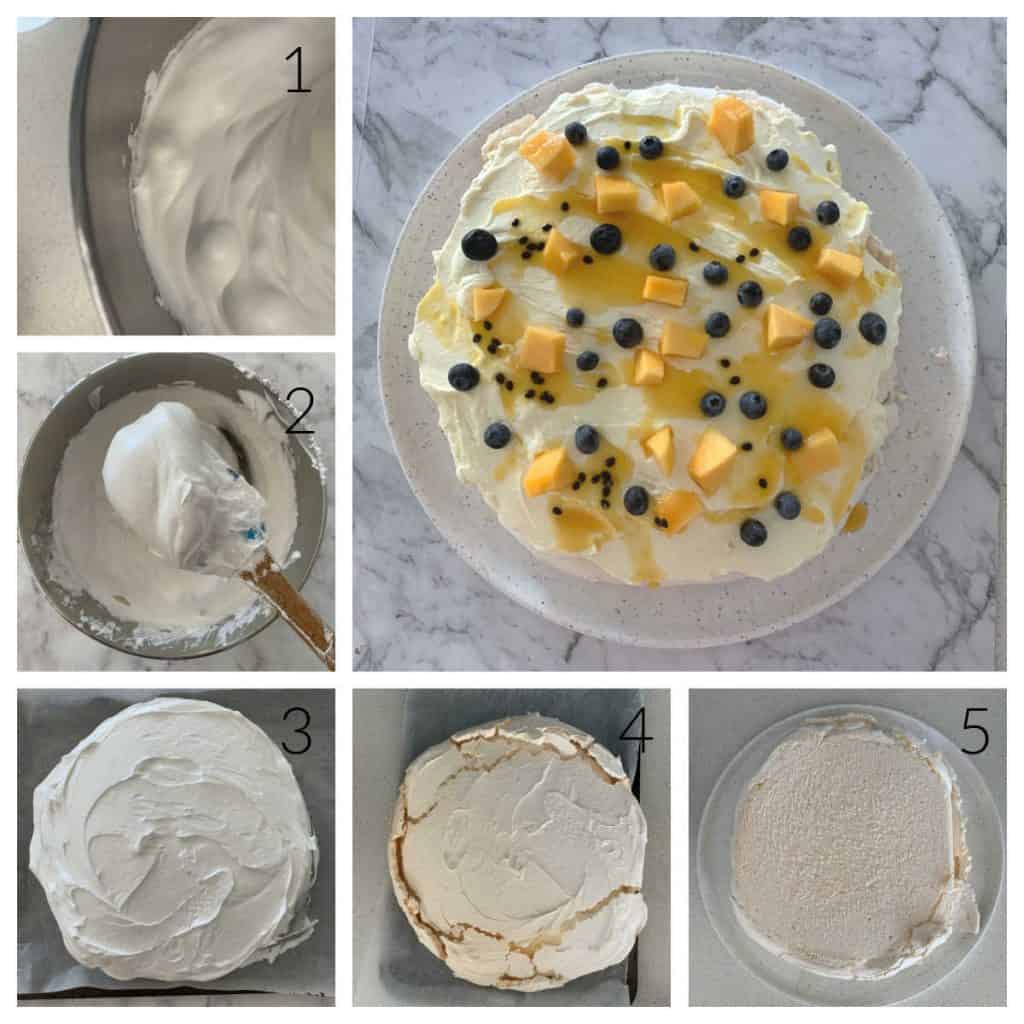
- In a CLEAN and DRY mixing bowl, mix the egg whites, salt and cream of tartar until soft peaks form.
- Mix through the remaining ingredients, adding half at a time until combined.
- Carefully transfer to a baking tray and place into a preheated oven.
- Allow the Pavlova to cool completely before transferring to a serving plate.
- Turn the Pavlova upside down to work with the flat surface to decorate.
Tips for Making this Easy Pavlova Recipe:
- It’s important to clean your mixing bowl/beaters before whipping the egg whites. If there is any leftover residue from previous bakes in/on your equipment, your egg whites will not whip properly.
- Having your eggs at room temperature will also help your egg whites whip together nice and fluffy.
- You will have some cracks on the sides/top of your cooked Pavlova – this is normal!
- You can make your pavlova base up to a week in advance. To store, cover with foil and place in a cool, dark place – eg the pantry, until needed.
- This recipe can also be halved to make a smaller pavlova, the cooking time will need to be reduced to 45 minutes, or until the pavlova is beginning to turn golden on top.
Pavlova Decorating Tips:
- If your Pavlova has some cracks on top (which is completely NORMAL) when transferring it from your baking tray to serving plate, carefully turn it over so that the flat base is on top.
- Once decorated, store the pavlova in the fridge until needed. It will keep well for up to 4 days.
- You can use any type of fruits or berries to decorate your pavlova.
- This recipe can also be halved to make a smaller pavlova, the cooking time will need to be reduced to 45 minutes, or until the pavlova is beginning to turn golden on top.
How to Make Mini Pavlova’s Using this Recipe:
You can use this exact recipe to make 12 Mini Pavlovas. All you need to do is:
- Divide the meringue mixture into 12 equal portions (you will need to use two baking trays)
- Reduce the cooking time to 30 minutes and then allow the Mini Pavlovas to cool in the oven with the door slightly ajar. This will take 2 – 3 hours.


Easy Pavlova Recipe
Equipment
- Oven Tray
- Electric Beaters
Ingredients
- 8 egg whites at room temperature
- 550 grams caster sugar
- ½ teaspoon cream of tartar
- 1 tablespoon brown vinegar
- ½ teaspoon salt
To Decorate
- 600 mls thickened cream
- 2 tablespoon icing sugar
- 1 teaspoon vanilla extract
- 1 Mango cut into pieces
- 125 grams blueberries
- 1 passionfruit
Instructions
- Line an oven tray with baking paper and preheat your oven to 150 degrees celsius – fan forced.
- Clean your mixing bowl with hot water and detergent before cleaning it along with your beaters a second time with the vinegar and hot water. Make sure you dry the beaters and bowl well with a clean towel.
- Separate the eggs and place the whites in your clean mixing bowl and add a pinch of salt and the cream of tartar. Use electric beaters to mix until still white peaks form.
- Add approximately half of the sugar and vinegar into the bowl before beating on a high speed until the sugar has dissolved. Add the remaining sugar and continue to beat on a high speed until it has completely dissolved and mixture is thick and creamy.
- Pour the mixture onto an oven tray covered with foil and bake for exactly one hour.
- Turn the oven off and set the door slightly ajar. Allow the Pavlova to cool completely.
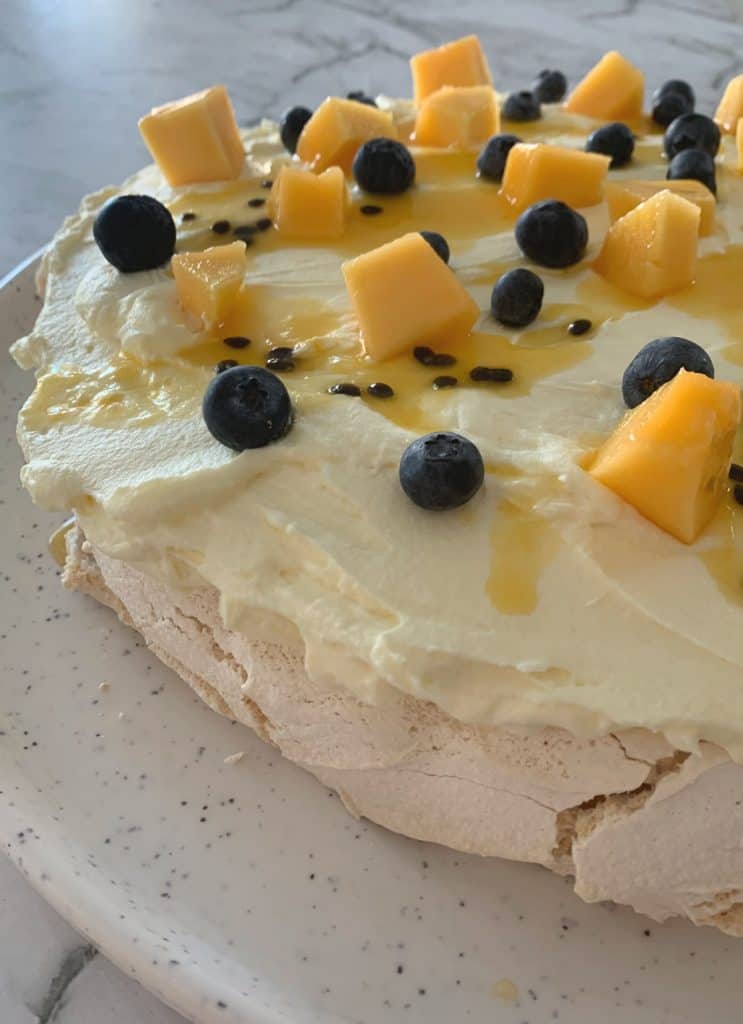
- Once the Pavlova is completely cool, combine the thickened cream with a pinch of icing sugar and the vanilla extract and beat until soft peaks form.
- Top the Pavlova with whipped cream and add the fruit and passionfruit syrup.
- Cover with cling wrap or foil and place into the fridge until ready to serve.
Thermomix Method
- Line an oven tray with baking paper and preheat your oven to 150 degrees celsius – fan forced.
- Place the butterfly whisk into the bowl. Add 1 litre of water plus a dessertspoon of vinegar (approximately 25g) and cook for 10 minutes, Varoma on Speed 3. Carefully tip out the water and completely dry all the parts with a clean towel.
- With the butterfly whisk in place, add the egg whites, cream of tartar and salt into your bowl. Mix for 10 minutes, 37 degrees, speed 4 with the measuring cup removed. After five minutes, the egg white mixture should already be fluffy and soft – reduce to speed 3.
- After reducing the speed, begin to slowly add the sugar, a spoonful at a time. Once it’s all been added, reduce to speed 2 ½ and add the vinegar.
- Pour the mixture onto an oven tray covered with foil, and bake for one hour.
- Turn oven off and set the door slightly ajar and allow the Pavlova to cool completely.
- Once the Pavlova is completely cool, combine the thickened cream with a pinch of icing sugar and the vanilla extract and beat until soft peaks form.
- Top the Pavlova with whipped cream and add the fruit and passionfruit syrup.
- Cover with cling wrap or foil and place into the fridge until ready to serve.
Notes
- It’s important to clean your mixing bowl/beaters before whipping the egg whites. If there is any leftover residue from previous bakes in/on your equipment, your egg whites will not whip properly.
- Having your eggs at room temperature will also help your egg whites whip together nice and fluffy.
- When separating the eggs, it’s important to not have any traces of yolk in with the egg whites.
- You can make your pavlova base up to a week in advance. To store, cover with foil and place in a cool, dark place – eg the pantry until needed.
- If your Pavlova has some cracks on top (which is completely NORMAL) when transferring it from your baking tray to serving plate, carefully turn it over so that the flat base is on top.
- Once decorated, store the pavlova in the fridge until needed. It will keep well for up to 4 days.
- You can use any type of fruits or berries to decorate your pavlova.
- This recipe can also be halved to make a smaller pavlova, the cooking time will need to be reduced to 45 minutes, or until the pavlova is beginning to turn golden on top.
Kerry
I haven’t made this yet. I made a tasty, but far from perfect pav from another recipe this afternoon. This recipe will be used for attempt number 2. My question is whether there’s anything else I can use other than brown vinegar as I don’t stock this. I have white, apple cider, sushi (and balsamic) vinegar.
thanks, Kerry
Briana Hopper
What a simple recipe that tasted amazing! I’m wondering if you could help me my outer crust was fantastic but my inside ‘marshmallow’ didn’t turn out properly? Any suggestions I feel maybe I should of mixed for longer after sugar was mixed through? 😉
Lauren Matheson
Hi Briana, I’m so glad you enjoyed the recipe! You could try to mix for longer after the sugar has been added, the temperature of the eggs etc can impact the mixing time xx
bel @ Mums Take Five
Look at the glossy shine on the meringue! well done on a classic redo love! Thank you for sharing and contributing to The Sunday Brunch Magazine, lovely to see you. Eliza & Bel x
Karin @ Calm to Conniption
I always love watching people make a pav. That beautiful shine they have when done right. Looks great lovely.
Thanks for linking up in The Ultimate Rabbit Hole. 🙂 x
Lucy @ Bake Play Smile
I definitely know where you got your cooking skills from! Your Nan’s pa looks amazing. 🙂
laurenm83
Thanks lovely x
Sammie @ The Annoyed Thyroid
I’m applying for Australian Citizenship so I think it’s only right to make a pav before I get my blue passport! I’ll have to give it a whirl in the thermie and see how I go!
laurenm83
It would be all kinds of wrong not to make one!!